Obtuse Pattern Bar Former Tutorial
Bonny Doon Fused Glass Tools
Our latest form is a Stainless Steel Obtuse Triangle former. It has notches right in it to make it easy for doing flows into the bar. Use it with or without!!
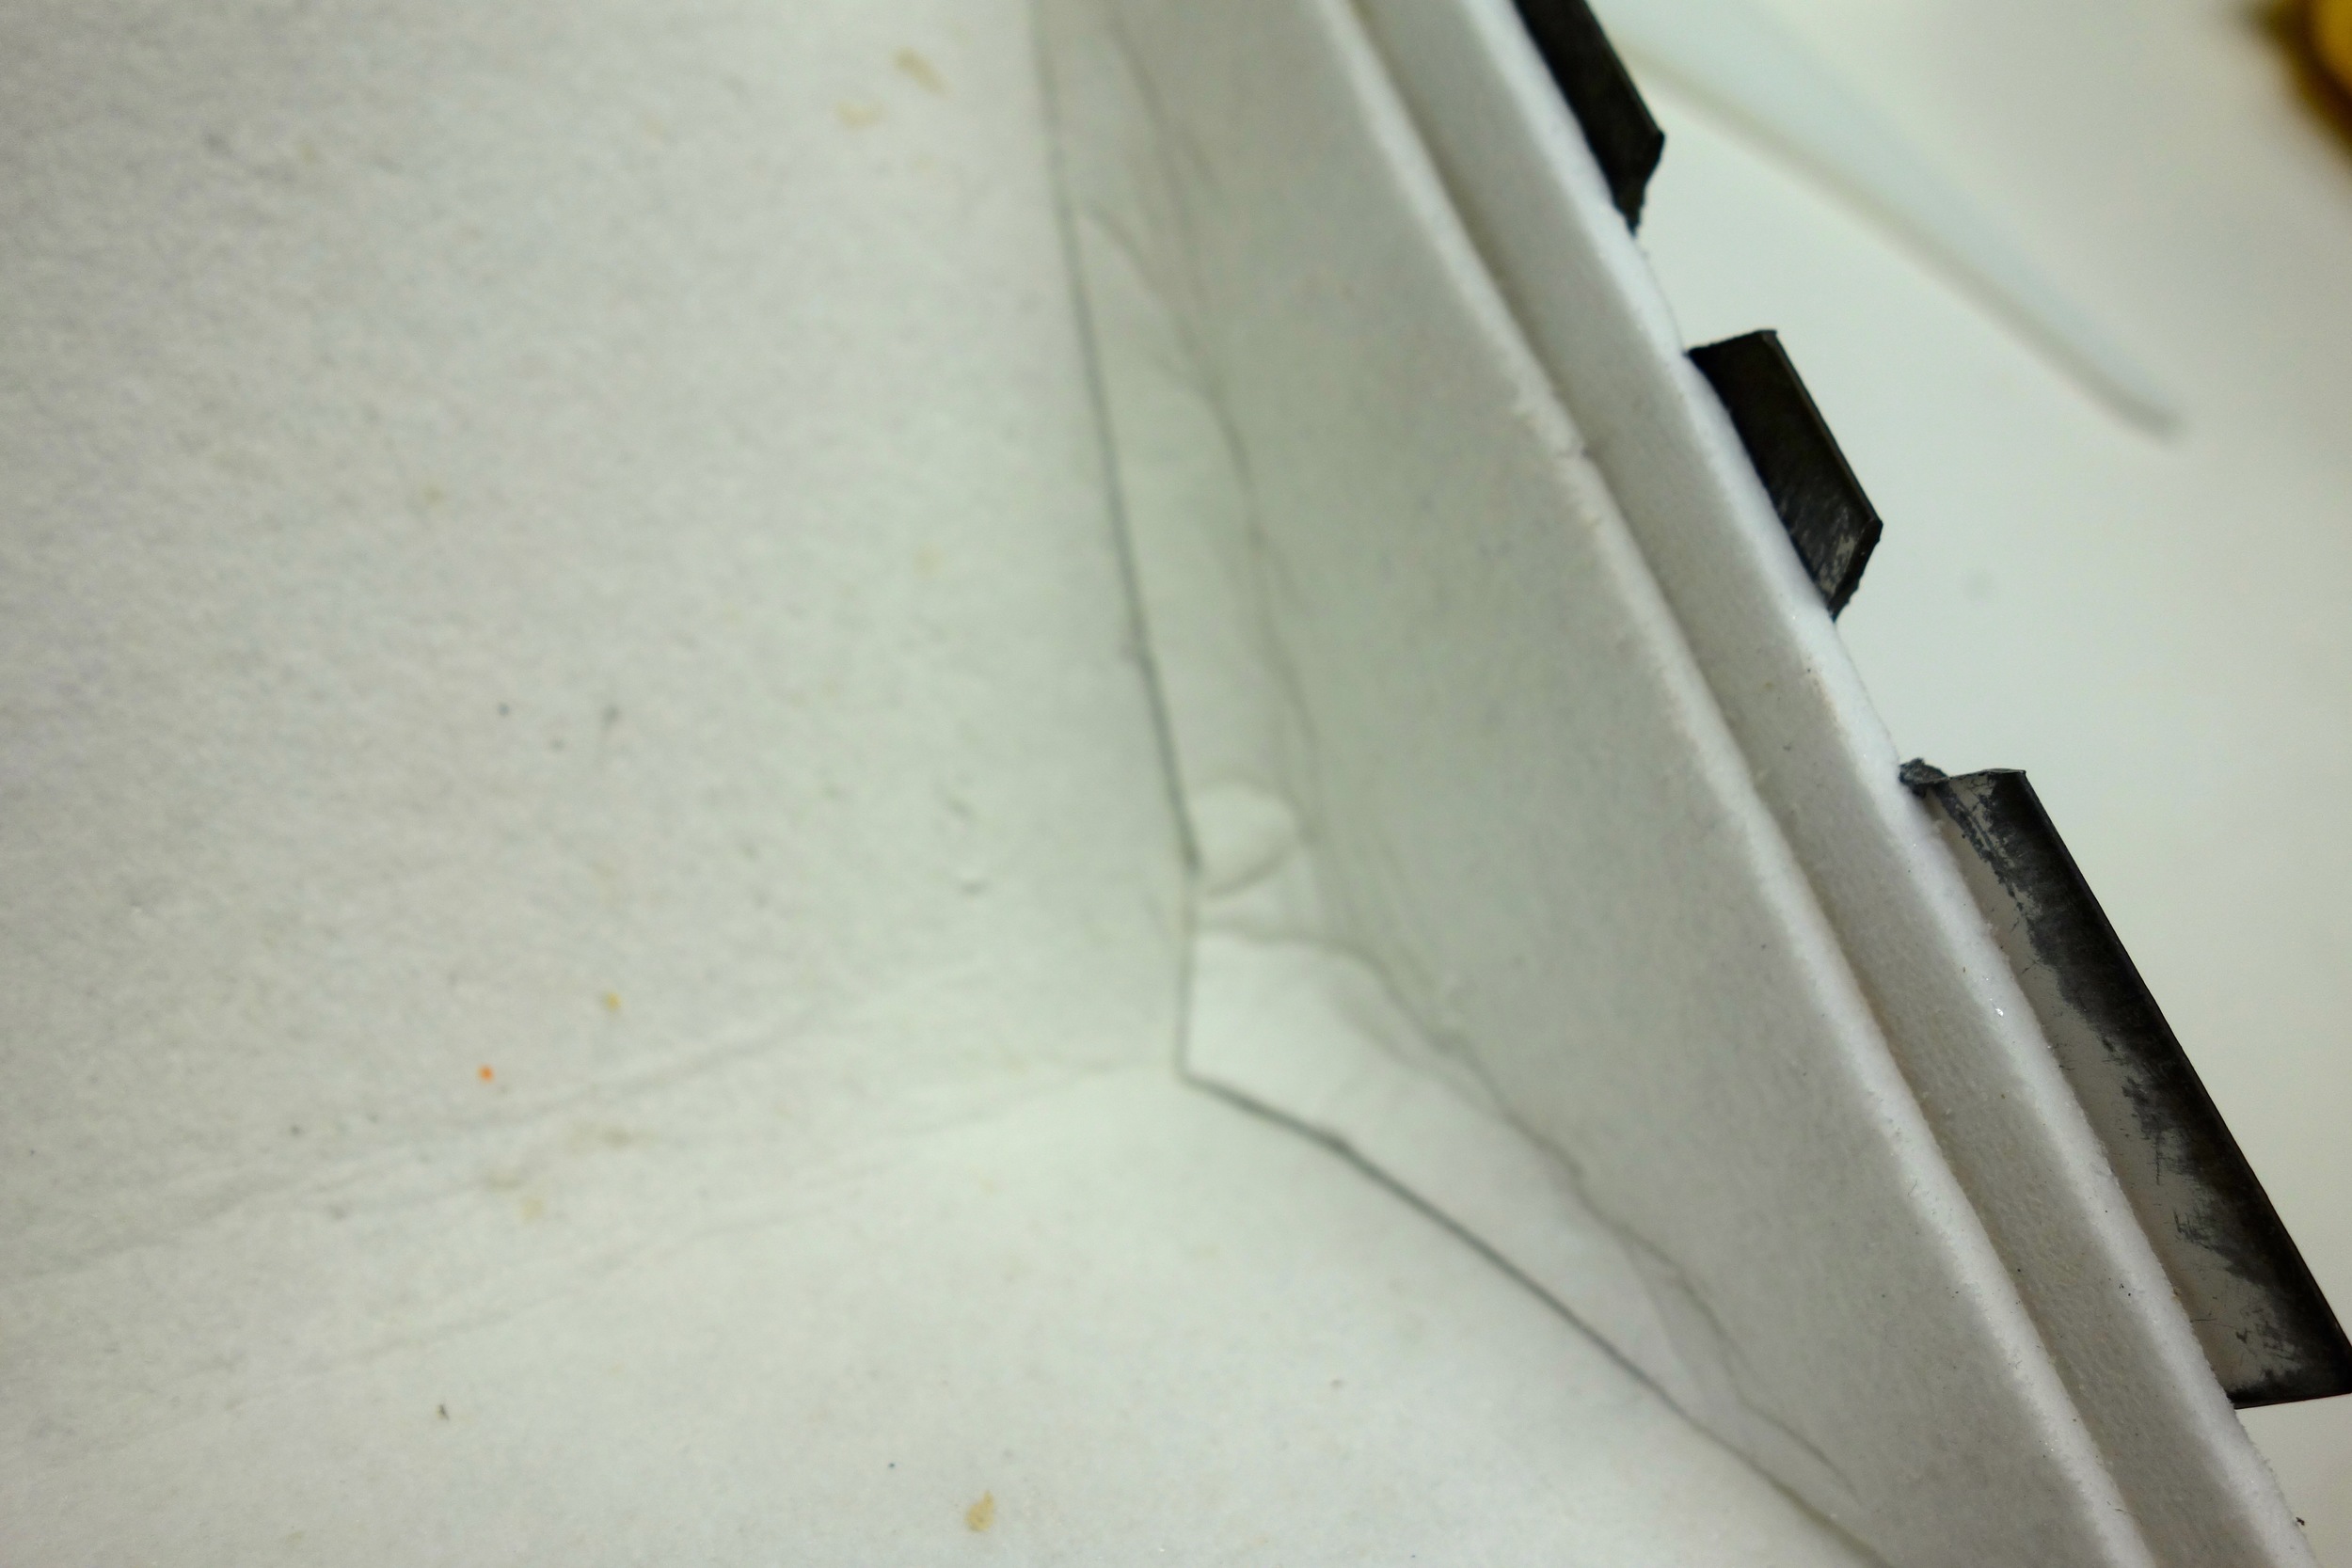
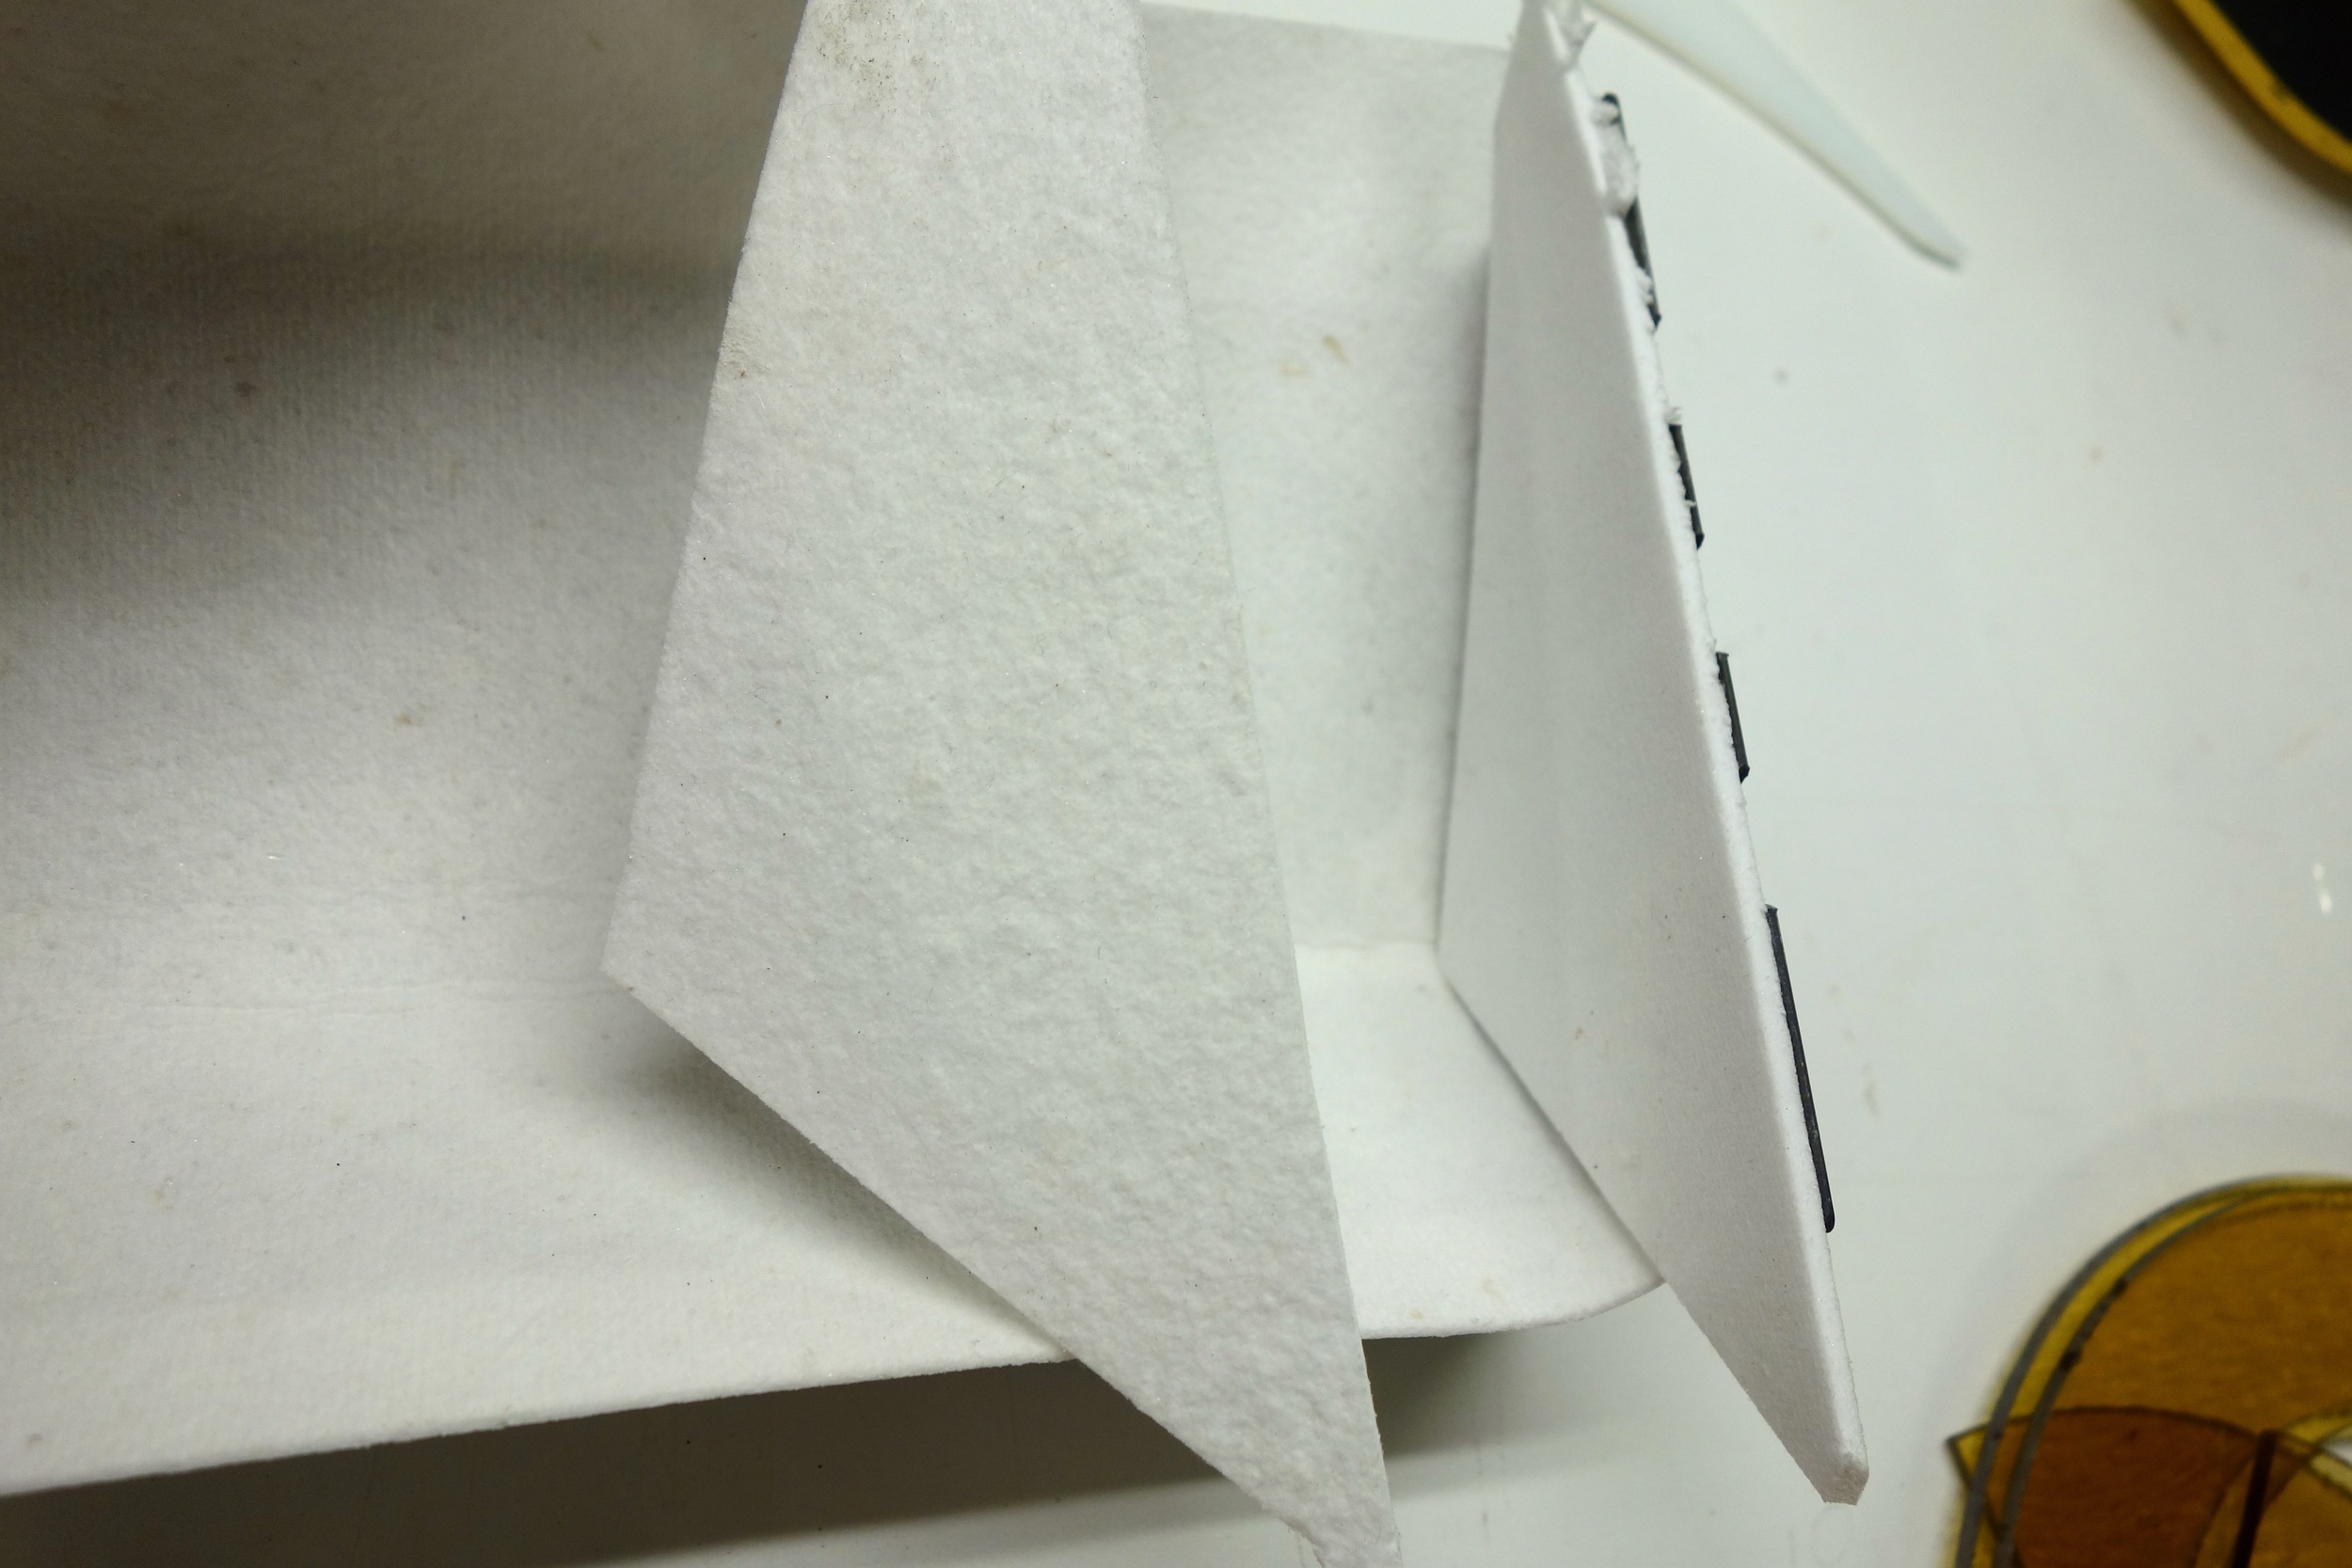
I have been using our 1mm paper to line my Obtuse with a single layer in the body of the form and a double layer at the ends. I cut the paper 1/2" longer than the length and smash it in at the ends...then put the double ends also a bit larger to smash into the other paper. It works very well with this paper but you do have to be careful not to rip it. If you are using 1/8" paper that is fine too. With it I would cut the main body of lining 1/8" exactly the interior size and then double up on the end pieces to totally seal it. If you are just doing a regular pattern bar and not a "flowing melt" you can get away with just using thinfire as it will stay in place.
Here is a picture of the bar with 3 flow strips. the strips comes in 3's and 6's. As you can see I use a lot of scrap on top but I do normally also put some glass into the former and drip onto it. I usually cut the fiber paper so that it extends past the edge of the stainless too. If you want to make a larger obtuse just support the extra with stilts.

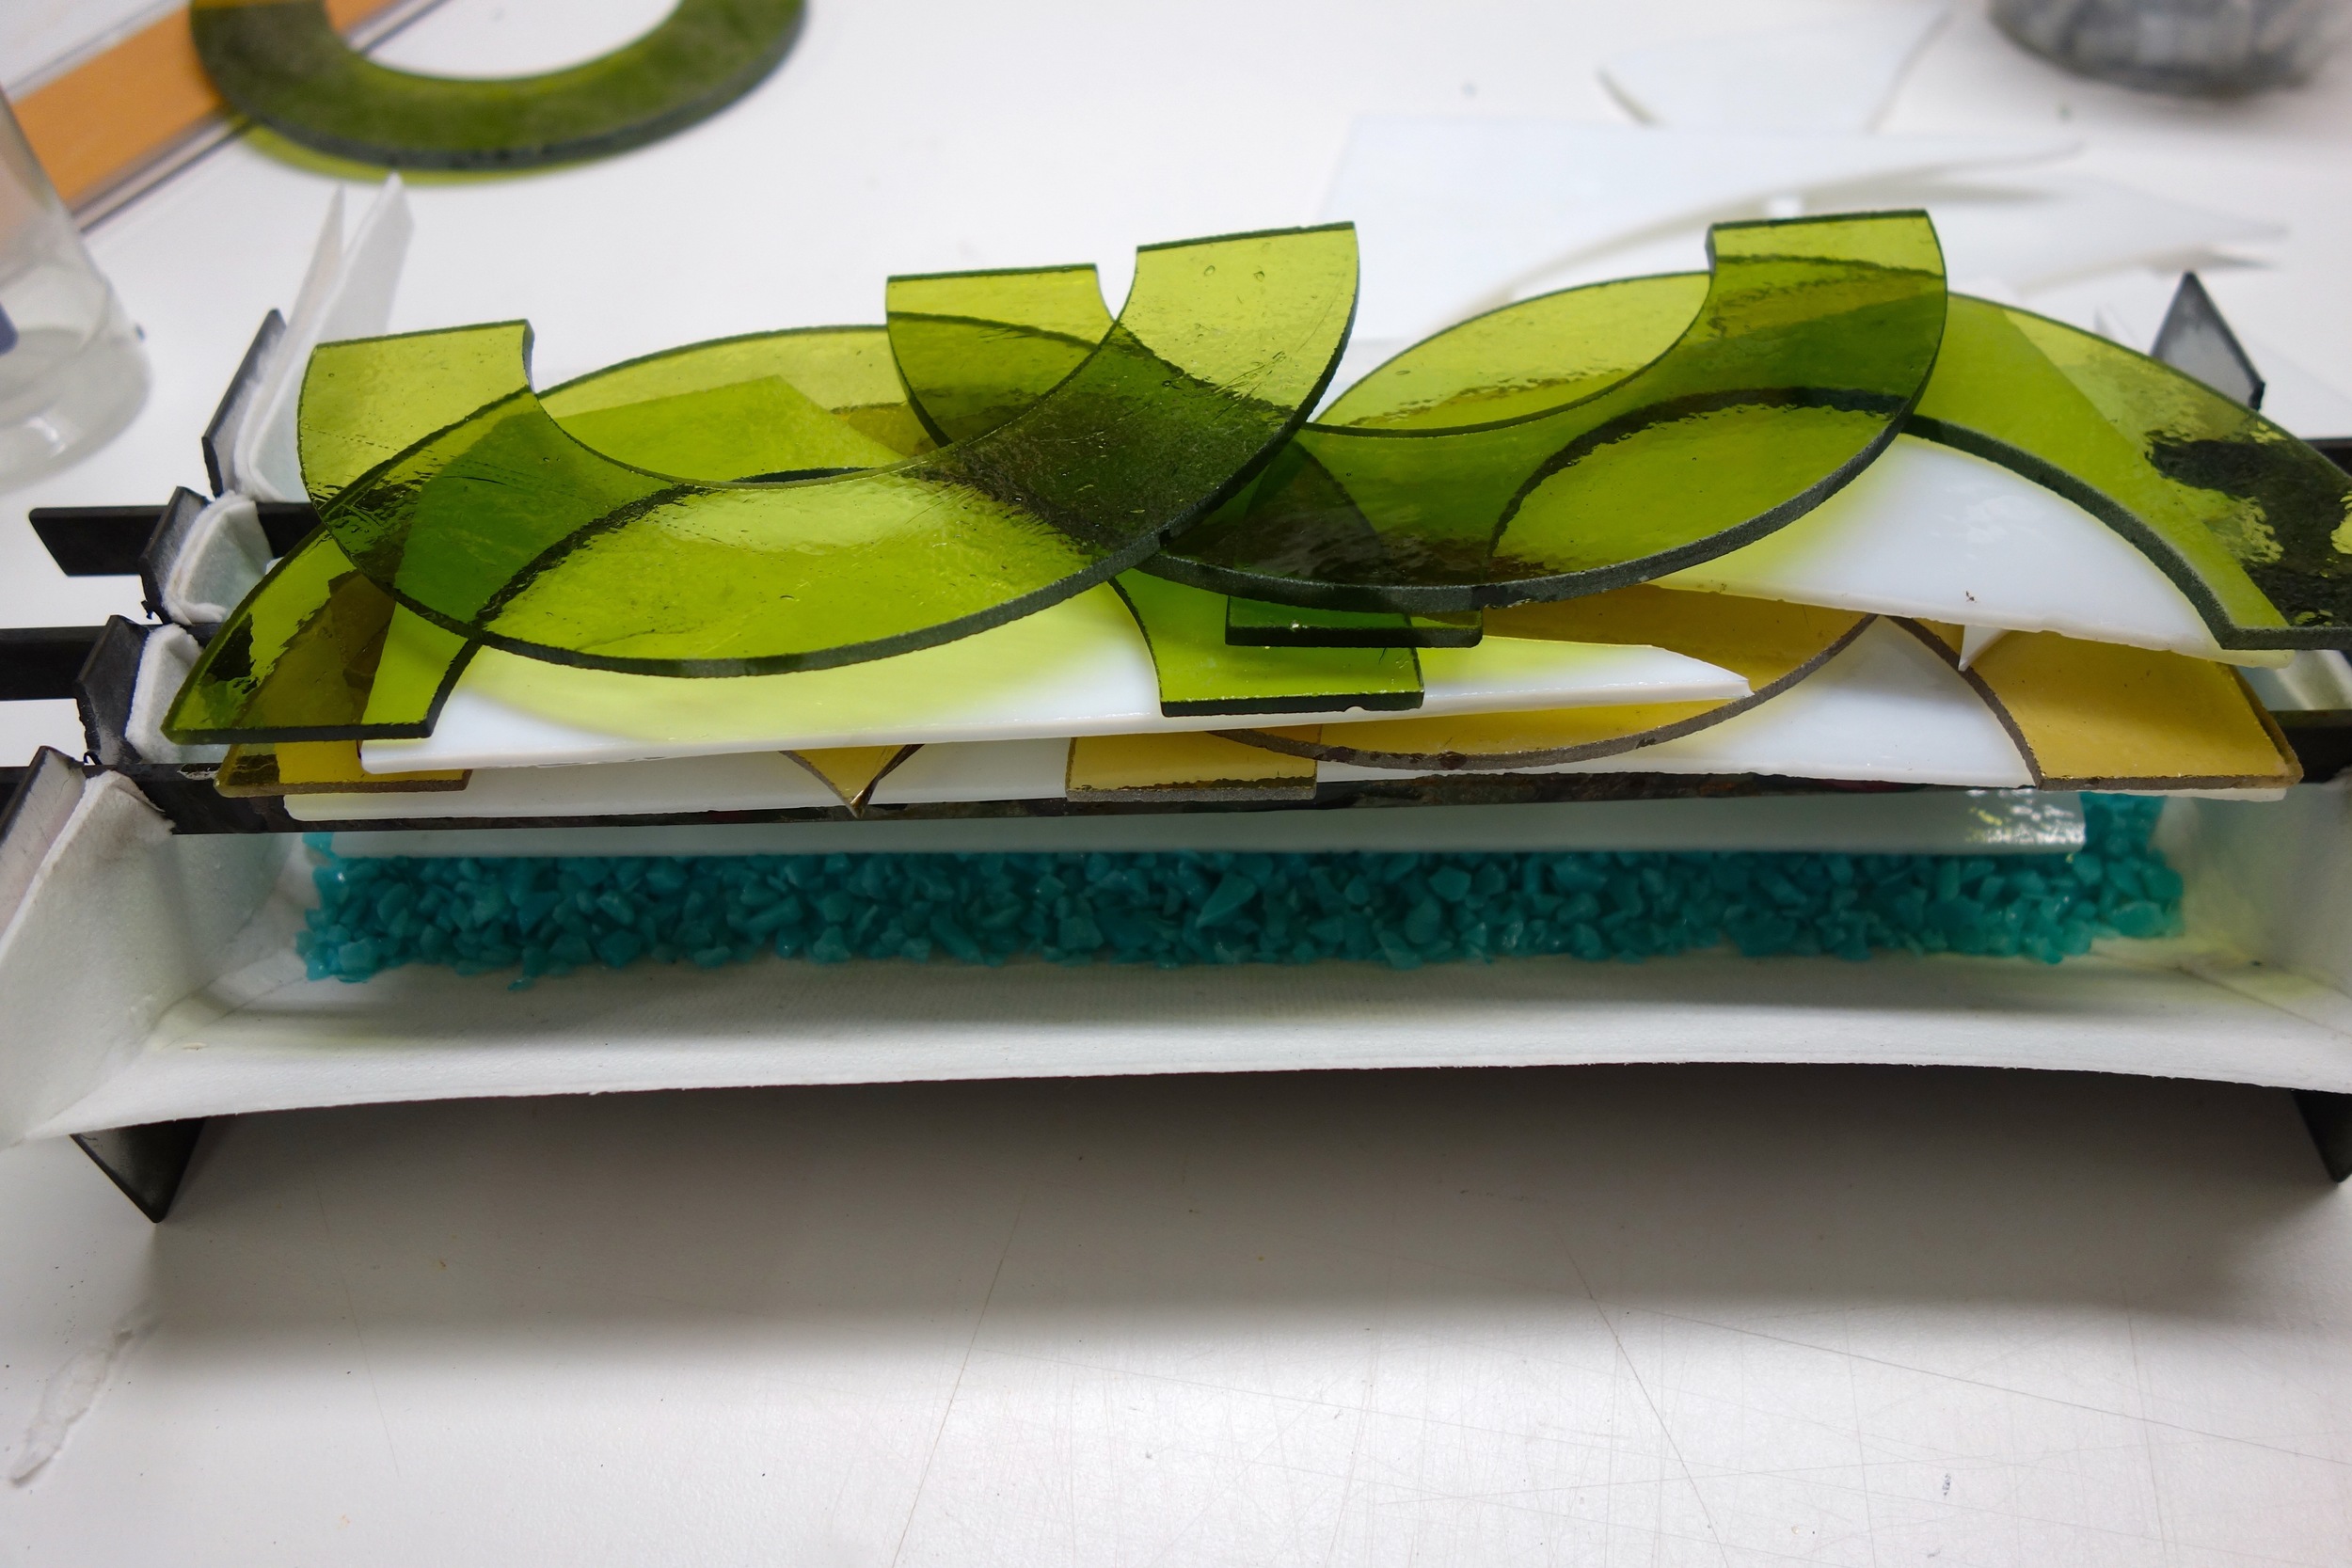
I am finding that around 1100- 1150grams of glass is just about perfect. If you add frit or scrap into your bar first be sure to weigh that also.
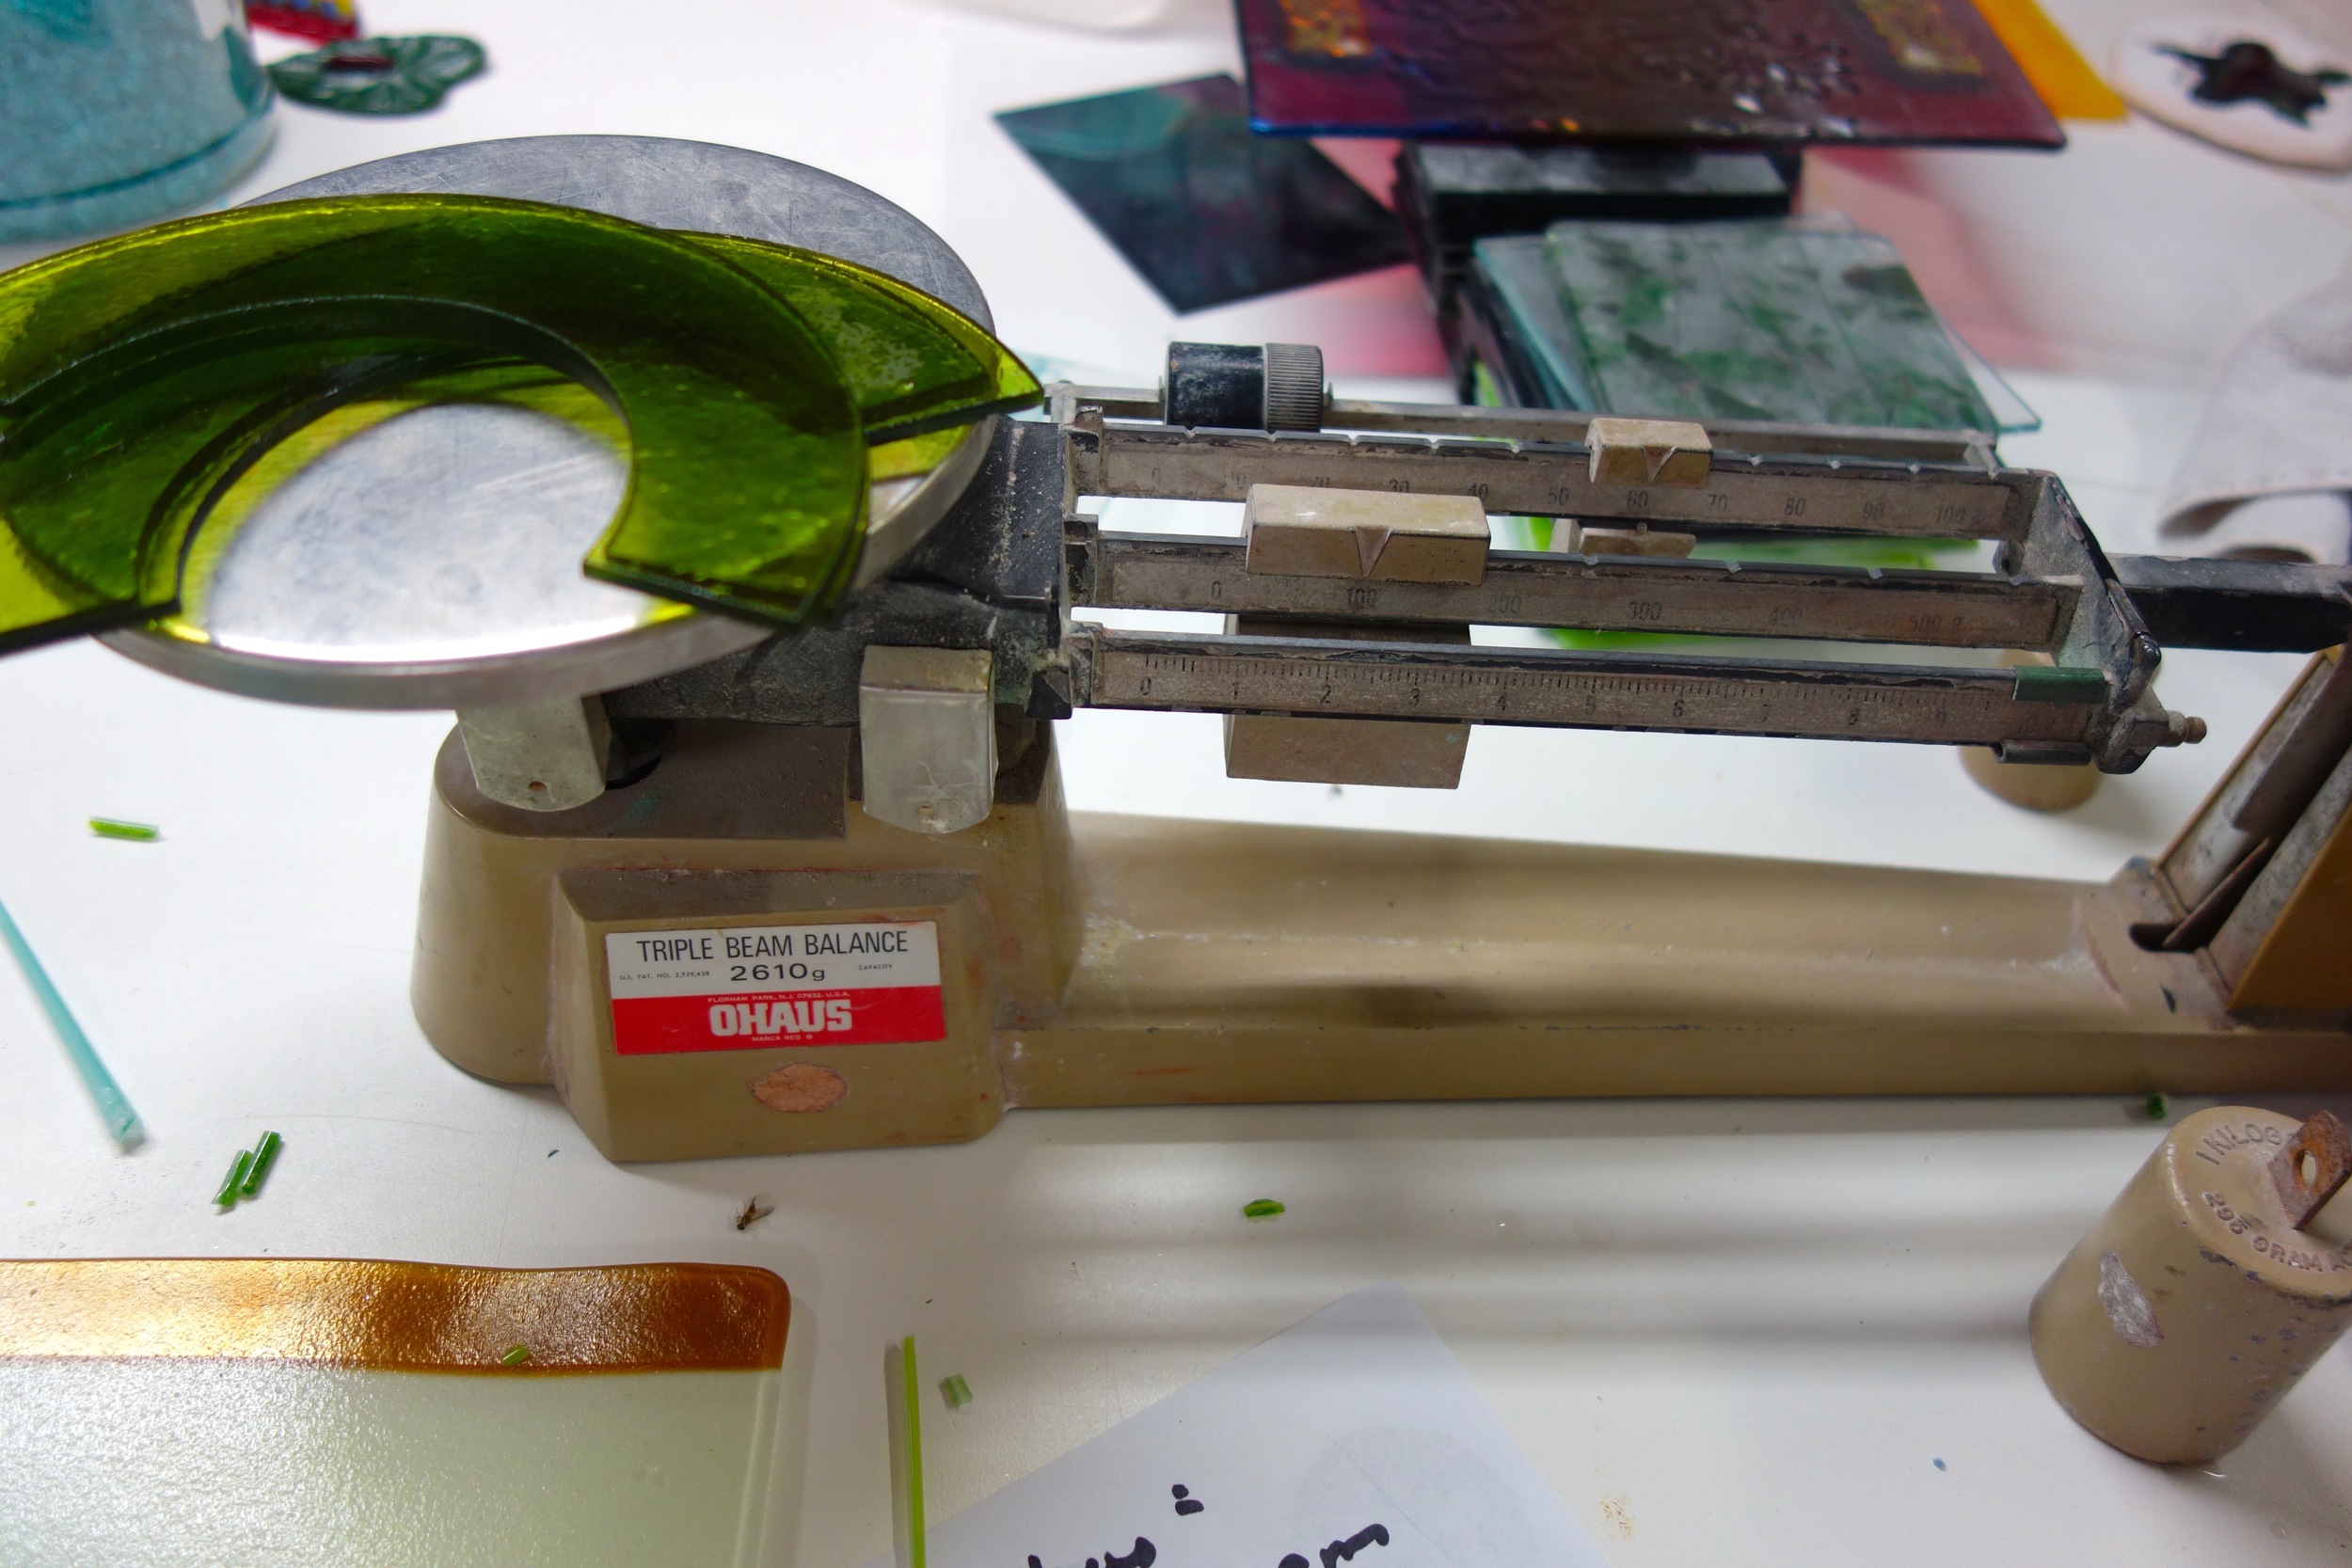
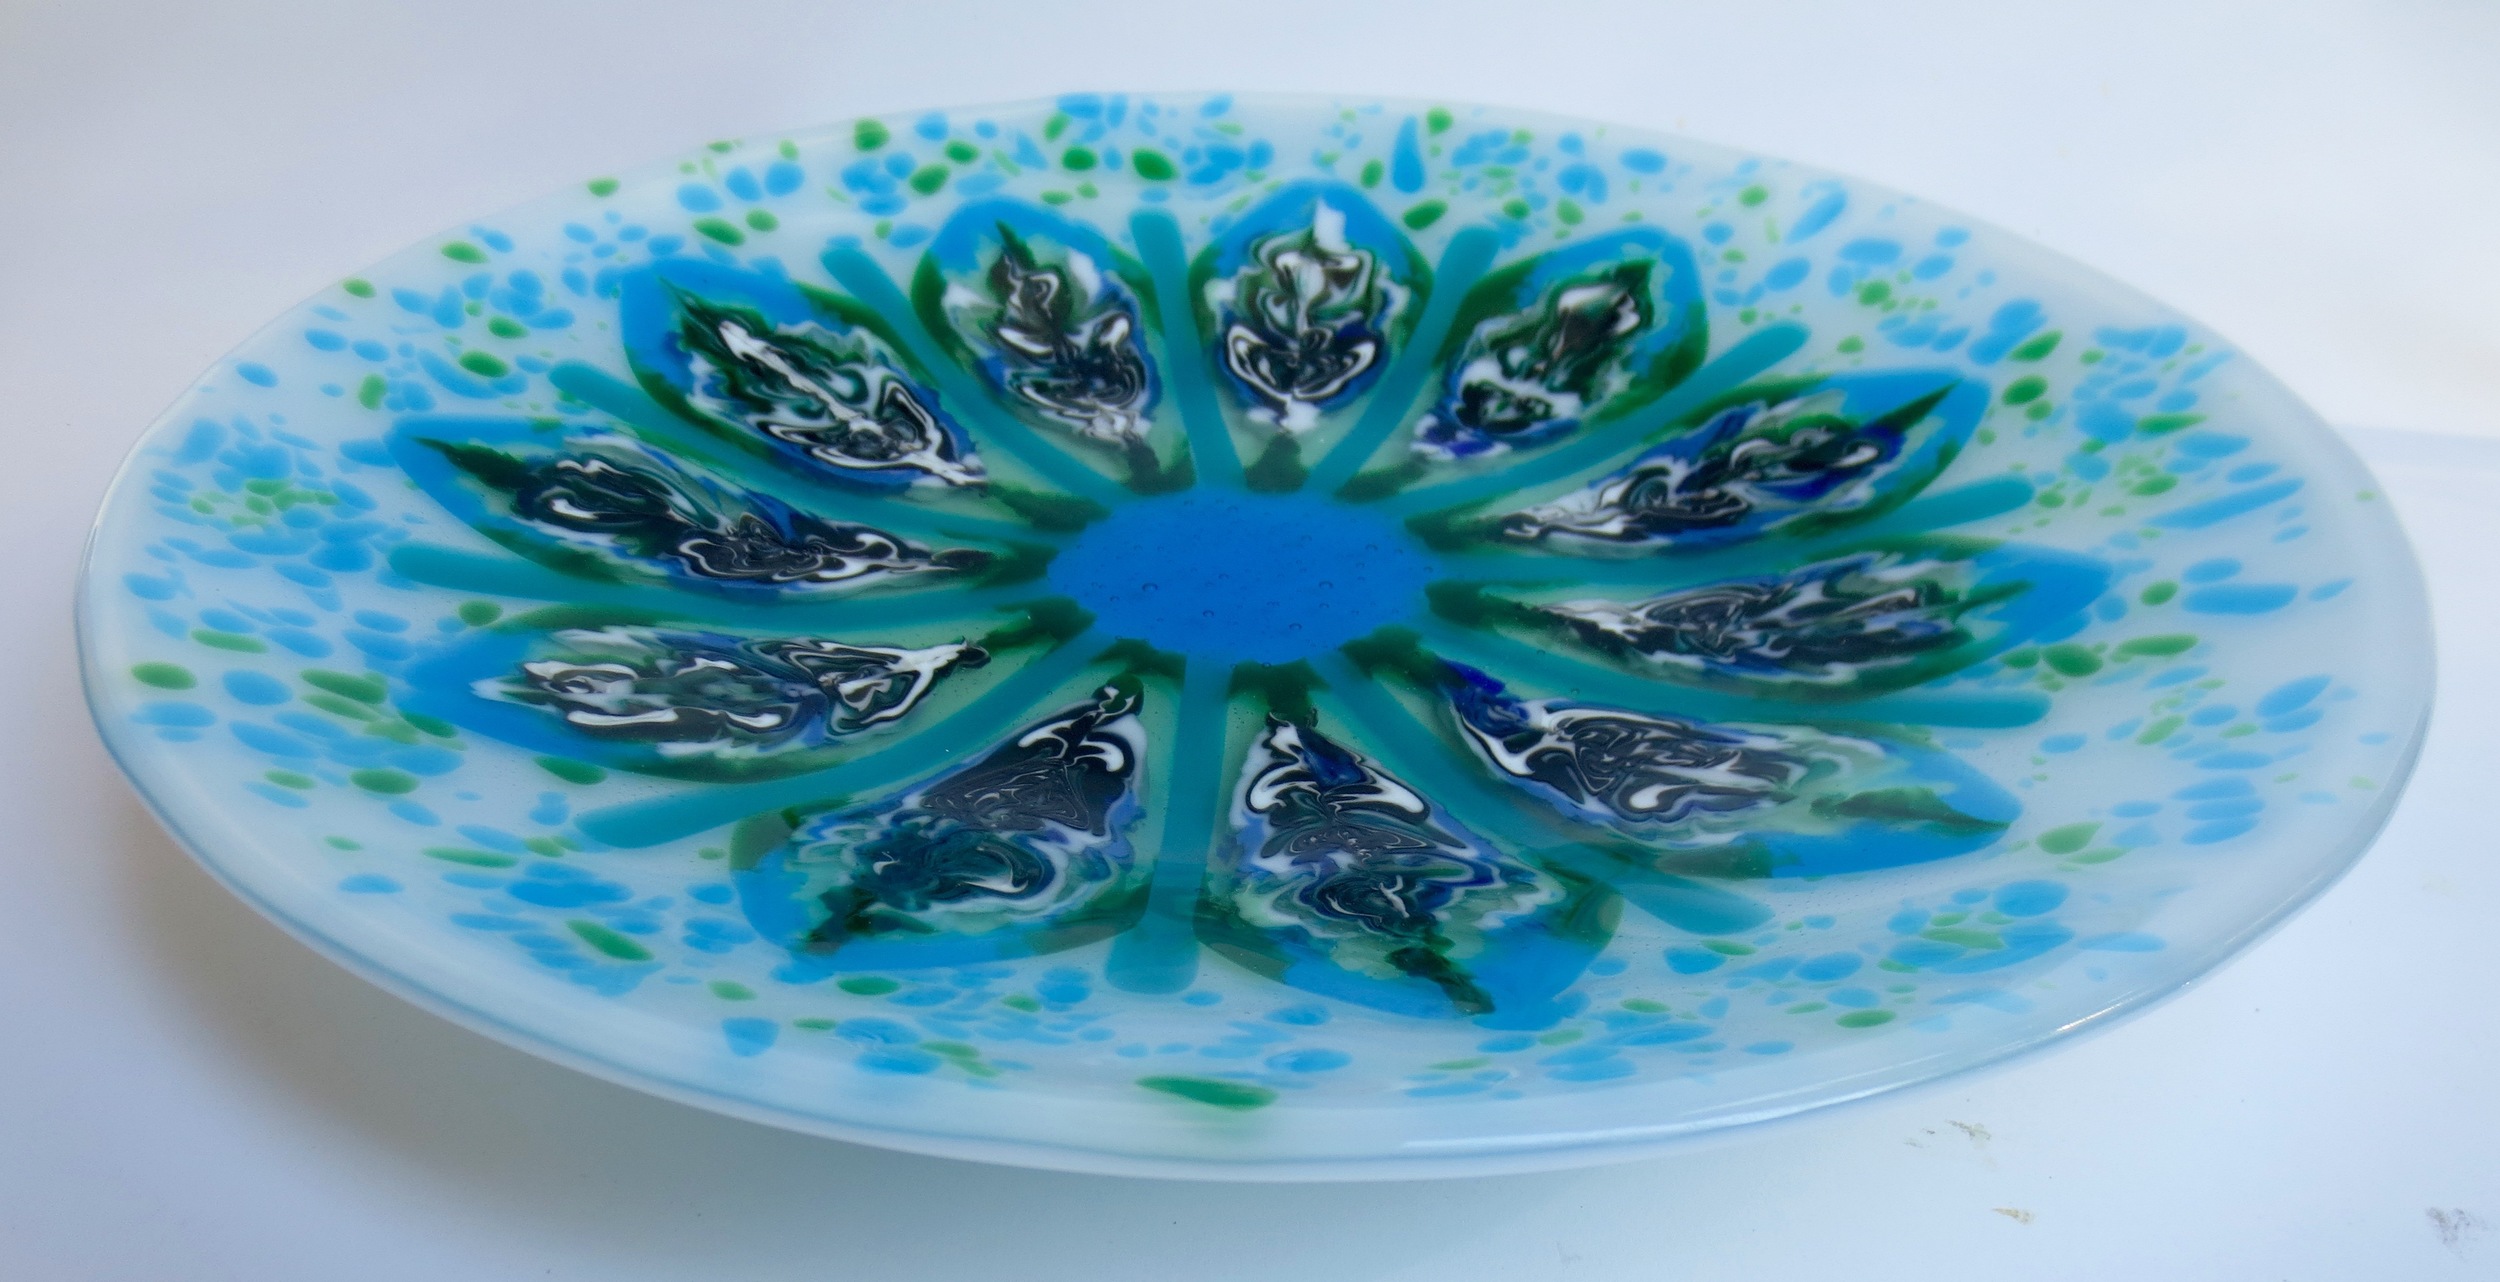
By adding some transparent glasses and some clear you can get some beautiful light flowing thru your piece.
The schedule I am using for these Obtuse Pattern Bar when doing a flow with a stack of glass on top is:
250 hr /800 no hold
450/1550 hold 2 hour (I think this will be fine for 90 also although I am using 96 on mine)
9999 to anneal (900 for COE 90, 950 for COE 96) 1 hour
100/700 and off
Usually for thick glass you need to anneal longer but these are slicing great and will be reannealed in the final piece so I see no reason to have a lengthy anneal here. If you are having any issues slicing these you can always add anneal time. I find that issues with bars breaking while slicing are usually related to not enough water on your blade or a dull blade.
To clean them.....clean them well before refiring. I like to really scrub the entire bar with a green scrubby before slicing. If you have a flat lab by all means use it!!
If you find your bar is smaller than you thought it would be.....clean it well....reline your form and drip more onto it. no harm no problem.
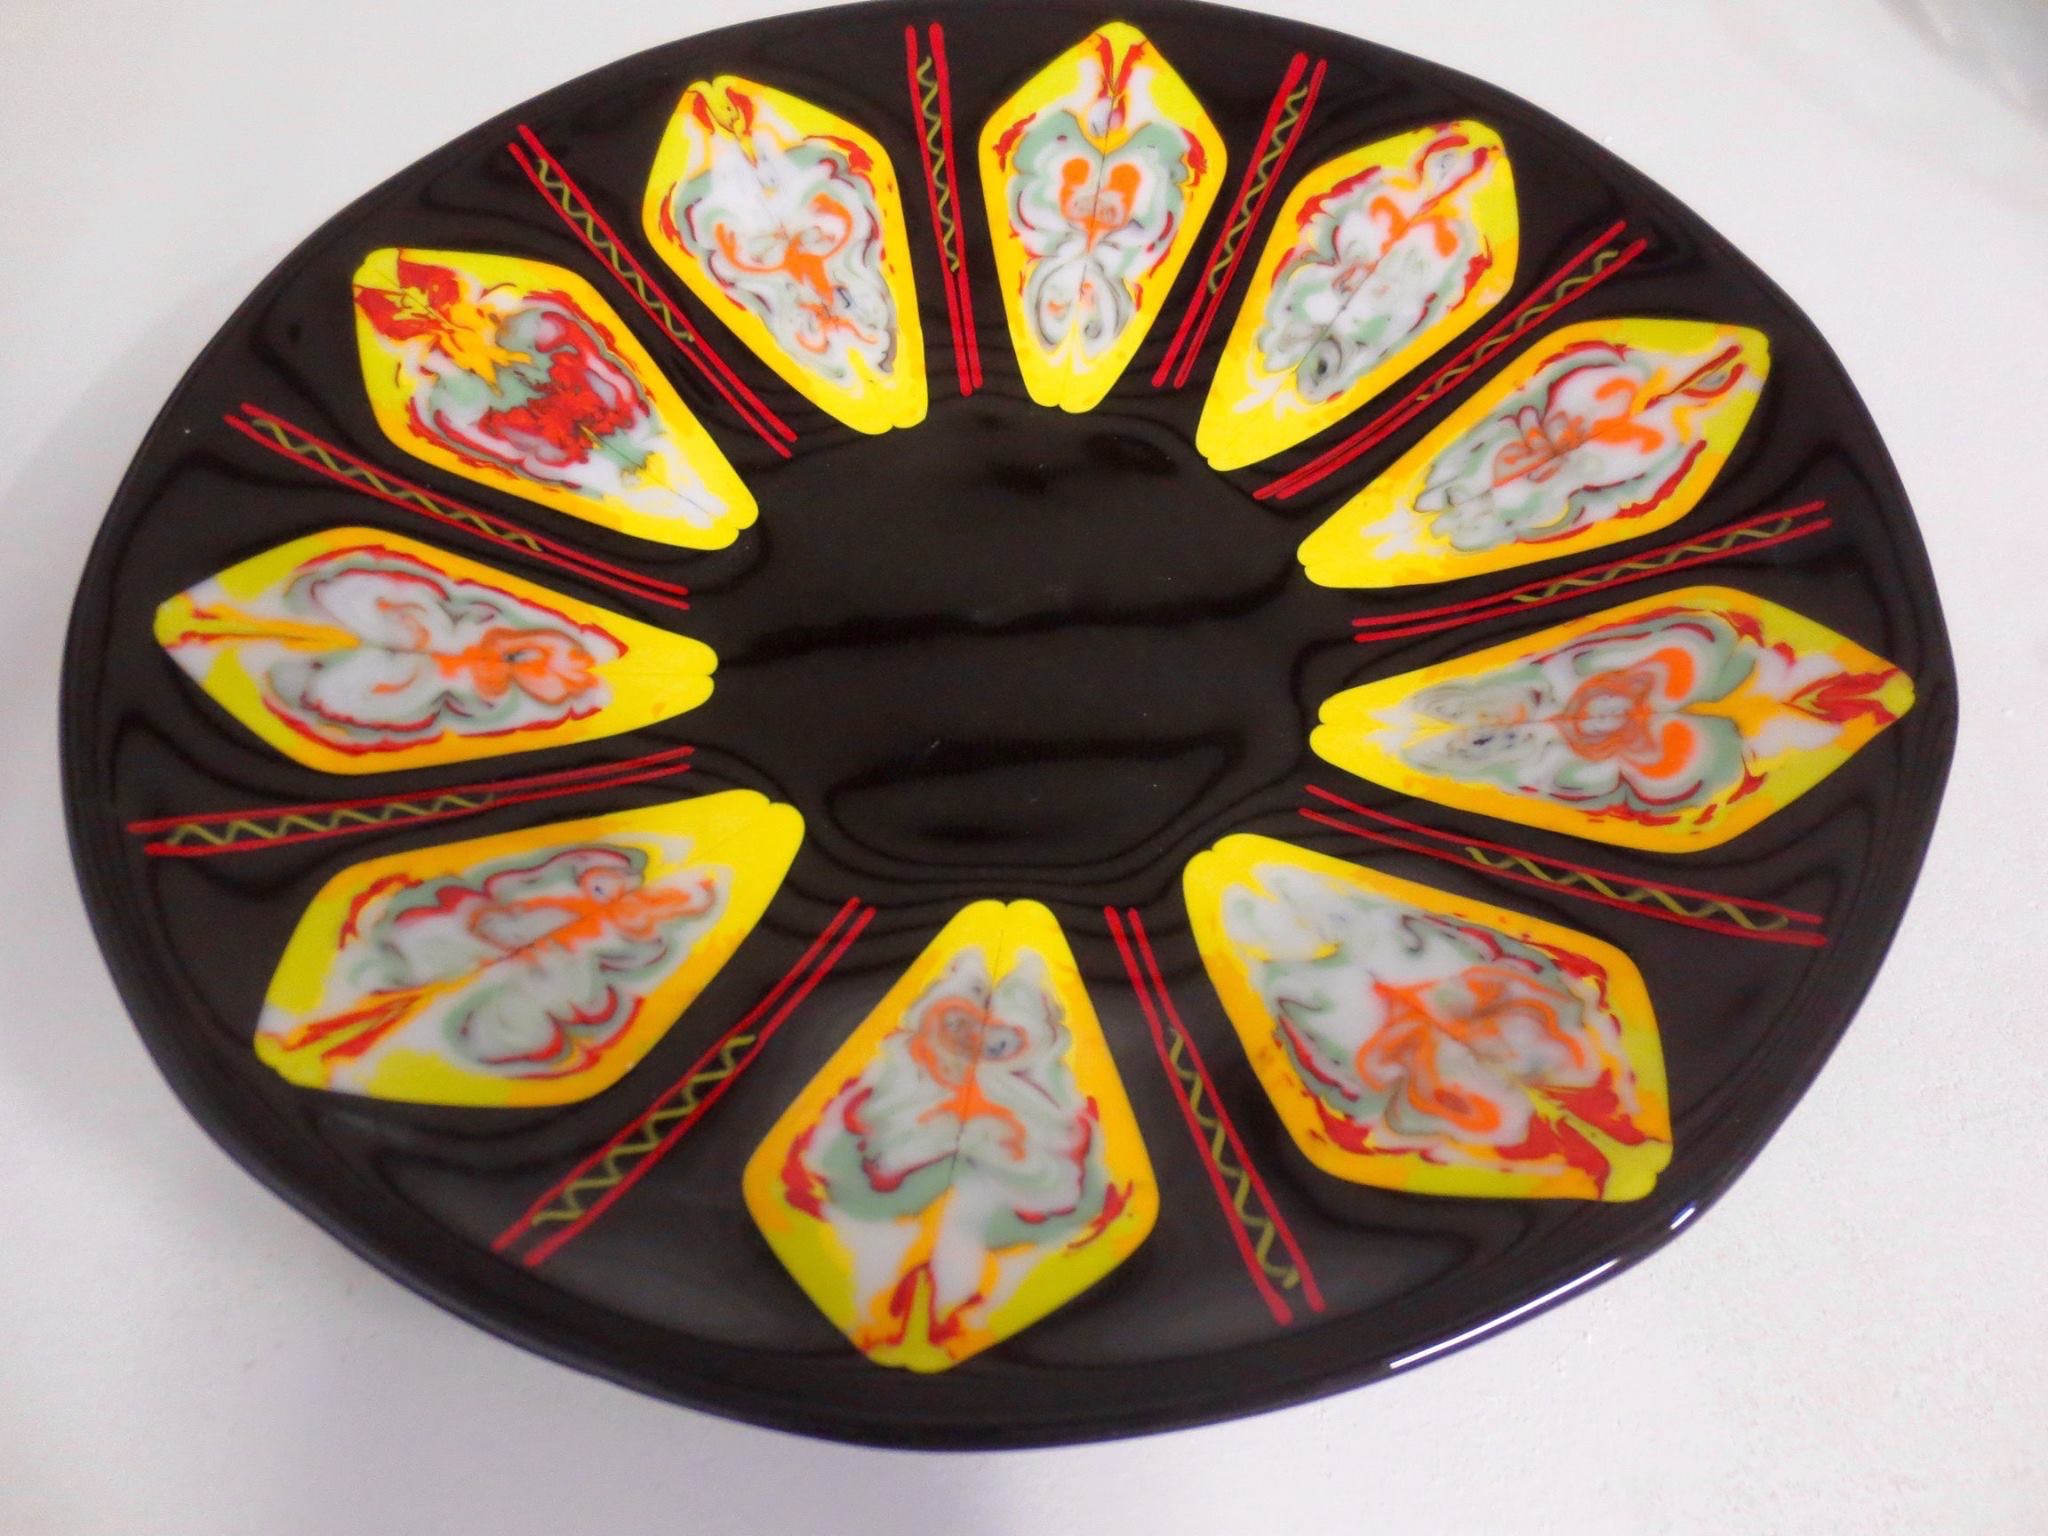
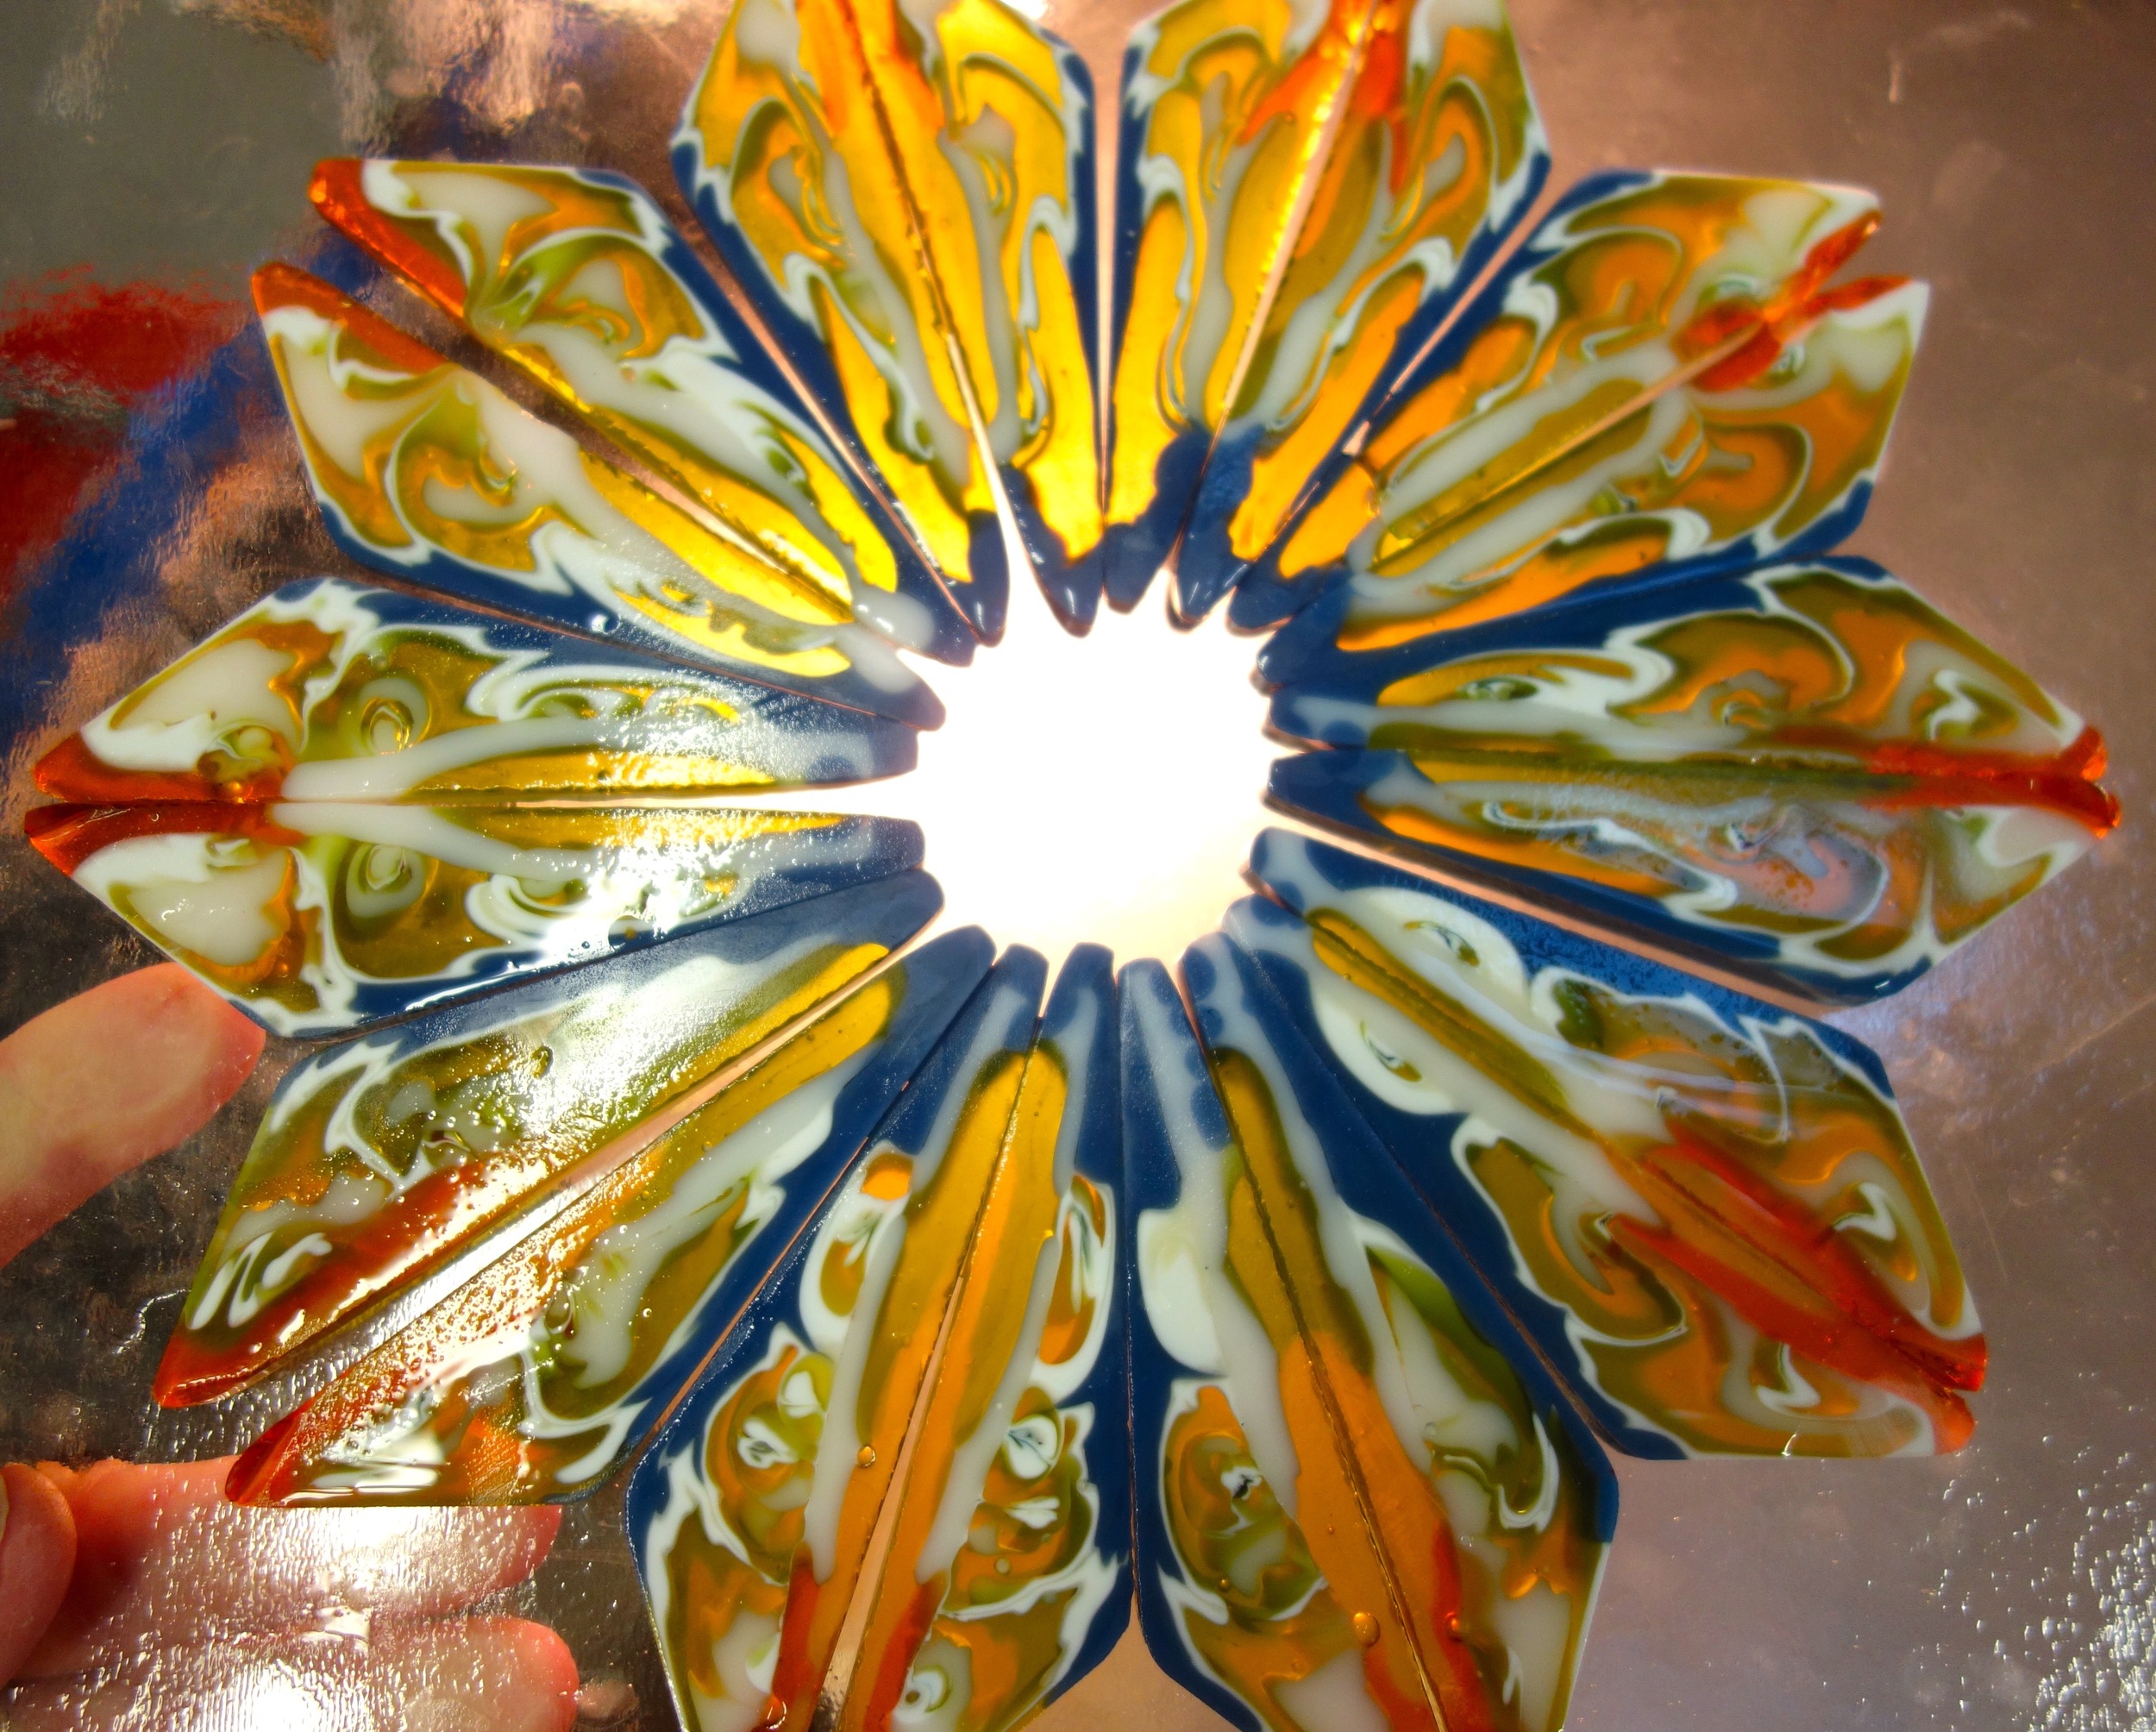
When slicing I suggest matching them up in pairs right off of the saw. Love the reverse images!
After slicing you still need to hit all of those edges with at least a diamond hand pad. Get them as clean as you can. I also use a green very course scrubbie and a wire brush. Some people soak them overnight in vinegar but I have a flat lap so I do not. When building them into a piece the very last thing I do is to sift clear powder just over the bars. A nice layer. This keep the surface pretty perfect for me! I then full fuse starting out slow especially on my larger thick pieces which have 2 layers of glass under the bars. When I do work like these large involved pieces I fire very conservative.
My schedule is:
100/800 no hold
350-1100/hold 45
50/1225/hold 60
450/1480/hold 20 (this is for 96 add time for 90)
9999 to anneal hold 3 hours
50/800 0 hold (This is an important step. this is a thick piece. the center is thicker than the edges. this cooling rate is slower than usual but it works. why risk your piece going any faster)
100/600 off You do not want to open this kiln until 100. It will be worth the wait!
If you are doing smaller work with your bars you can adjust accordingly!
I also sprinkle clear powder between the large sheets of base glass to prevent any bubbles.
If you appreciate this tutorial let me know and please share with friends who have bought our Obtuse Pattern Bar Former. I would love to see pictures of what you are making!!