Hearts!!!!

Today I am going to begin a Heart tutorial. As new hearts come out of the kilns I will add to this so be sure to check back.
We are making the hearts in 3 sizes. 6", 8" and 10". We making the stainless formers 2" deep.
The finished weights on these for now after coldworking are:
6" HeartI am making these for a wall project so mine are 1/2" thick and weigh 468 grams. so right around a pound.
8" Heart at 1/2" thick = 1 2/3 lbs or 735 grams (this on was quite thick but I also refired it in a full fuse after the original melt and I loved it!!)
10" Heart at 3/8" thick = 2 1/2 lbs or 1140 grams
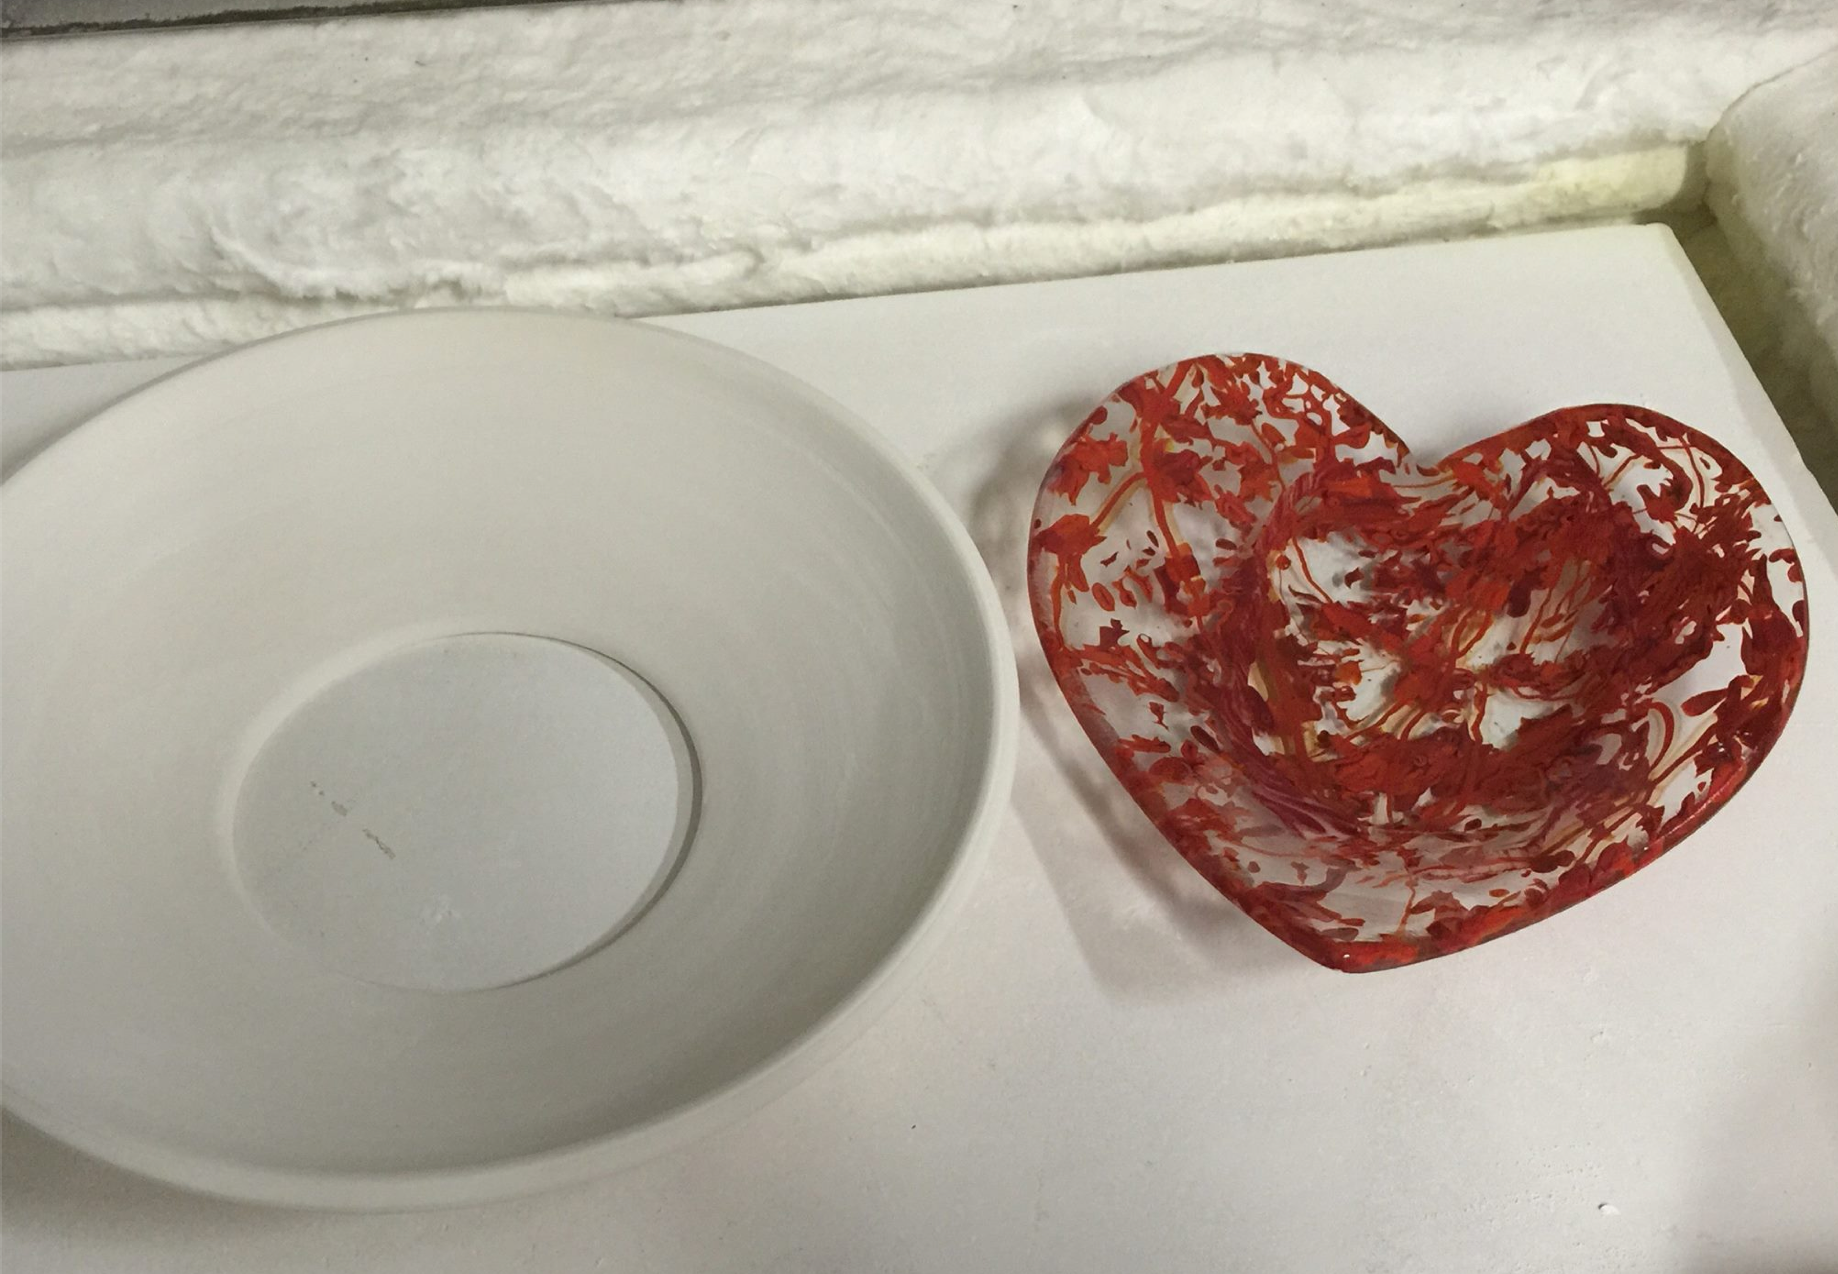
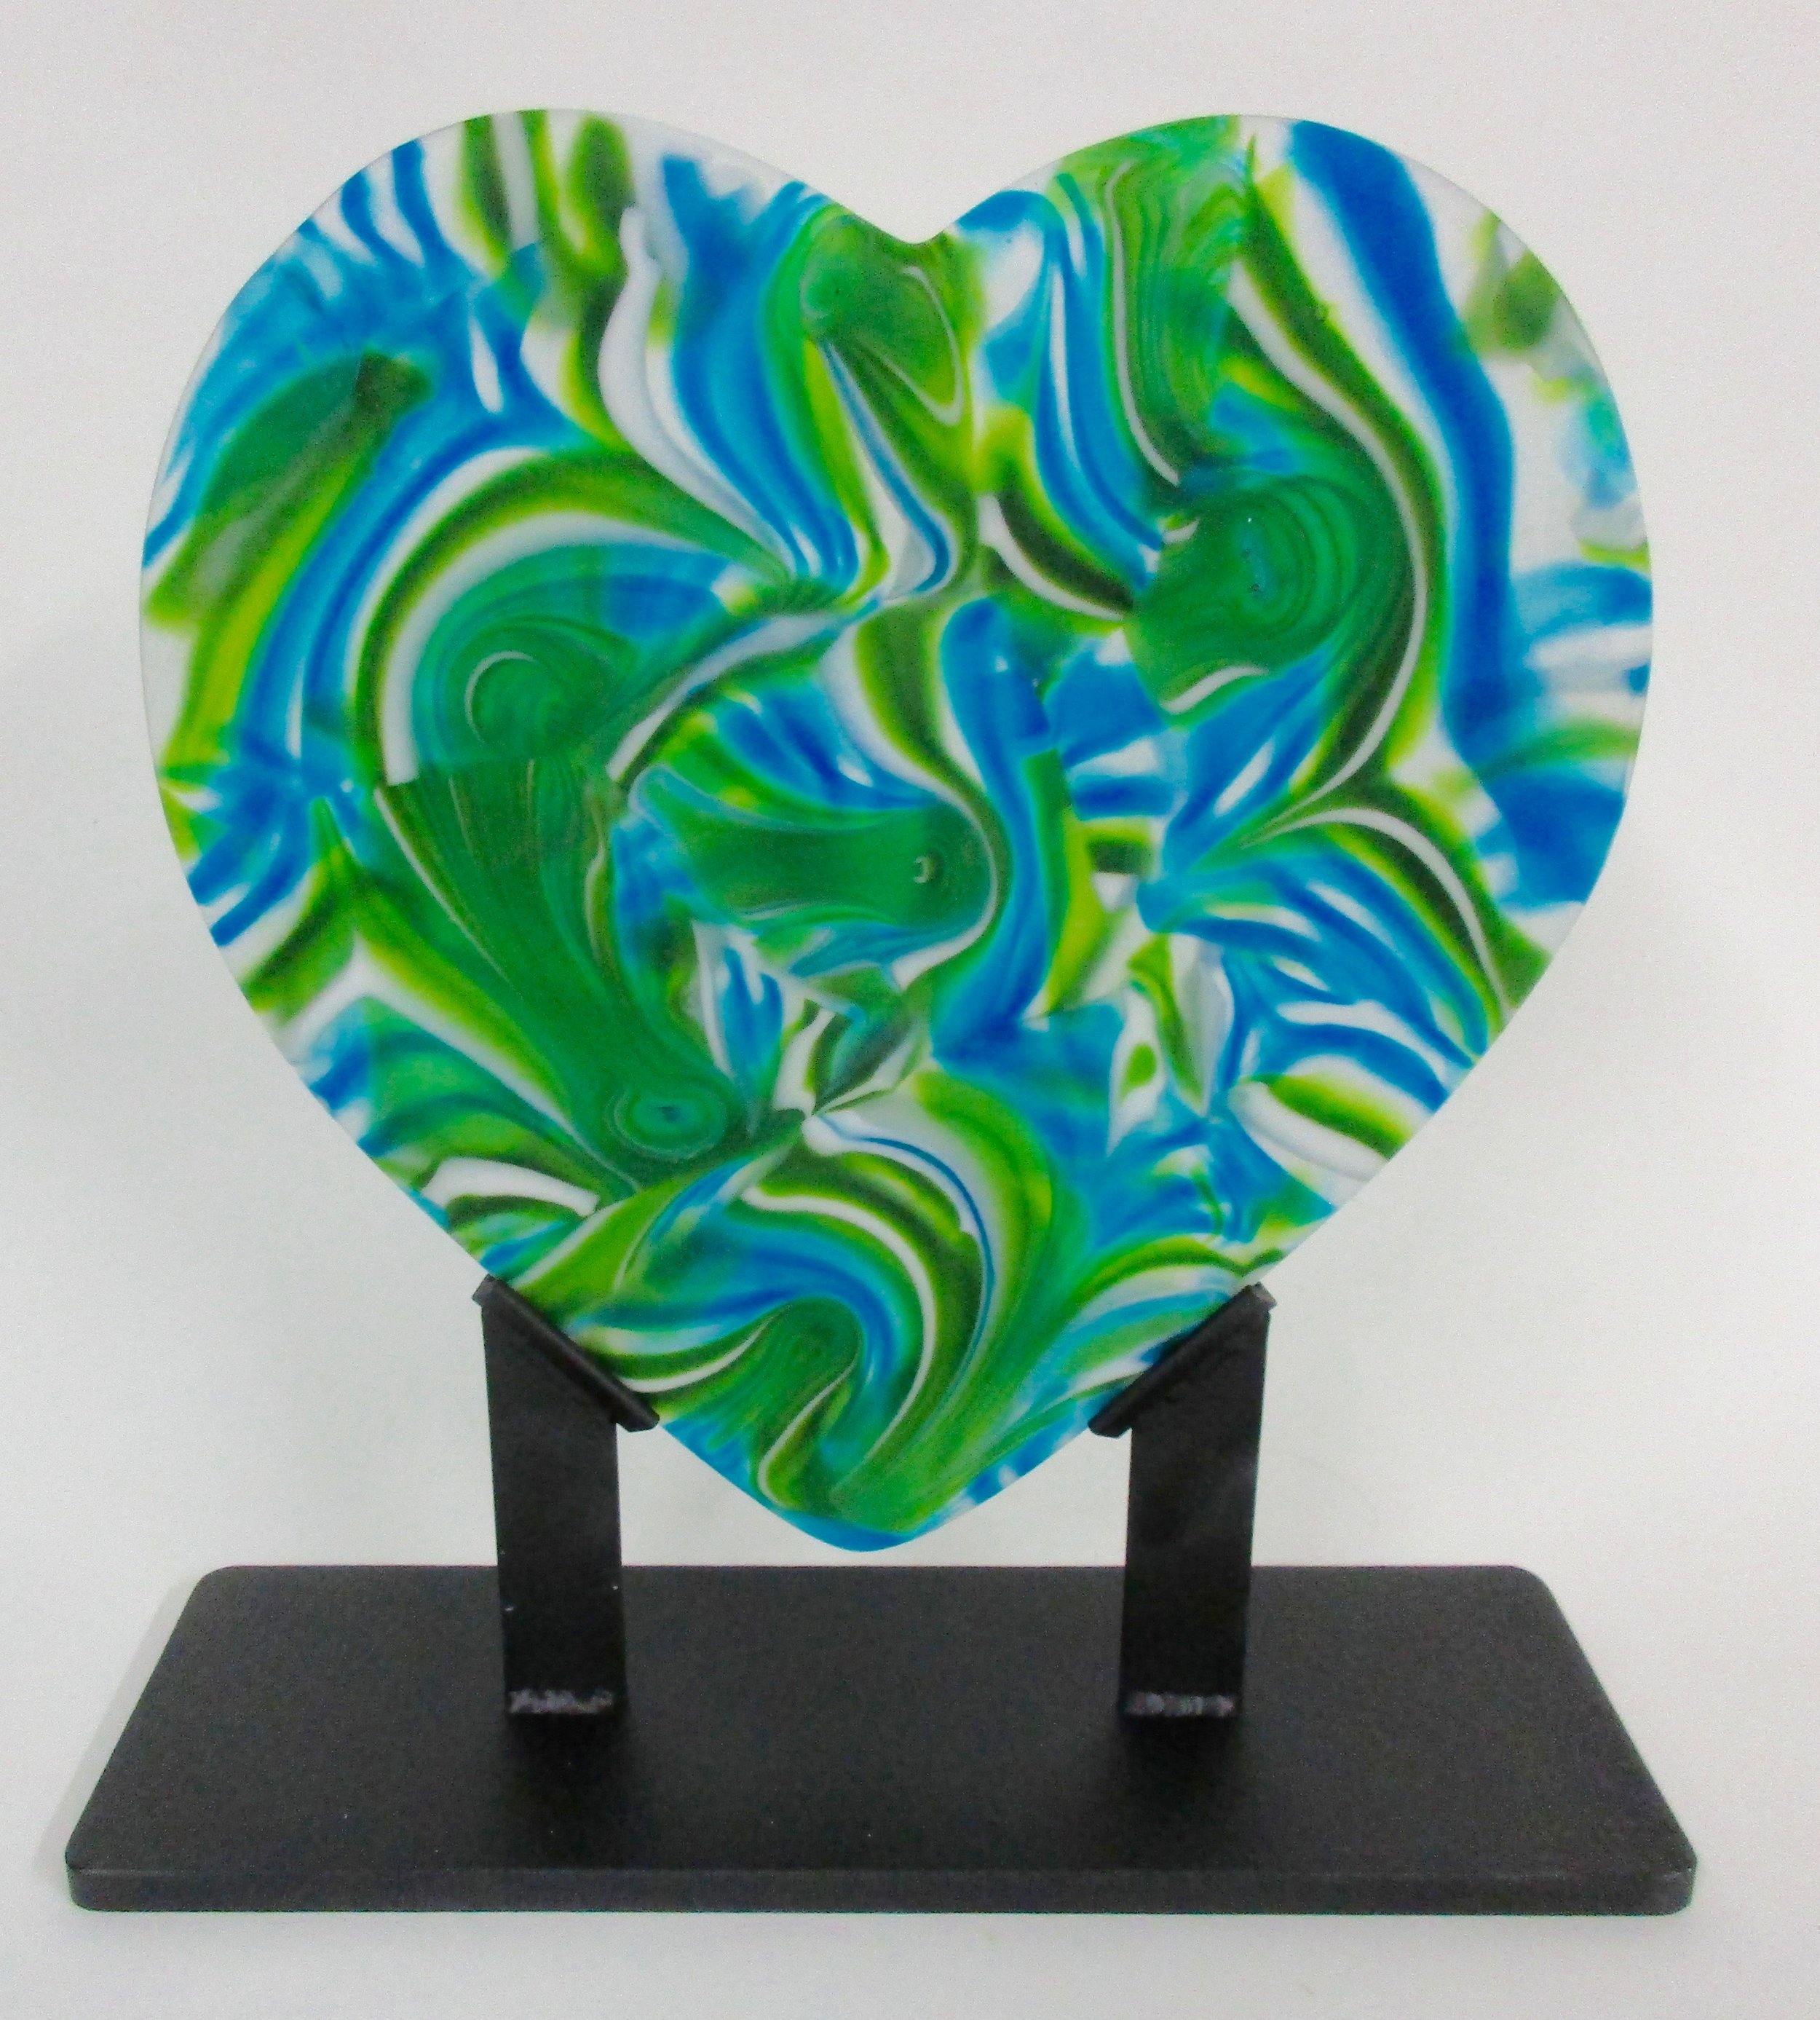
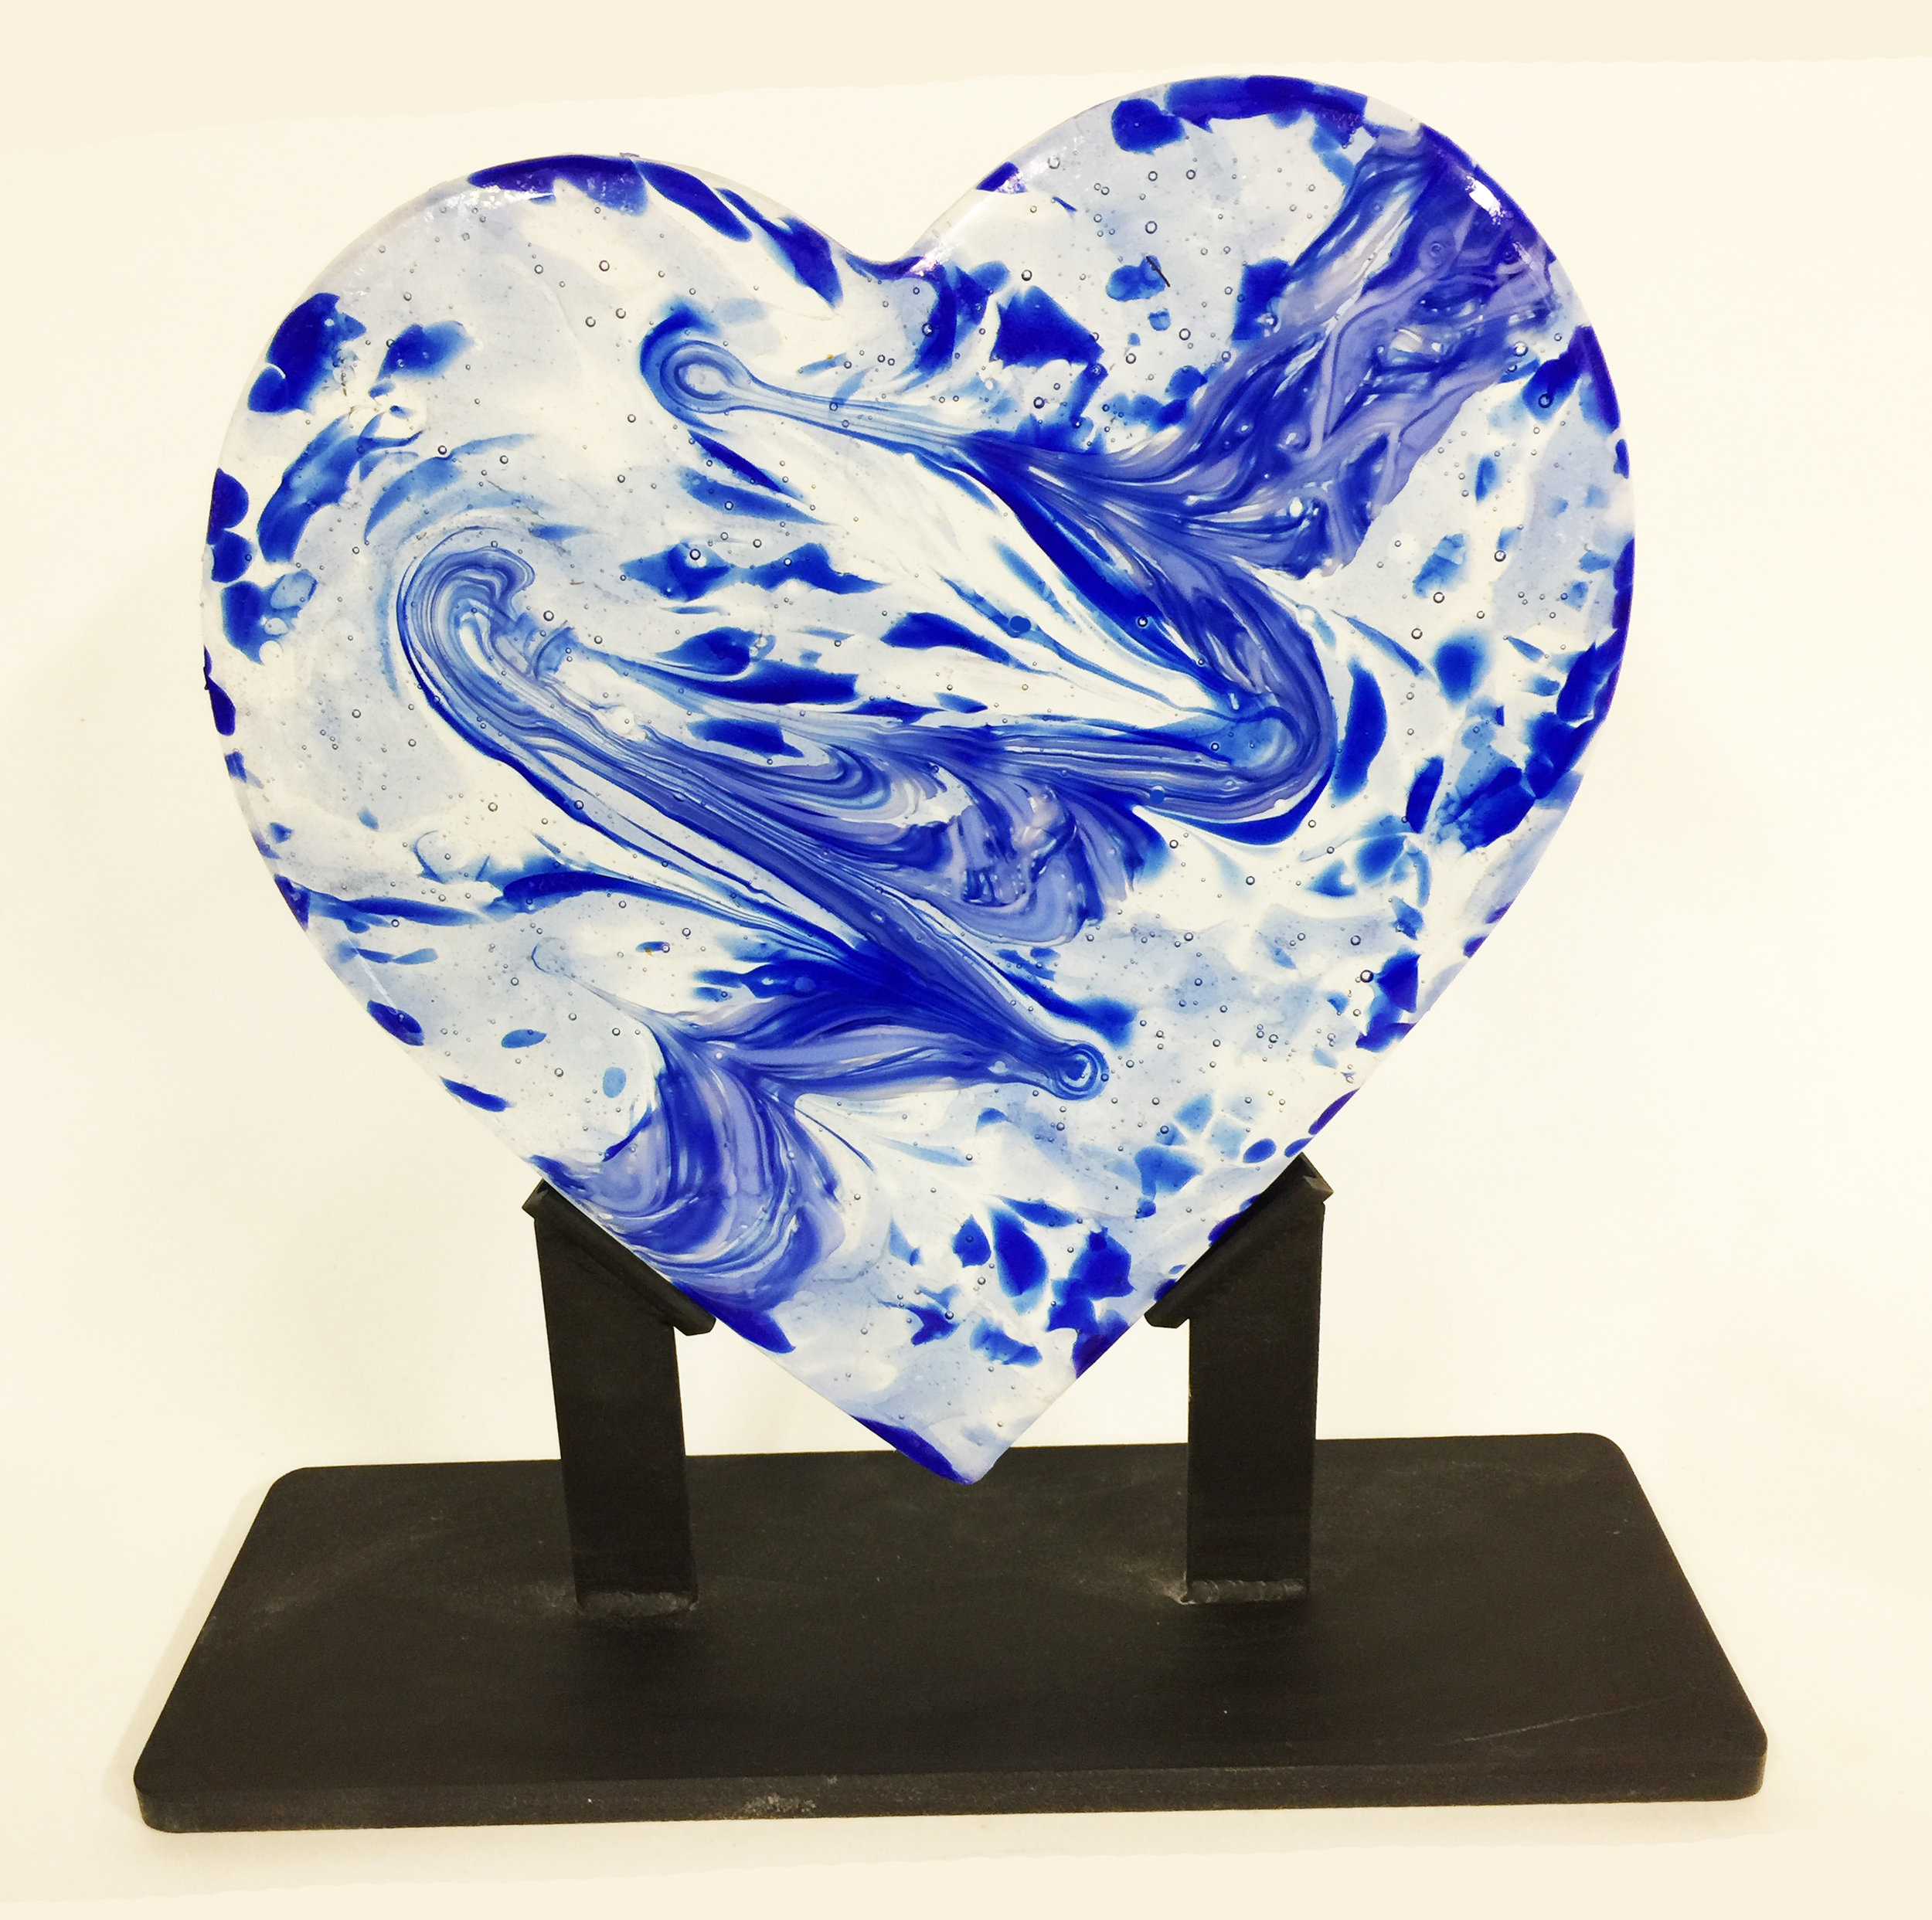
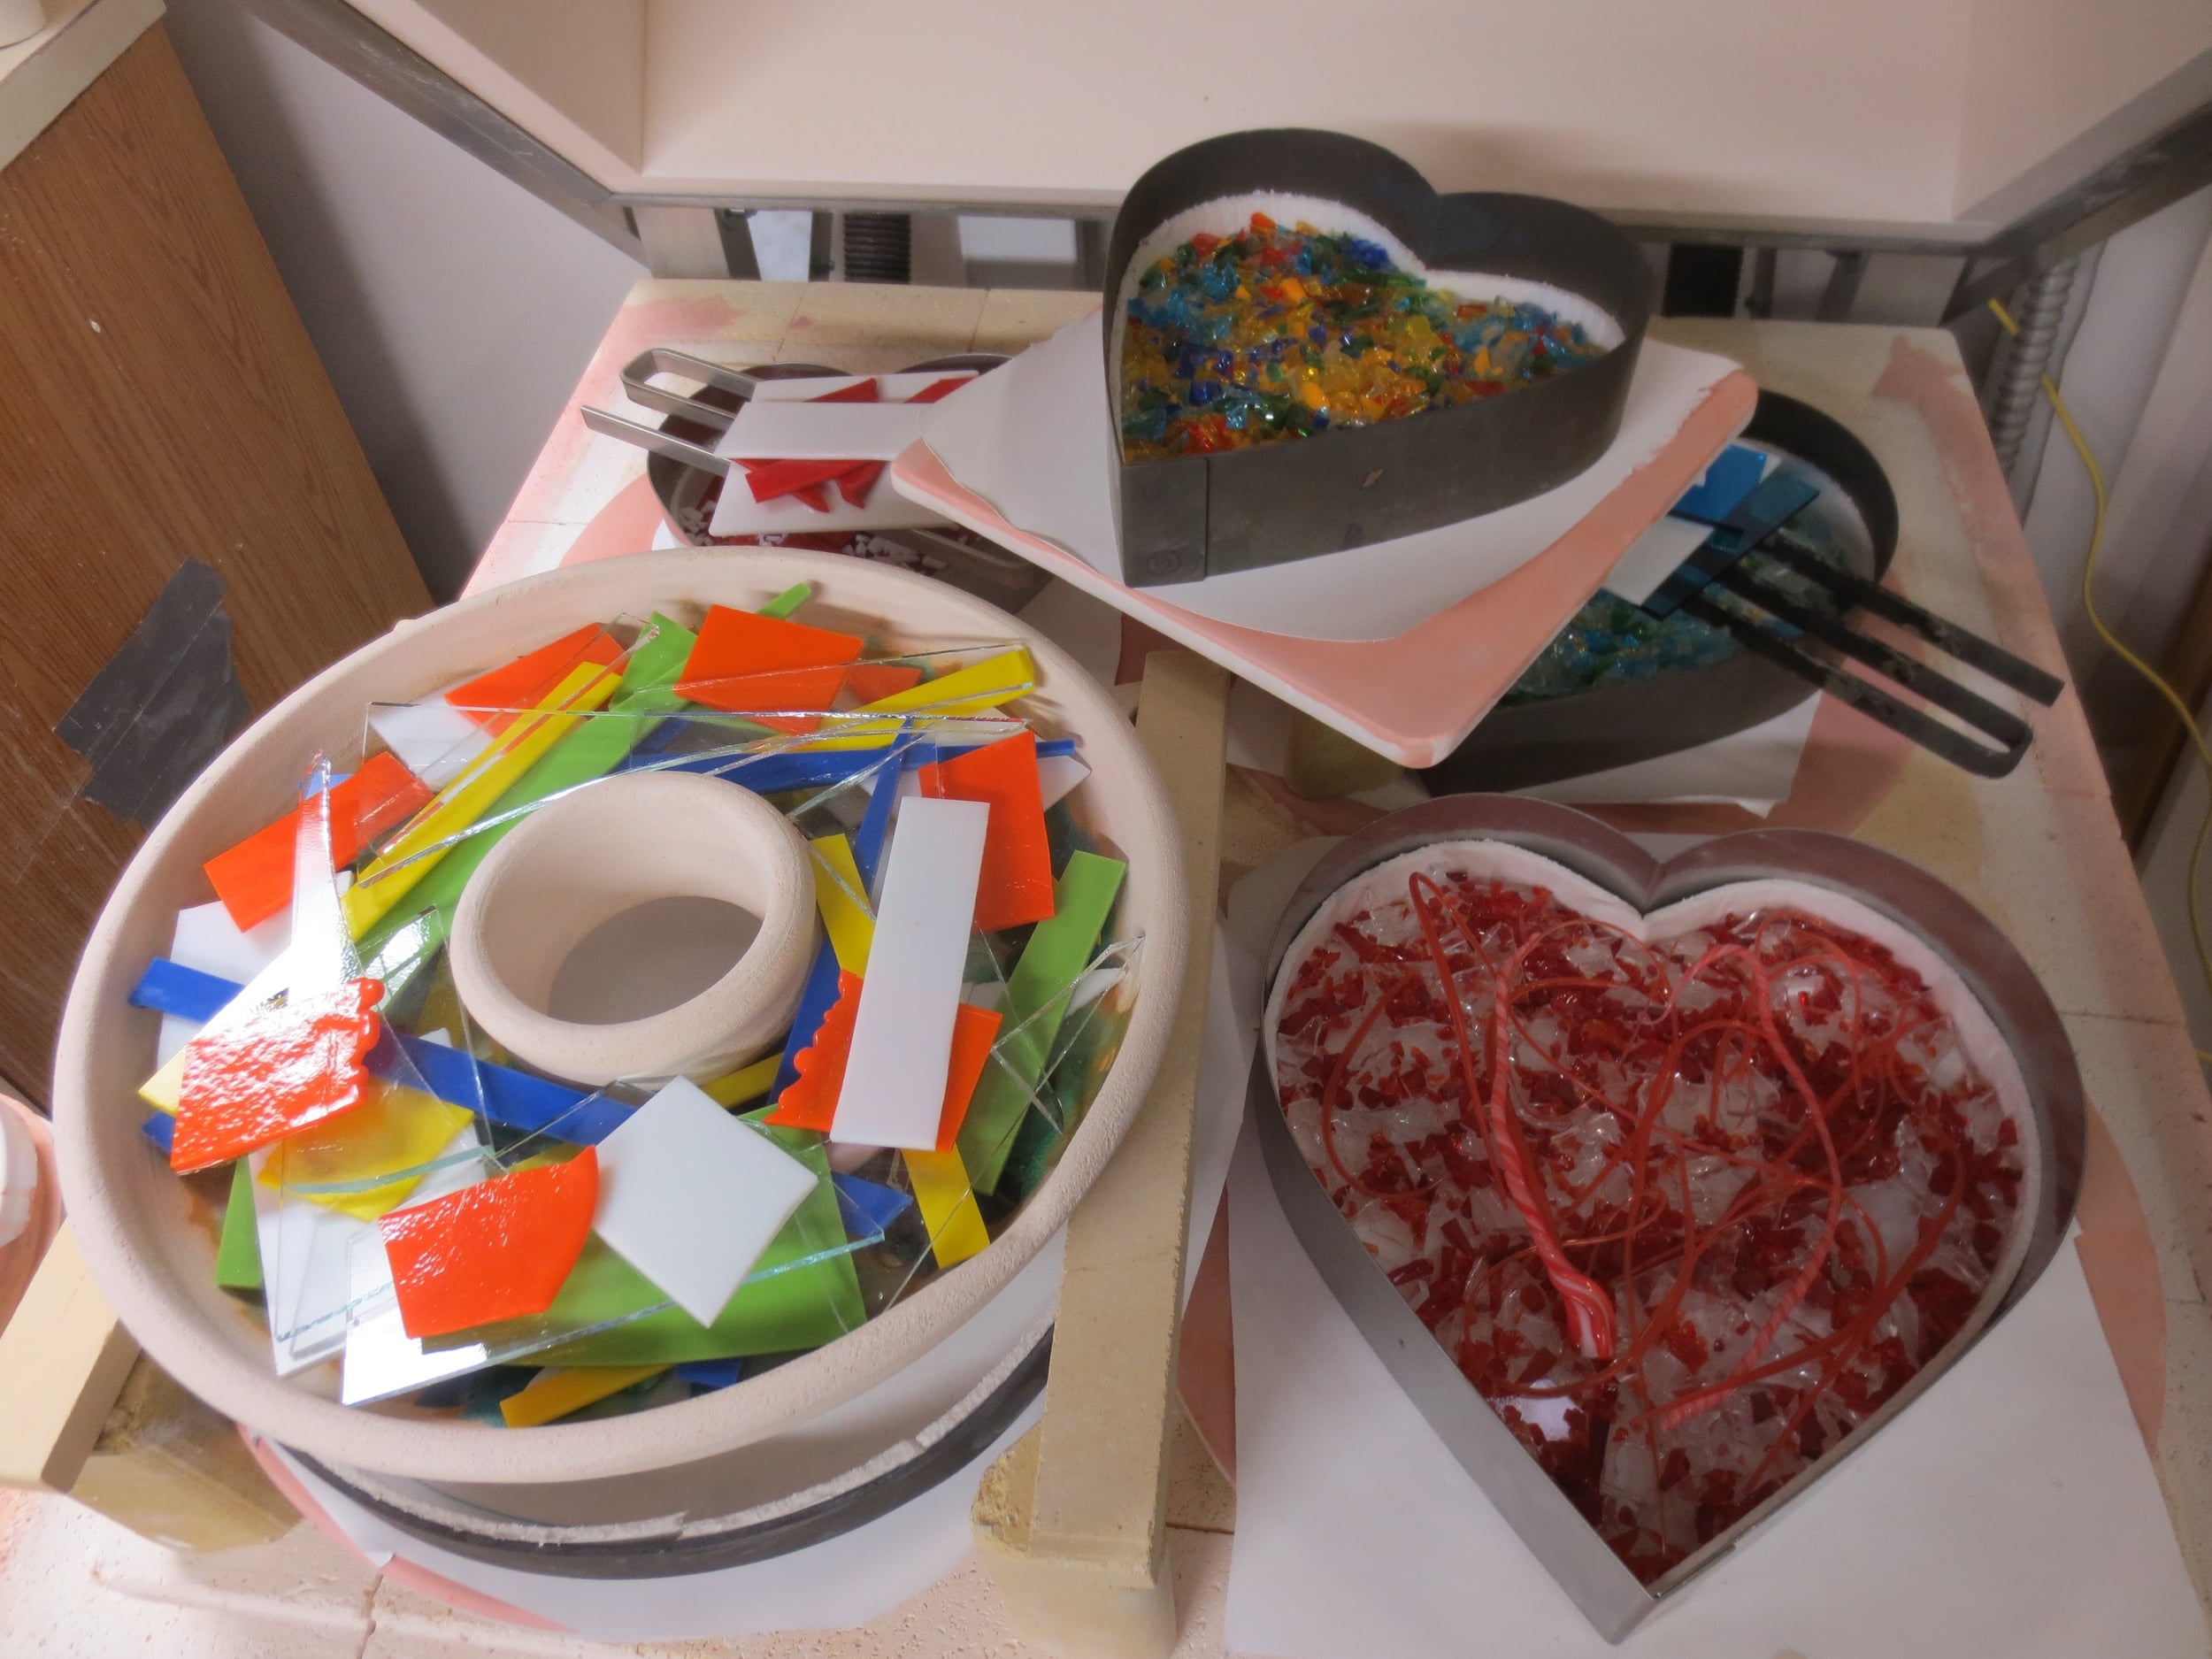
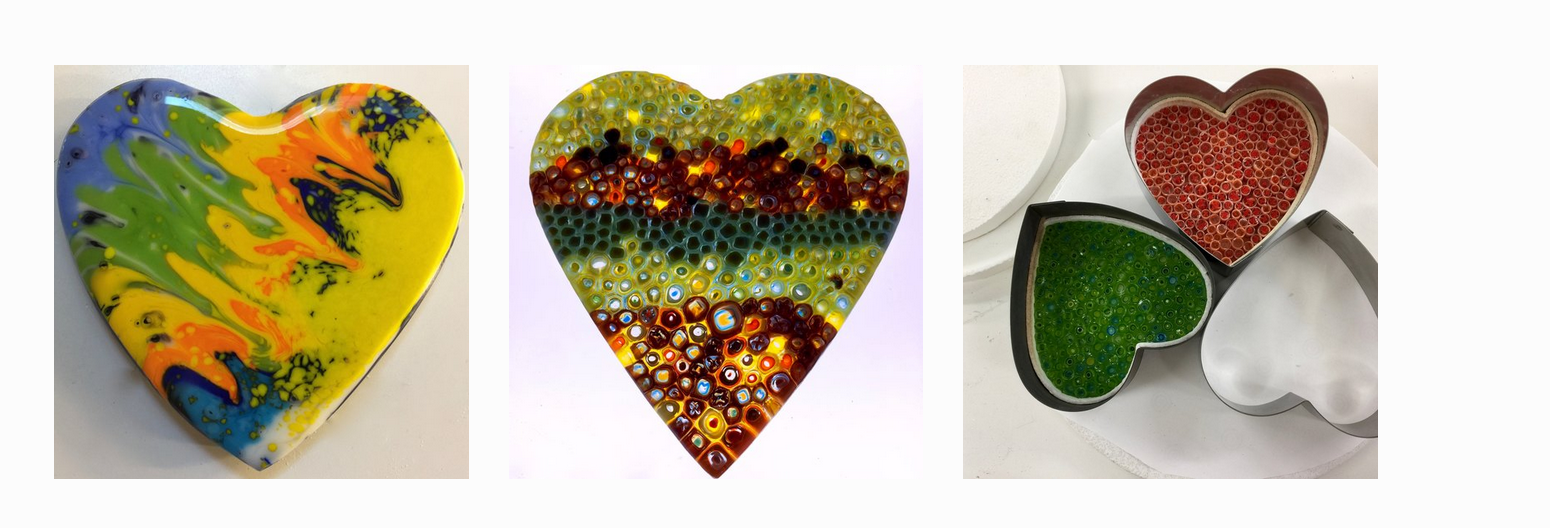
Front melt: (in the top picture)
On this picture you can see the front heart is the 10". I used a totally clean kiln shelf and put 4 layers of kiln wash on it. No drying between layers is needed. After the 4 layers I did dry it in the kiln empty while I was doing other things.....I then placed our stainless steel heart on the kiln shelf and lined it with a 1" strip of 1/8" fiber paper. Next I put the Bubble pot melt pot sitting right on top. No kiln wash or anything in the pot. I dripped directly onto the kiln washed shelf. I am going to guess it was around 60% white and 30% red and only 10% clear. The reason this had so little clear is that I did not want any empty spots in this finished melts with a lot of clear. On another melt with transparents I might choose up to 40% clear. If you look at the result in the picture above, you will see that if there had been any clear spots I do not think it would have been as nice. I did have kiln wash that stuck to the back of the melt.....as you usually do when you drip right onto kiln wash at these temperatures. The wash came off with a little scrubbing with a diamond hand pad. To avoid this you can cut out a blank of a clear heart and drip onto that....I was just in a hurry. To use a pot over a heart be sure to look down into the pot when it is sitting on the heart form to be sure all of the holes go to the inside of the fiber before filling with glass!
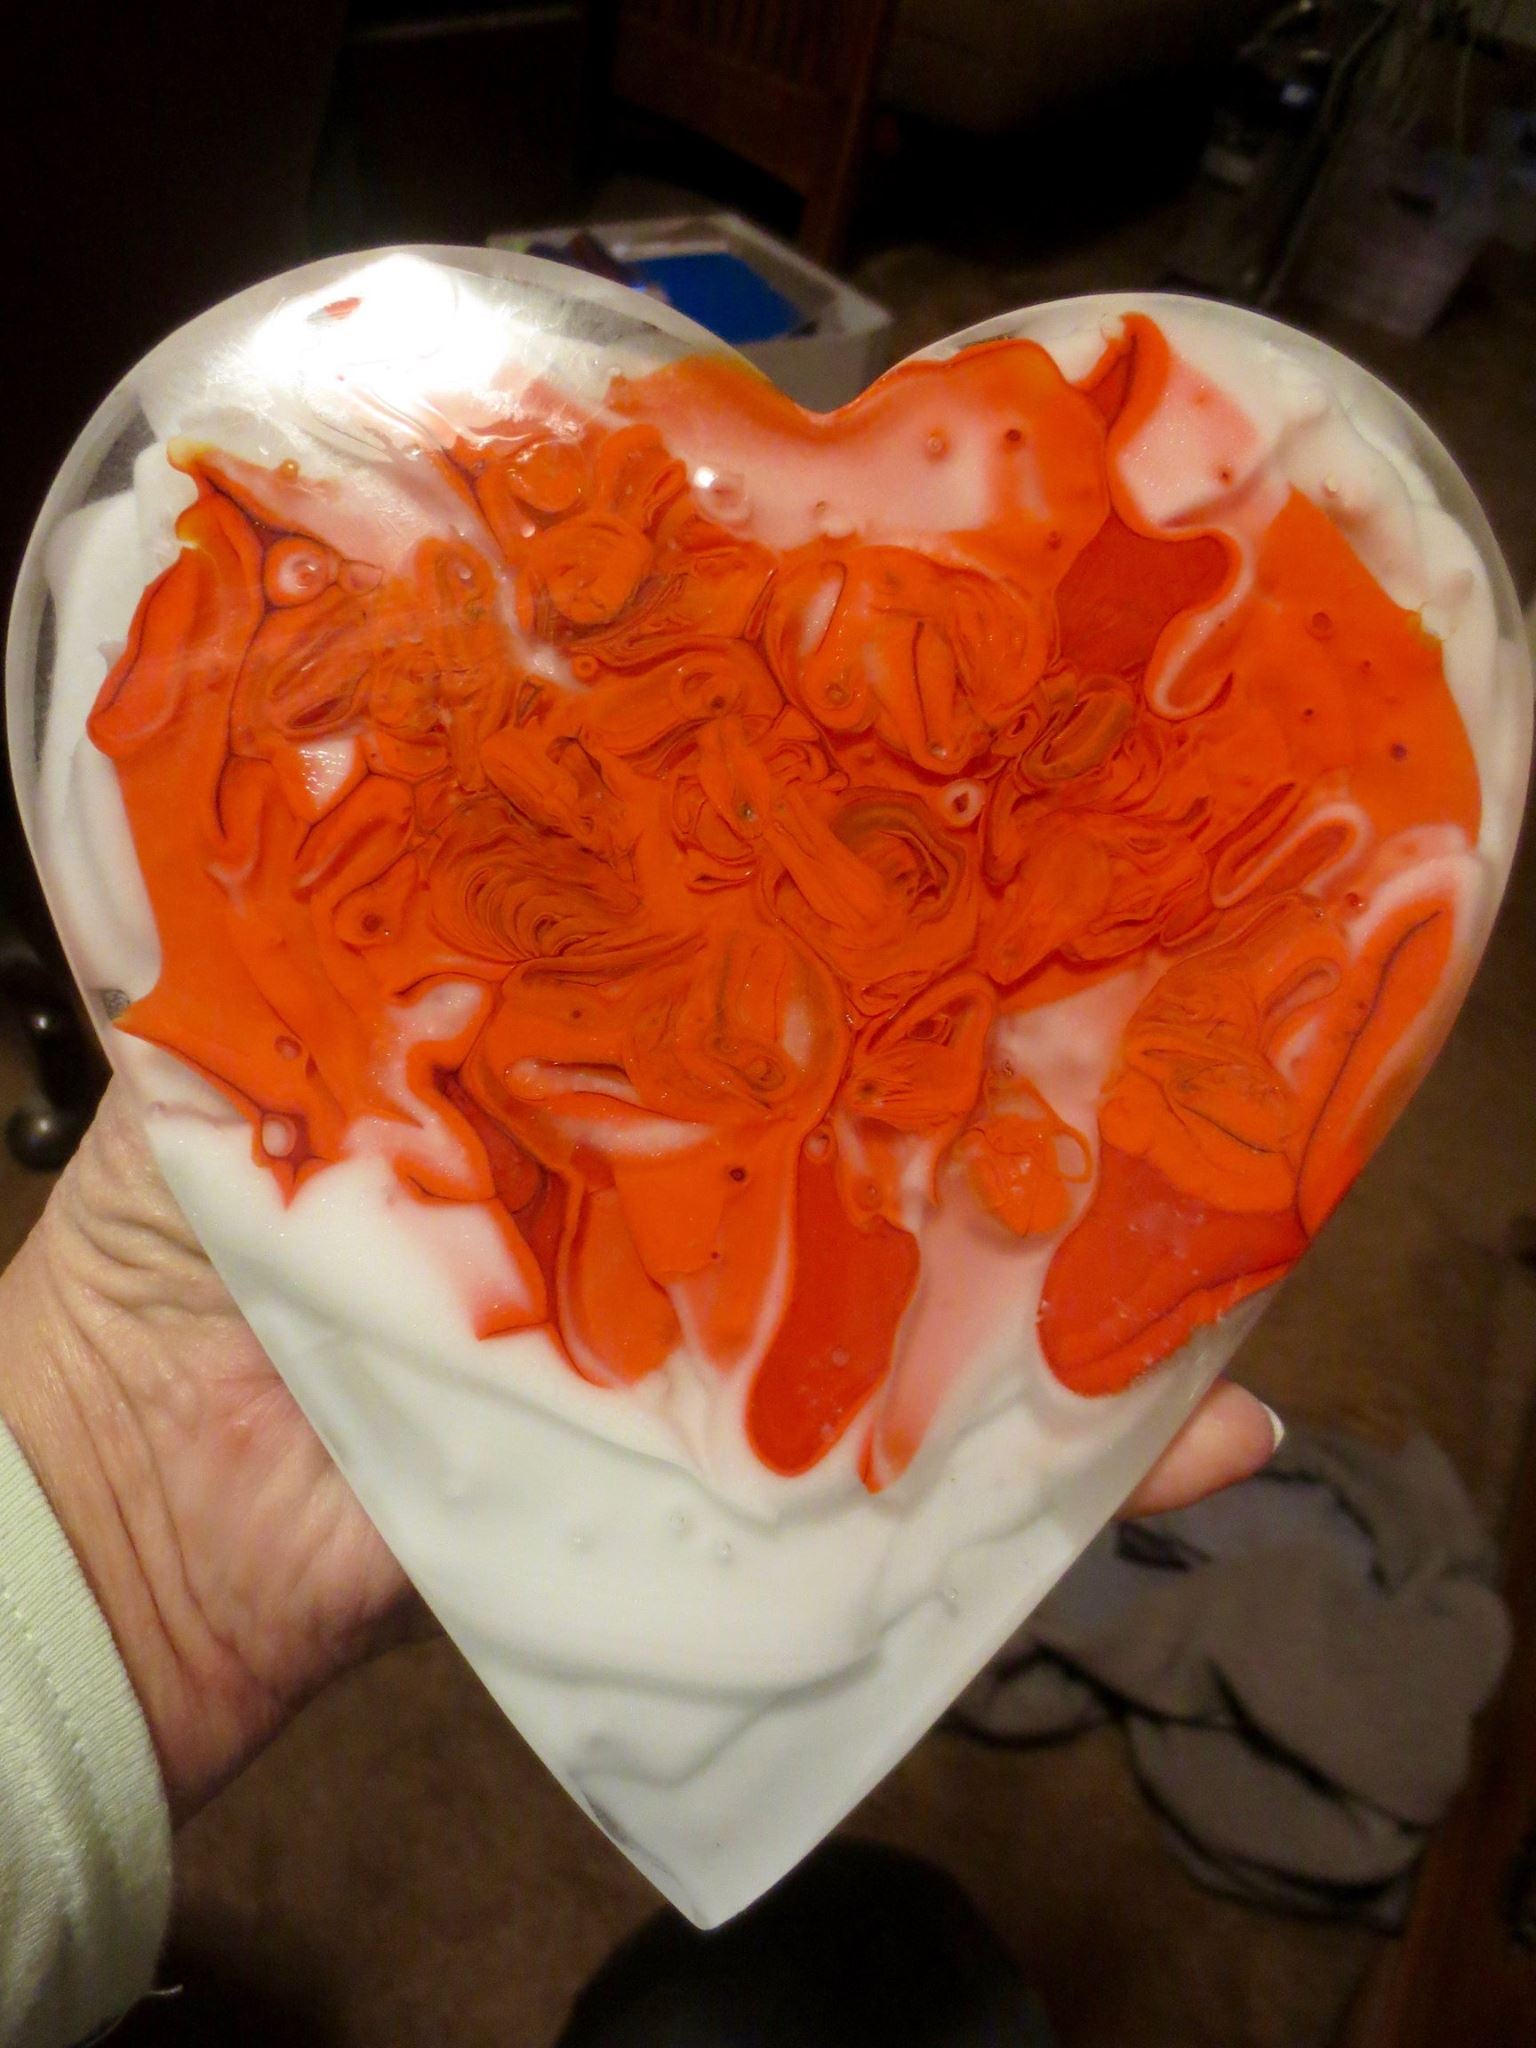
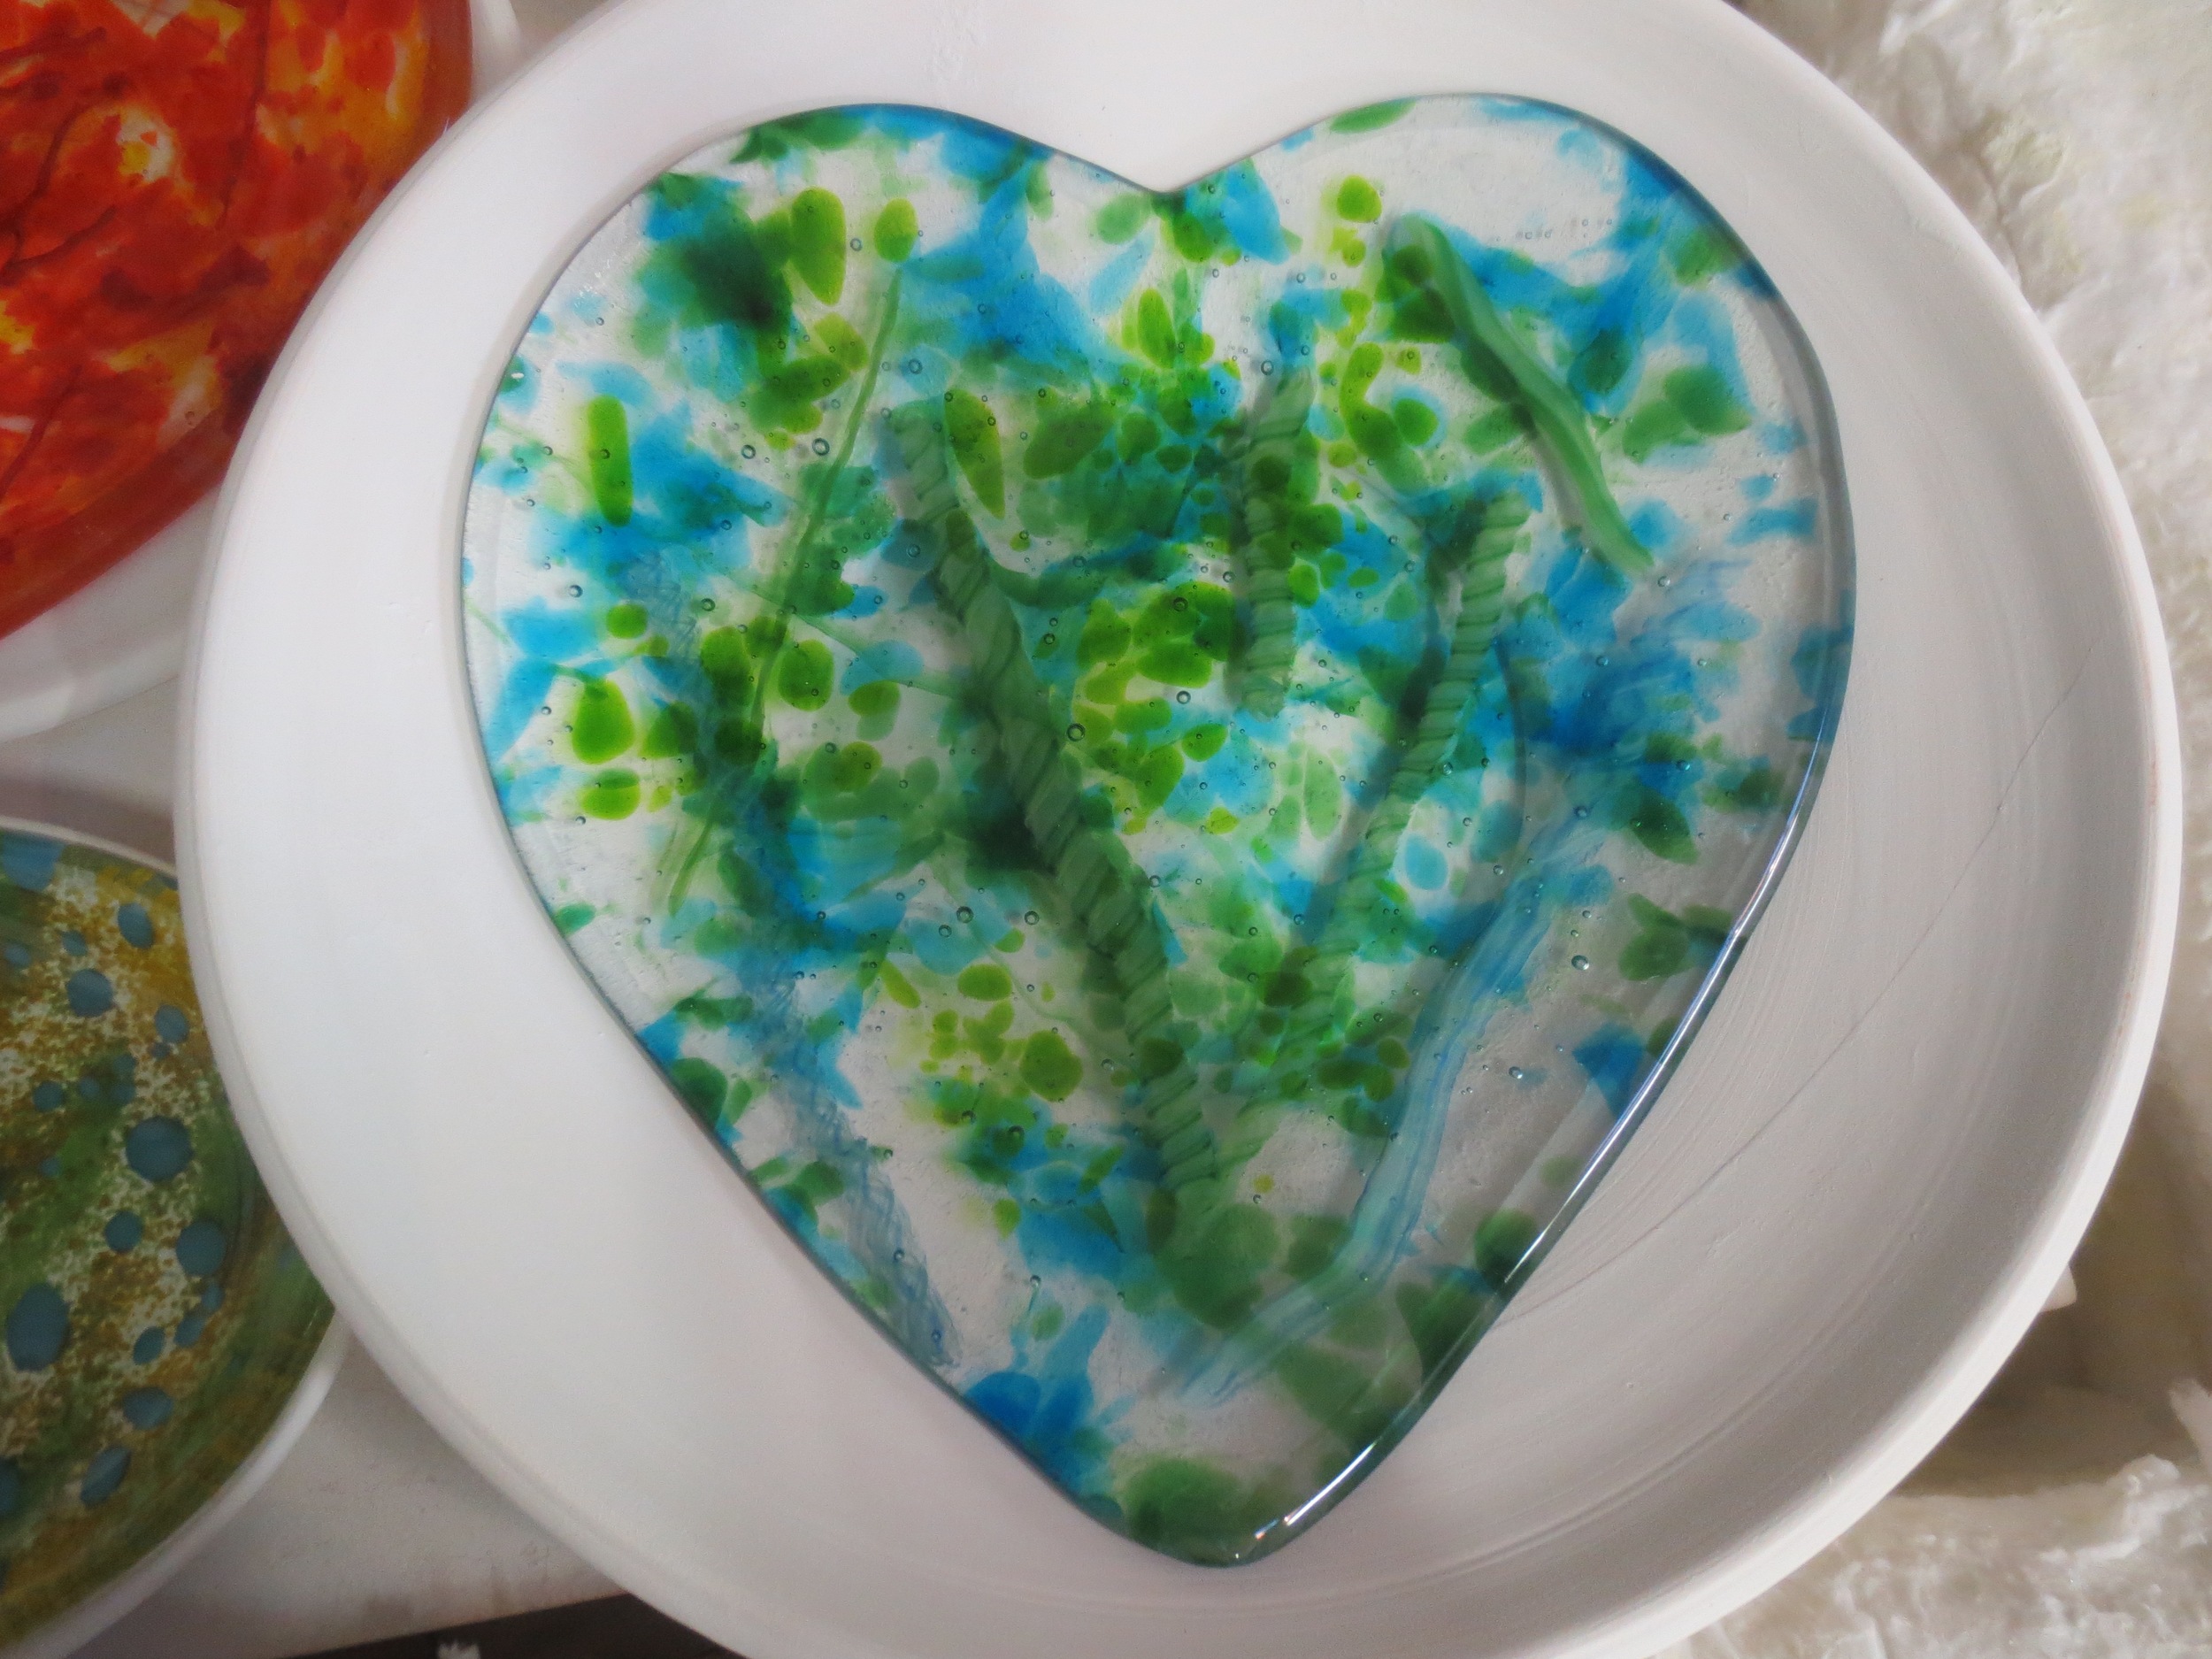
Next is the melt in the top picture.....back melt:
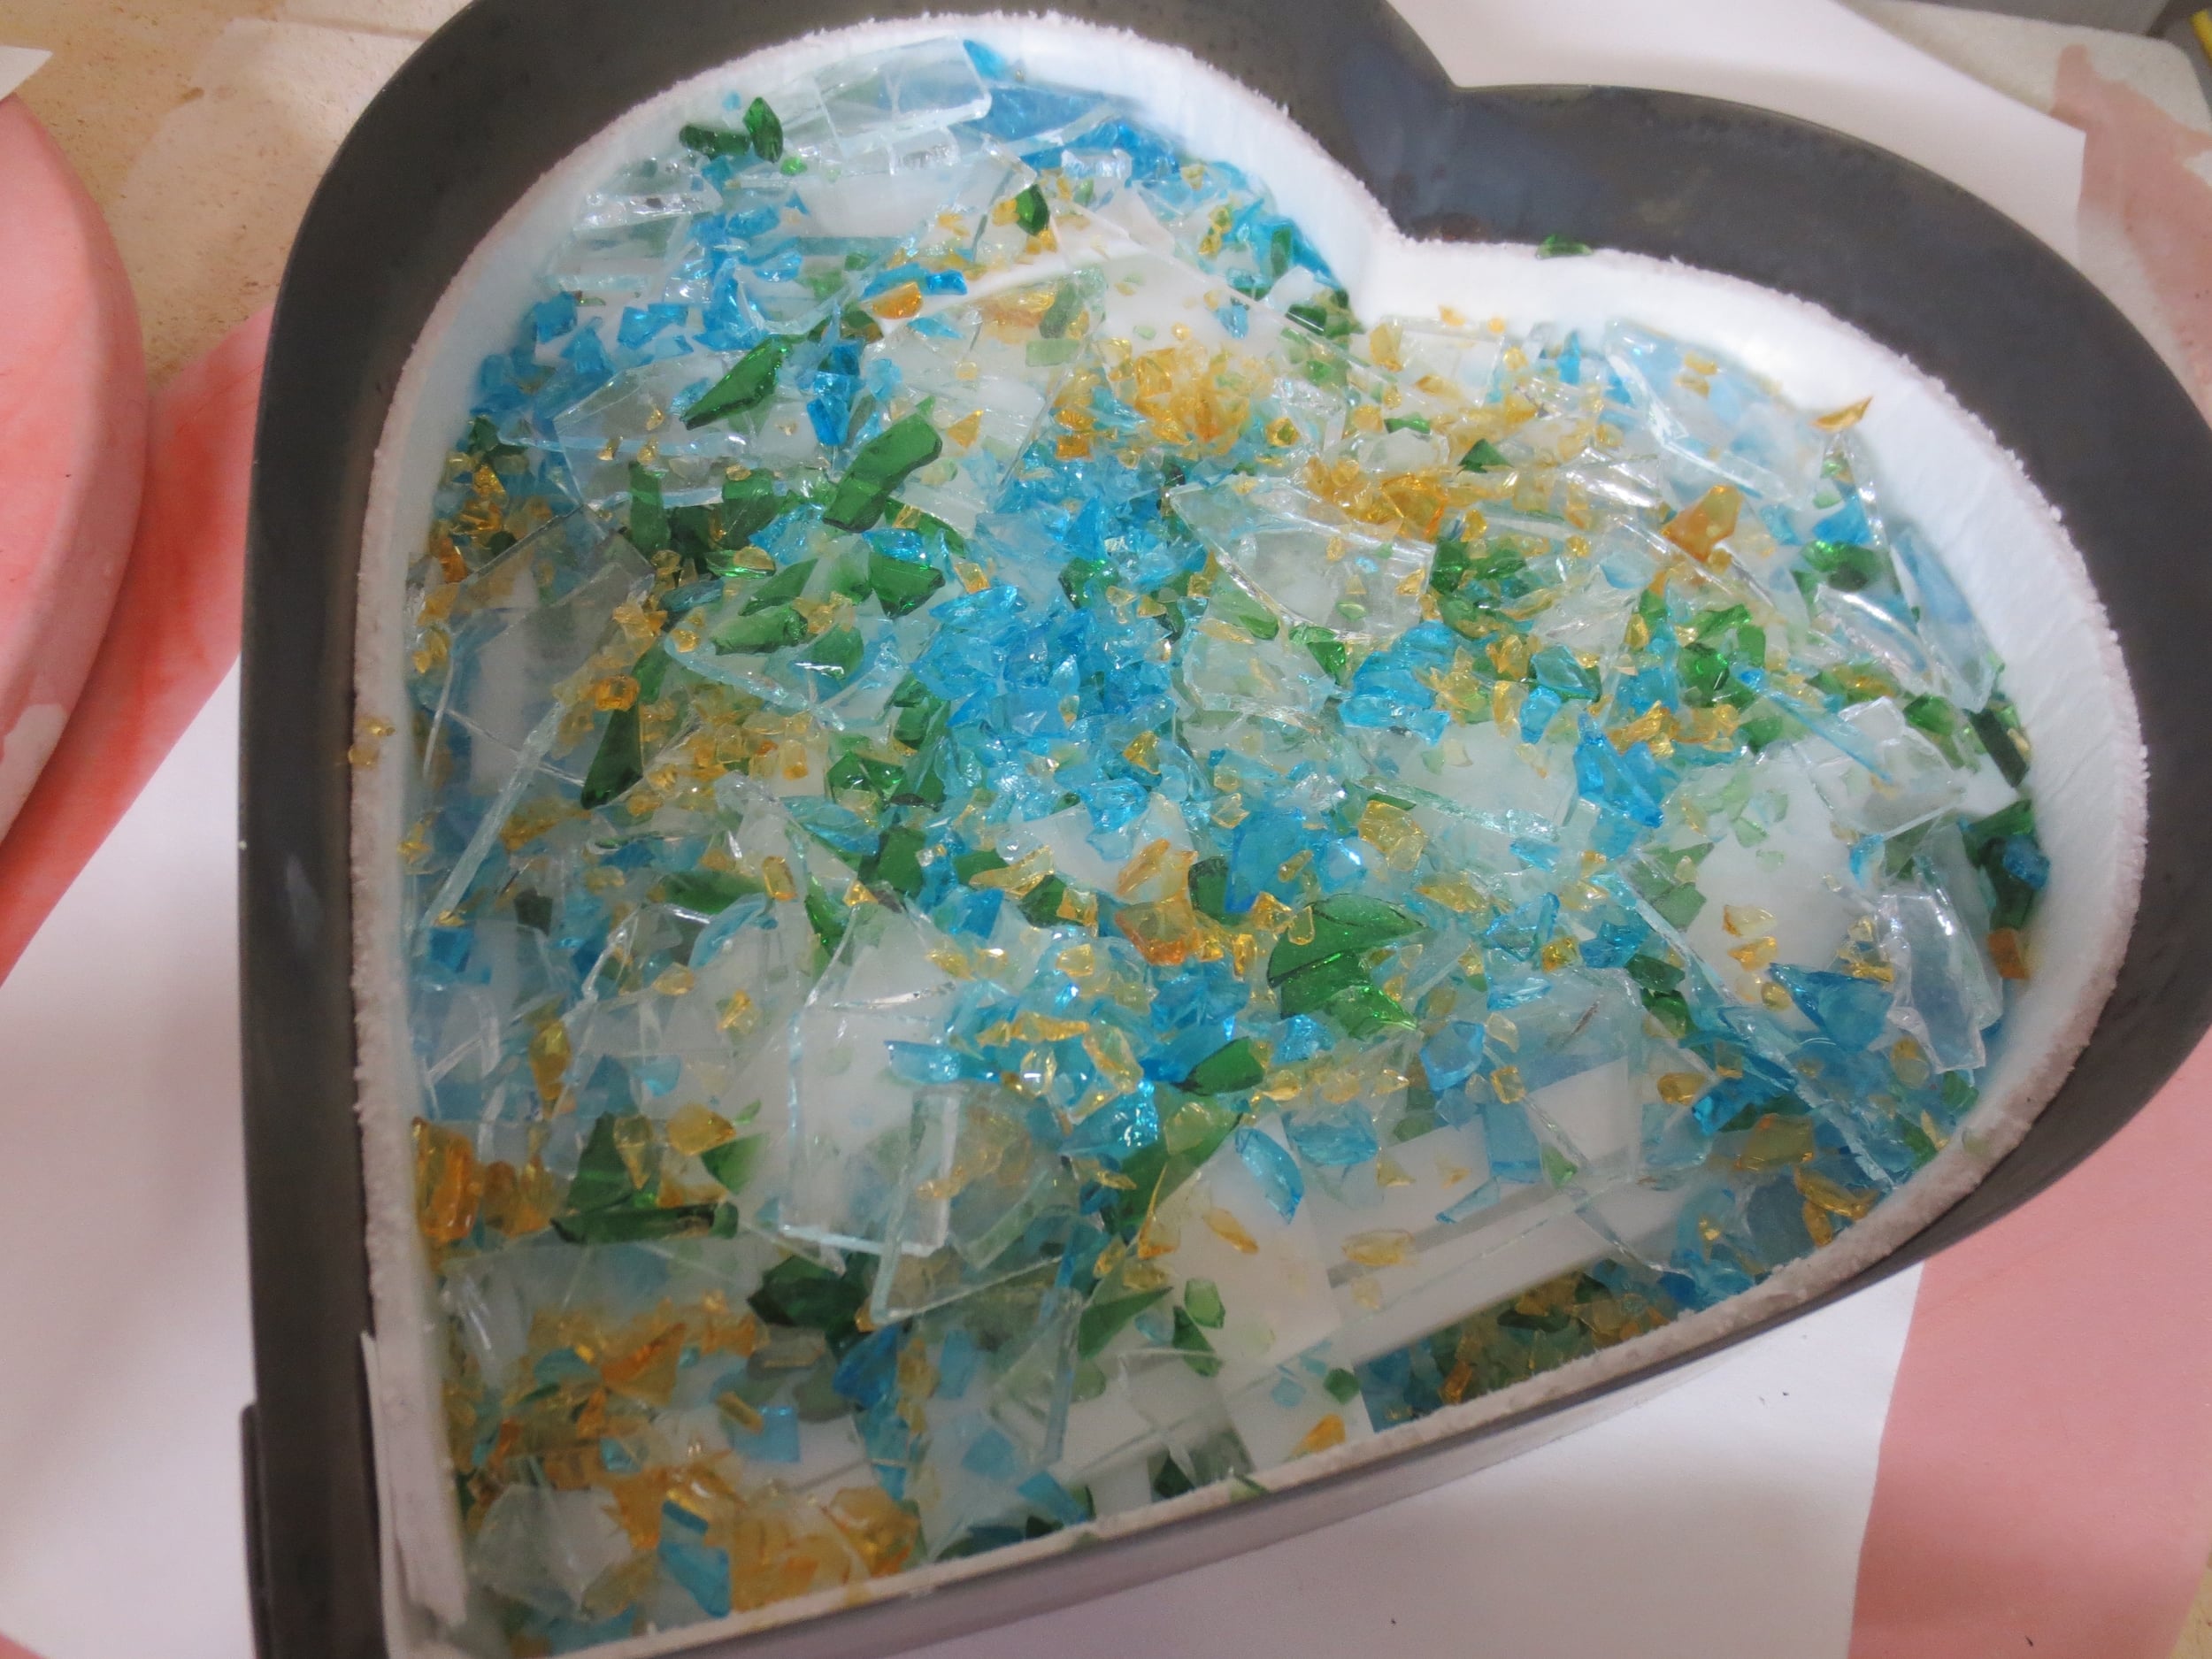
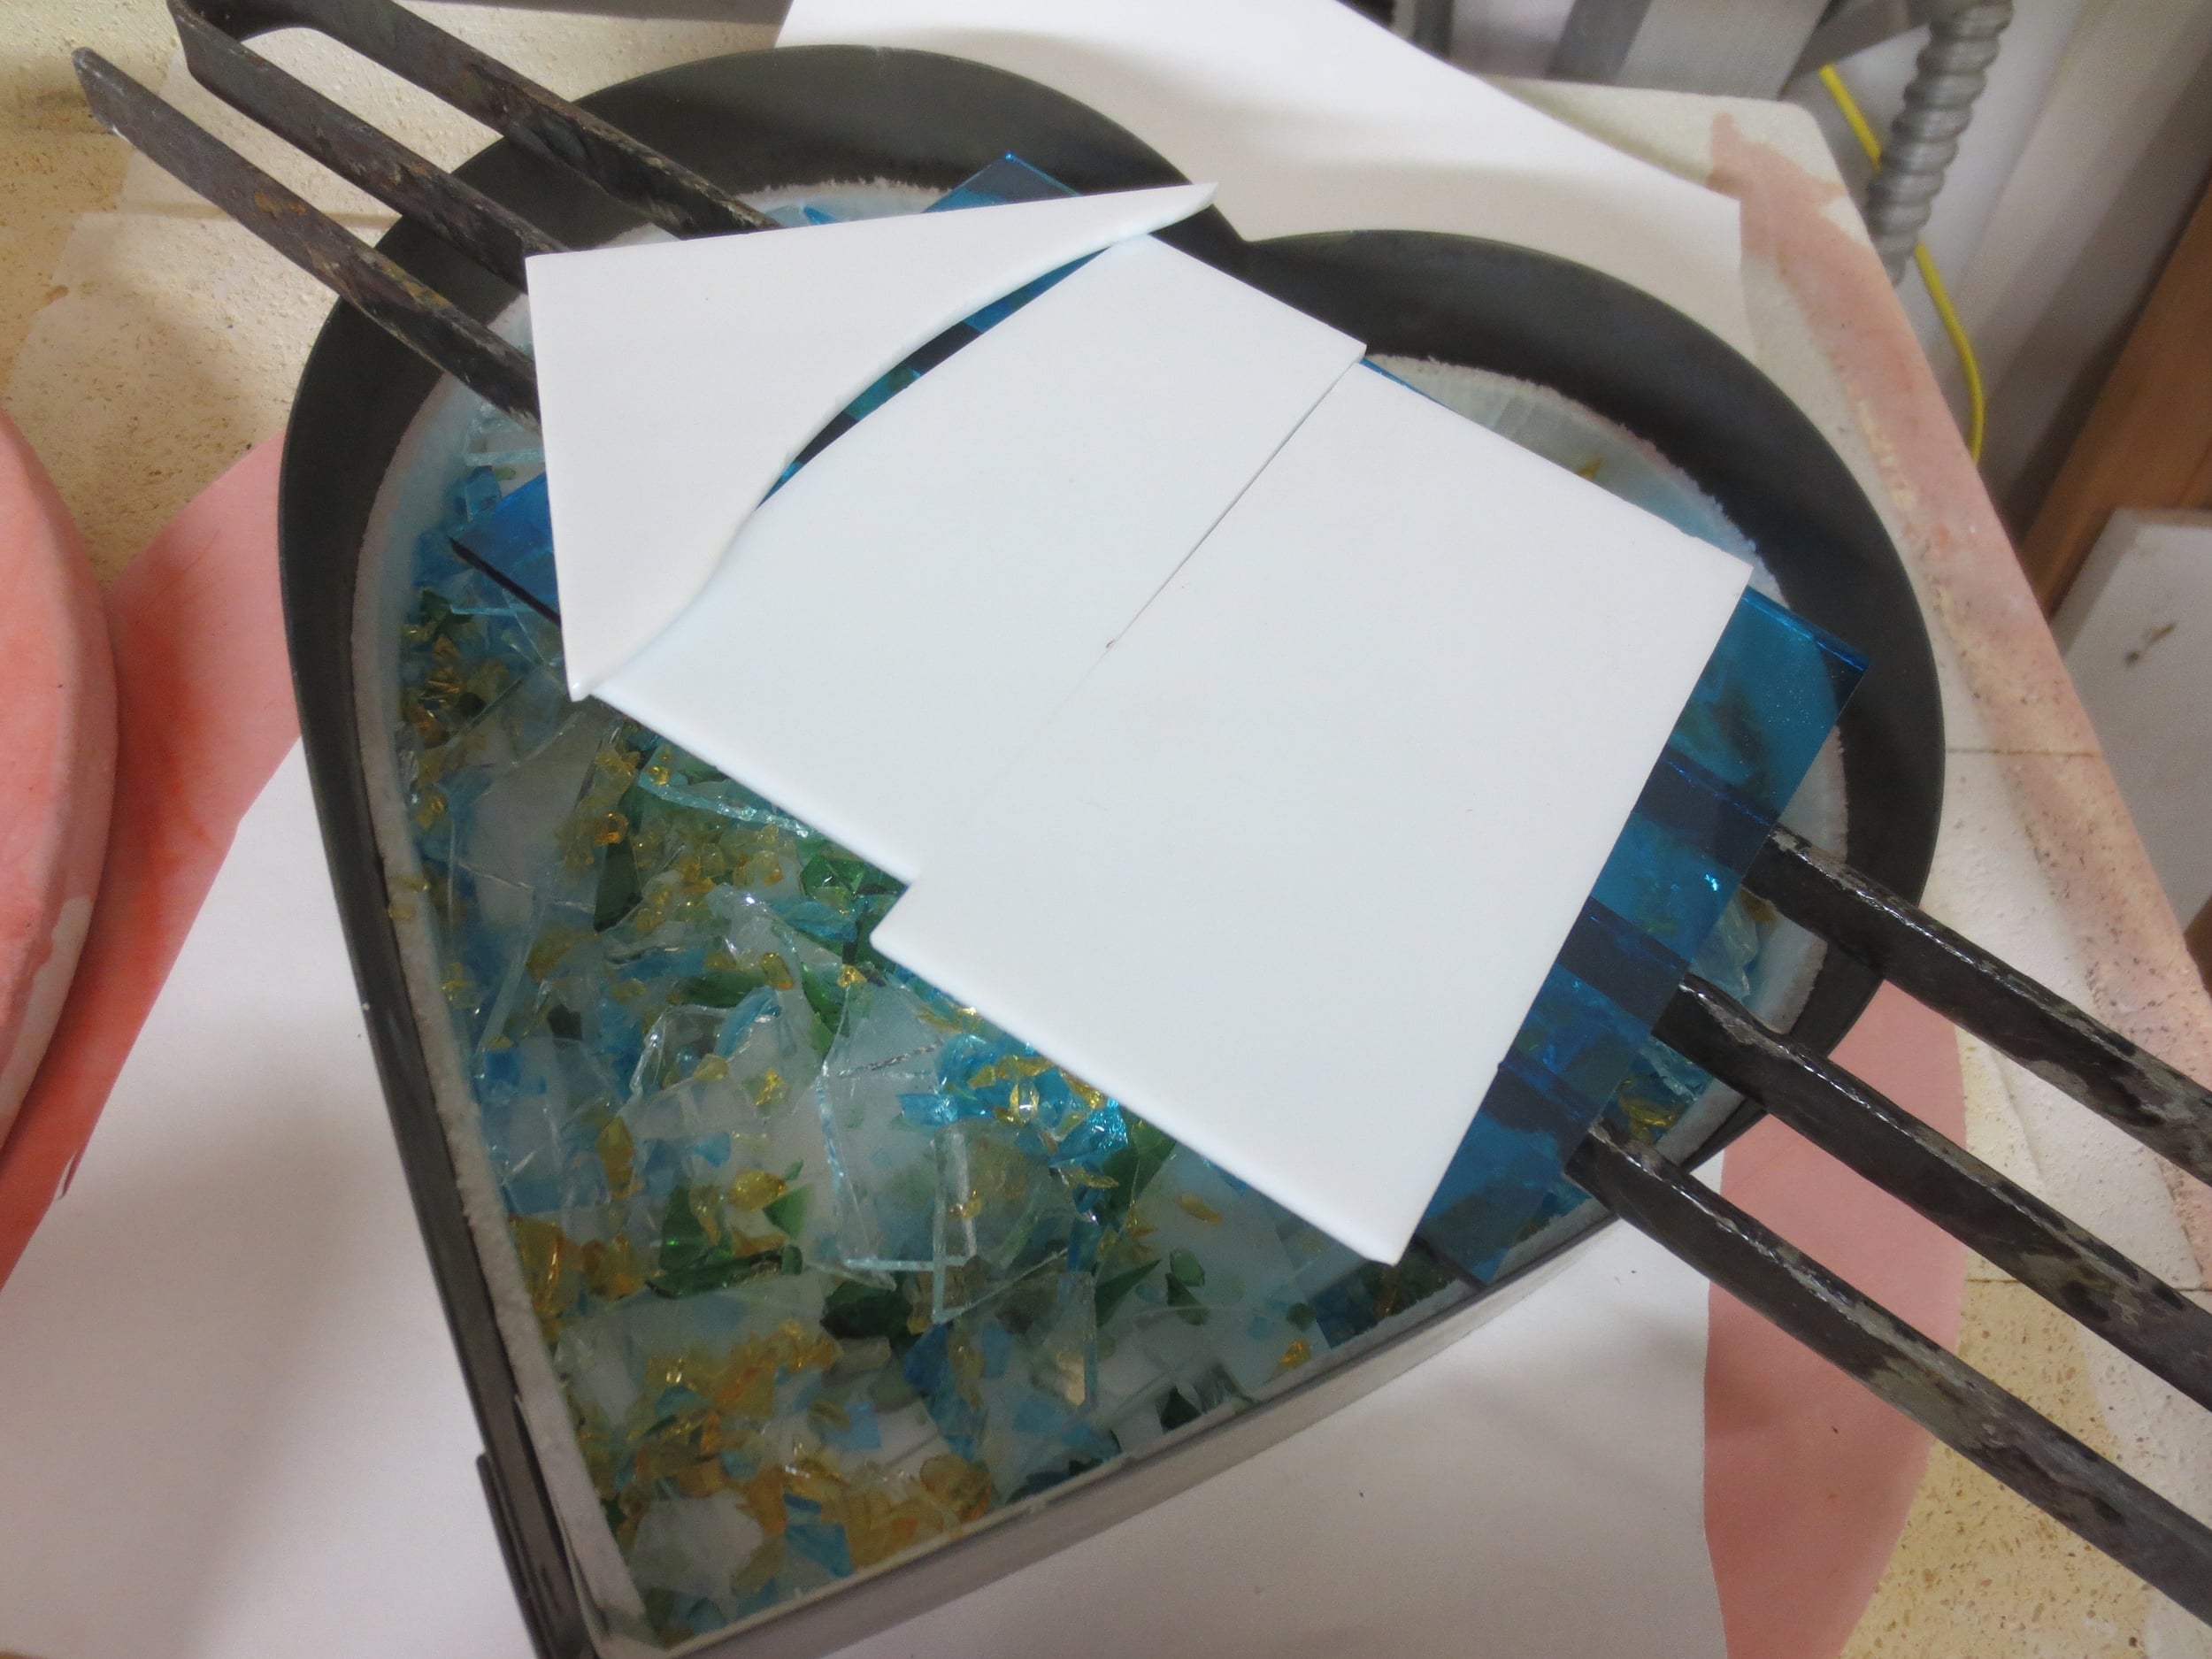
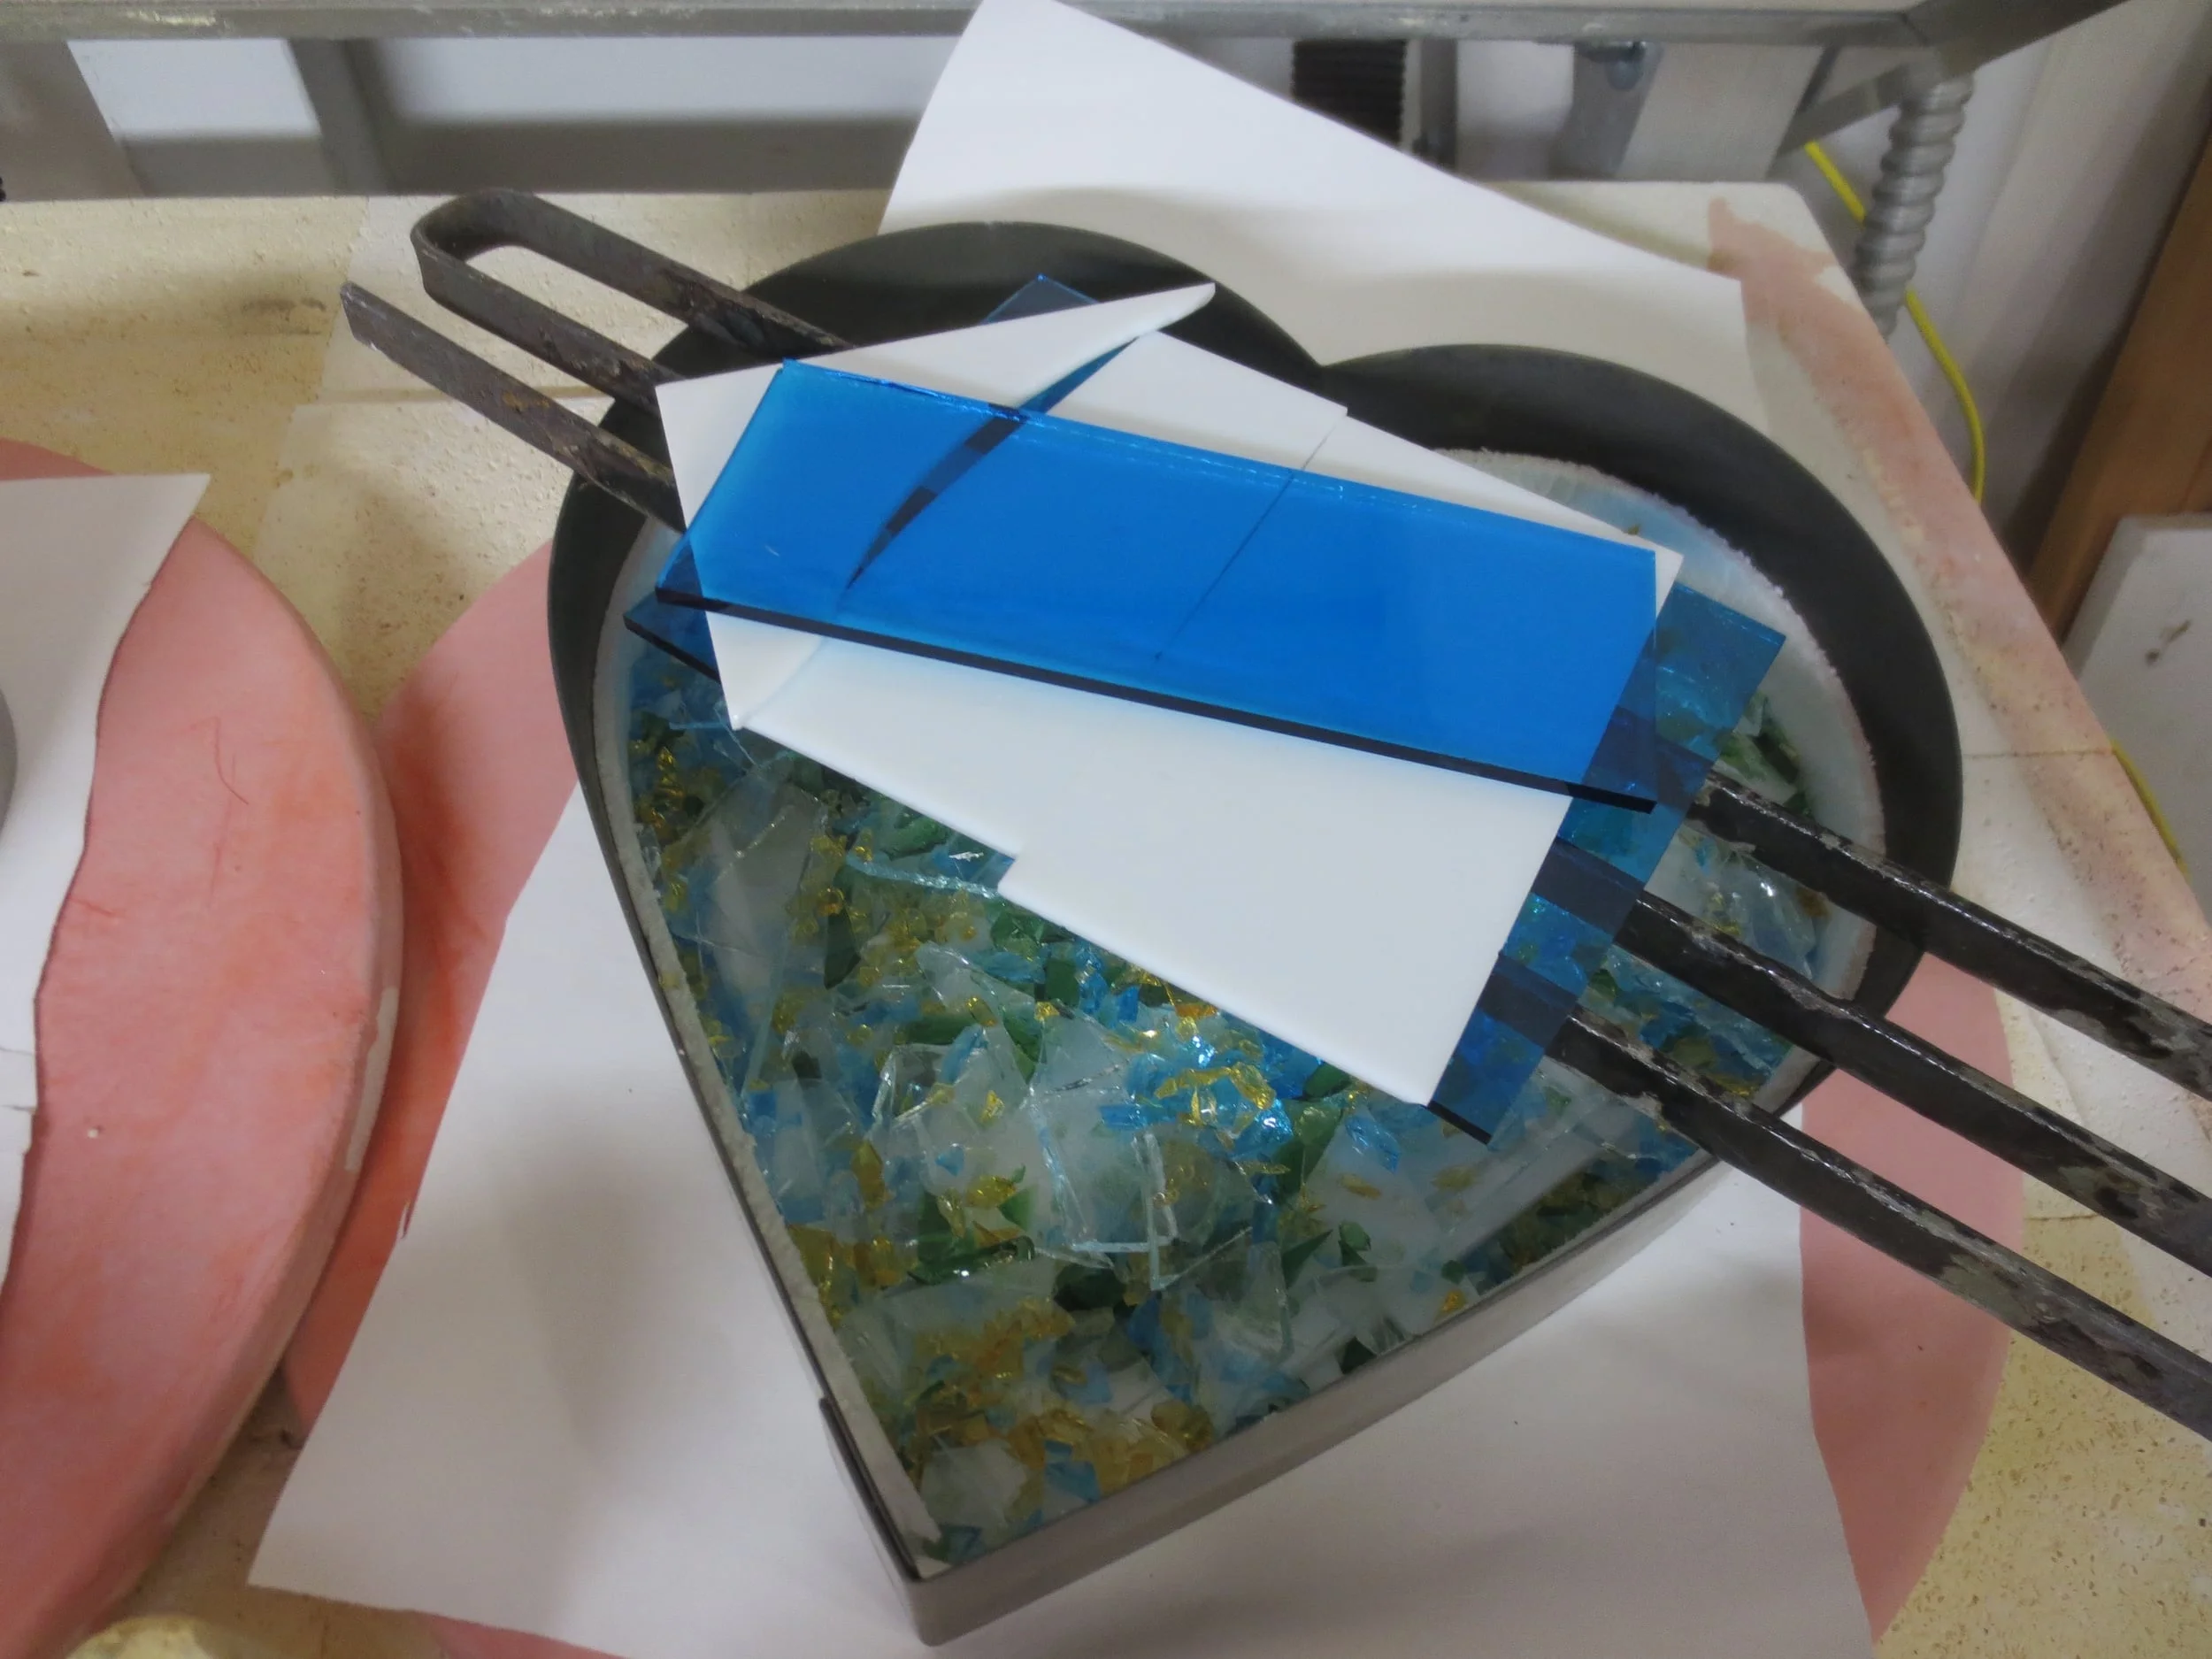
This is the 8" stainless steel heart form. On this one I chose a different route. I chose to put thin fire under the stainless steel on the freshly kiln washed shelf.... then the heart and the1/8" x 1" fiber paper lining the steel. In the form on the shelf I put opaque white scrap covering most of the heart shape but not worrying too much to cover ever little bit......I then added some clear scrap. All scrap! I then placed the flow strips propped up by fiber board on an angle across the heart with just a few slices of scrap across them. I just wanted some red movement and that is what I got. I had no thin fire sticking to the back. It washed right off. That being said I do not drip straight onto thin fire as it can move and gather up into your glass.
Below is a shot where I am loading hearts that are firing as I am writing this.
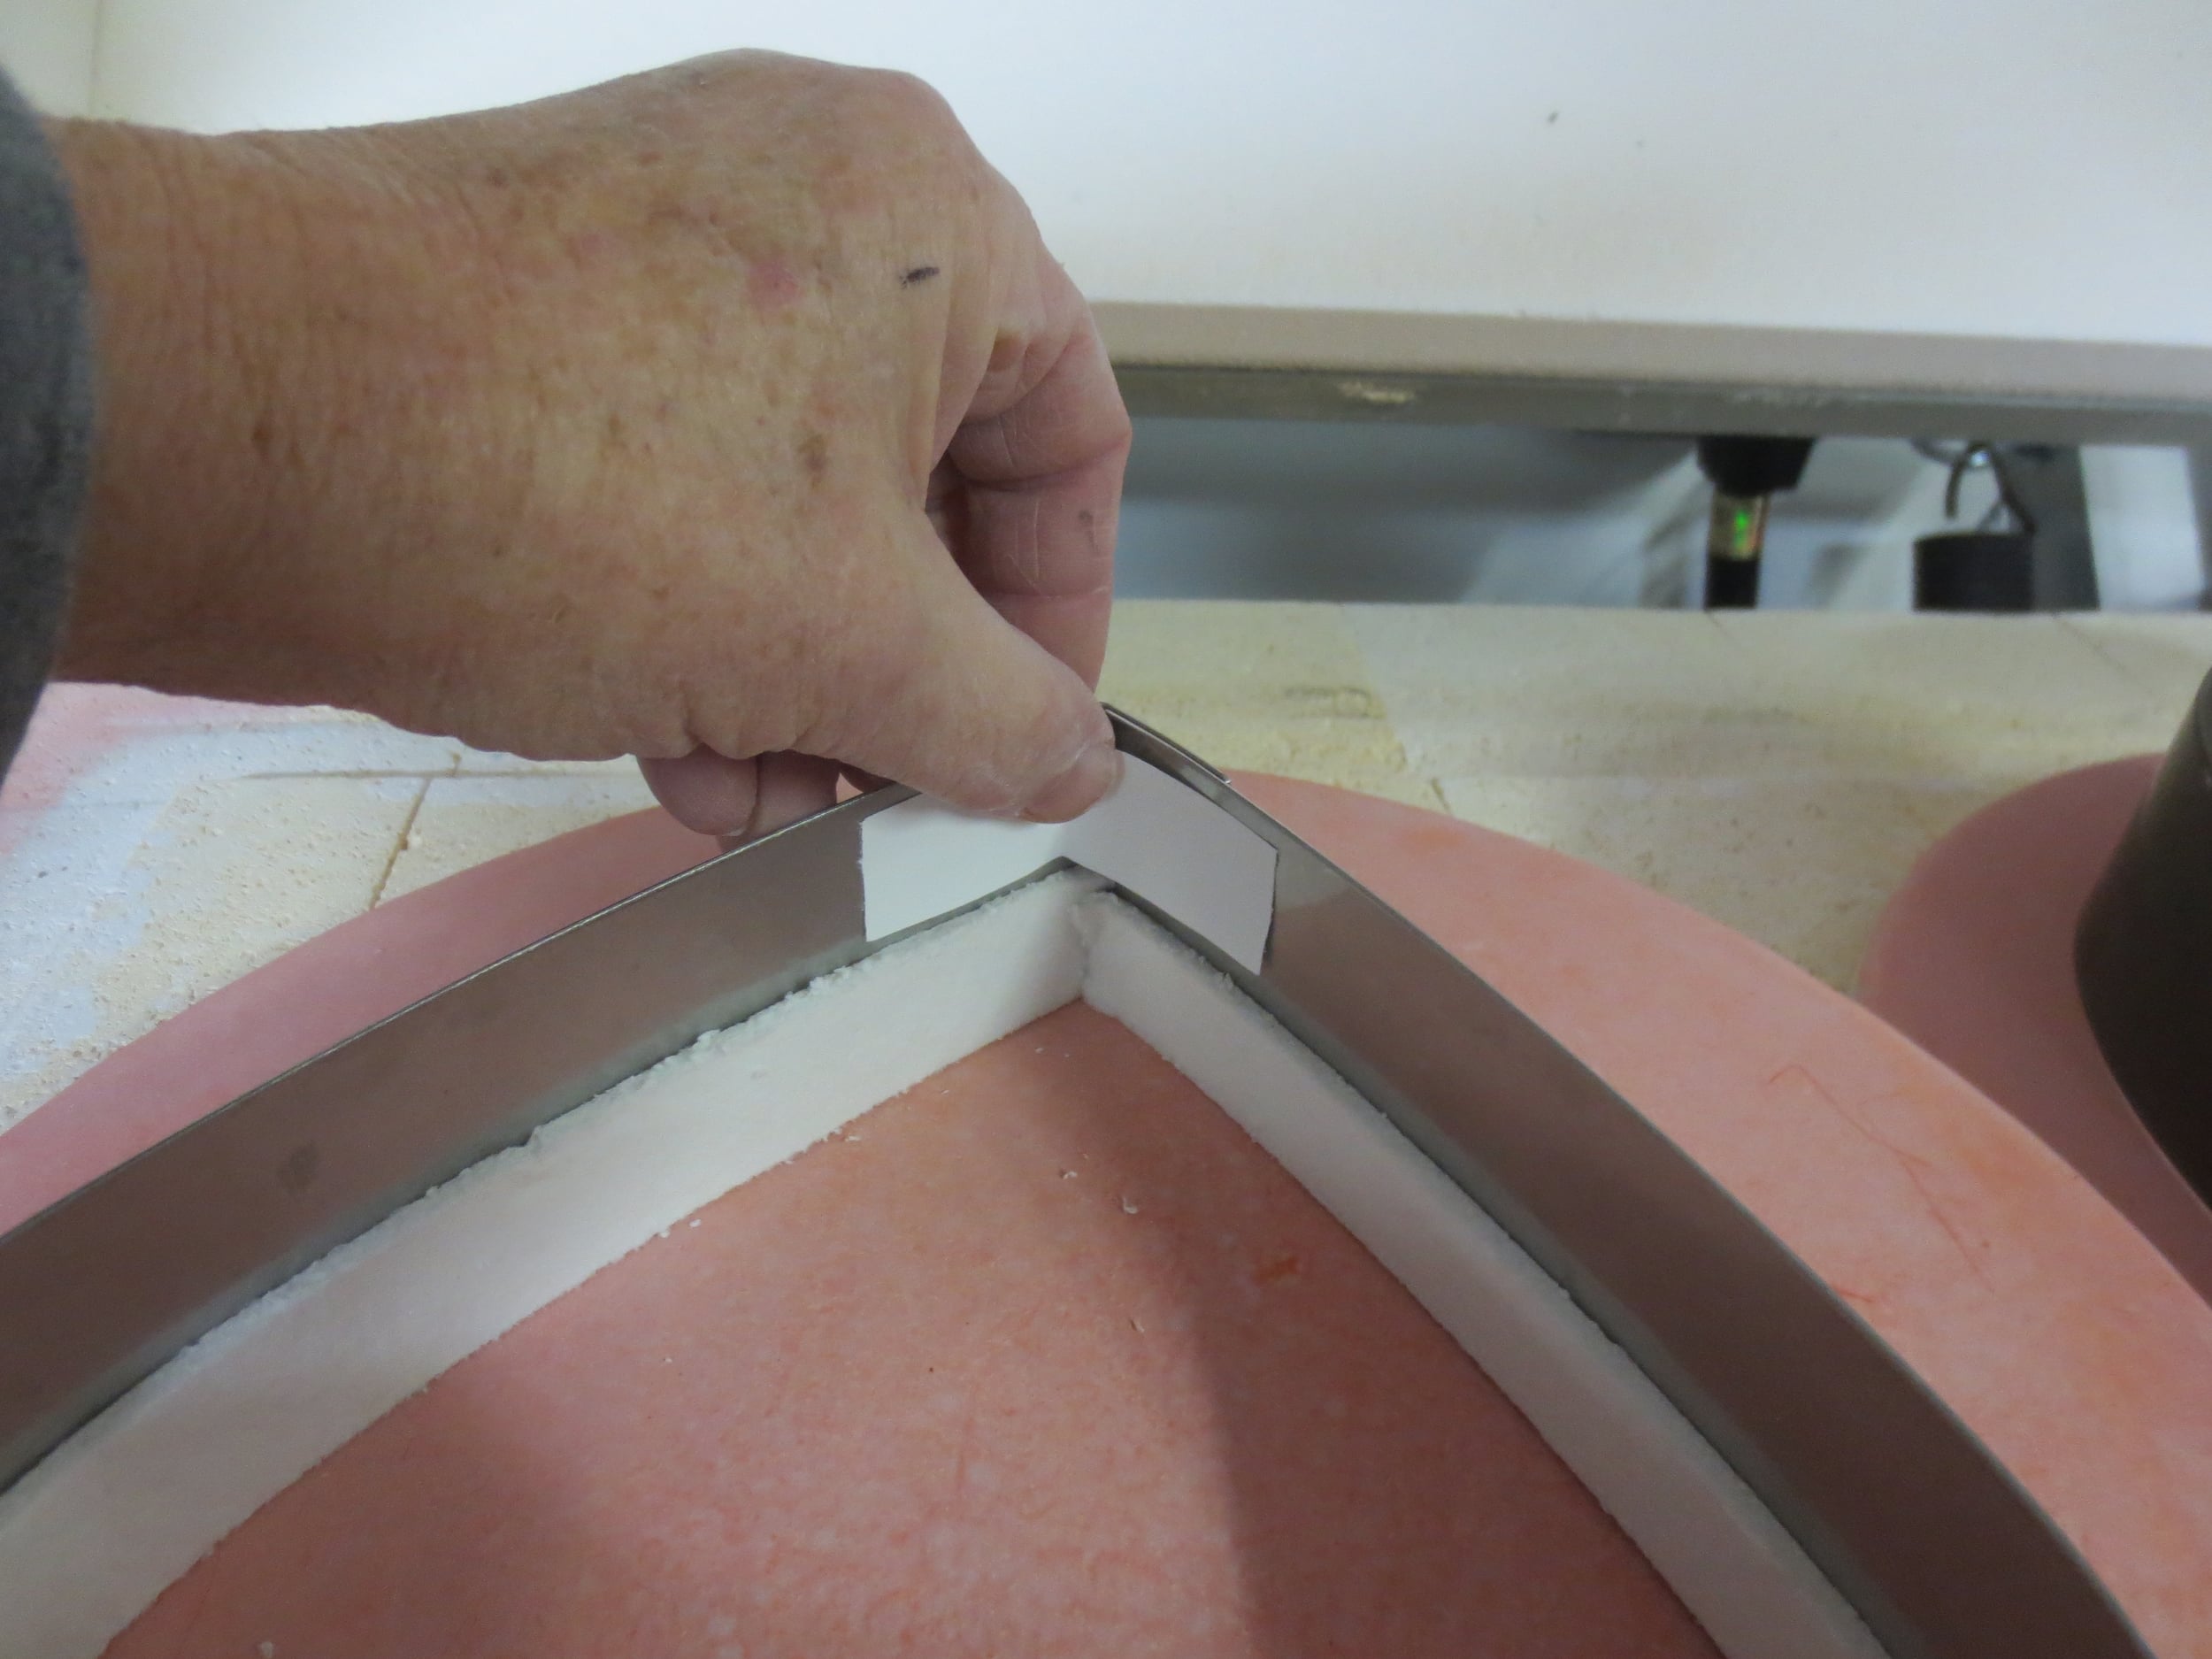
This is my JenKen 26" Profusion kiln. I have taken the fiber shelf out and I am firing on small shelves. The stilt in the middle is for an additional shelf. The fiber paper I am using is our 1/8" x1" x 100 ft roll. This makes it so much faster loading formers! I only put 1" in these because they will not end up any thicker that 1/2". Thinfire is not enough of a buffer when you are using stainless. You need the thickness of 1/8".
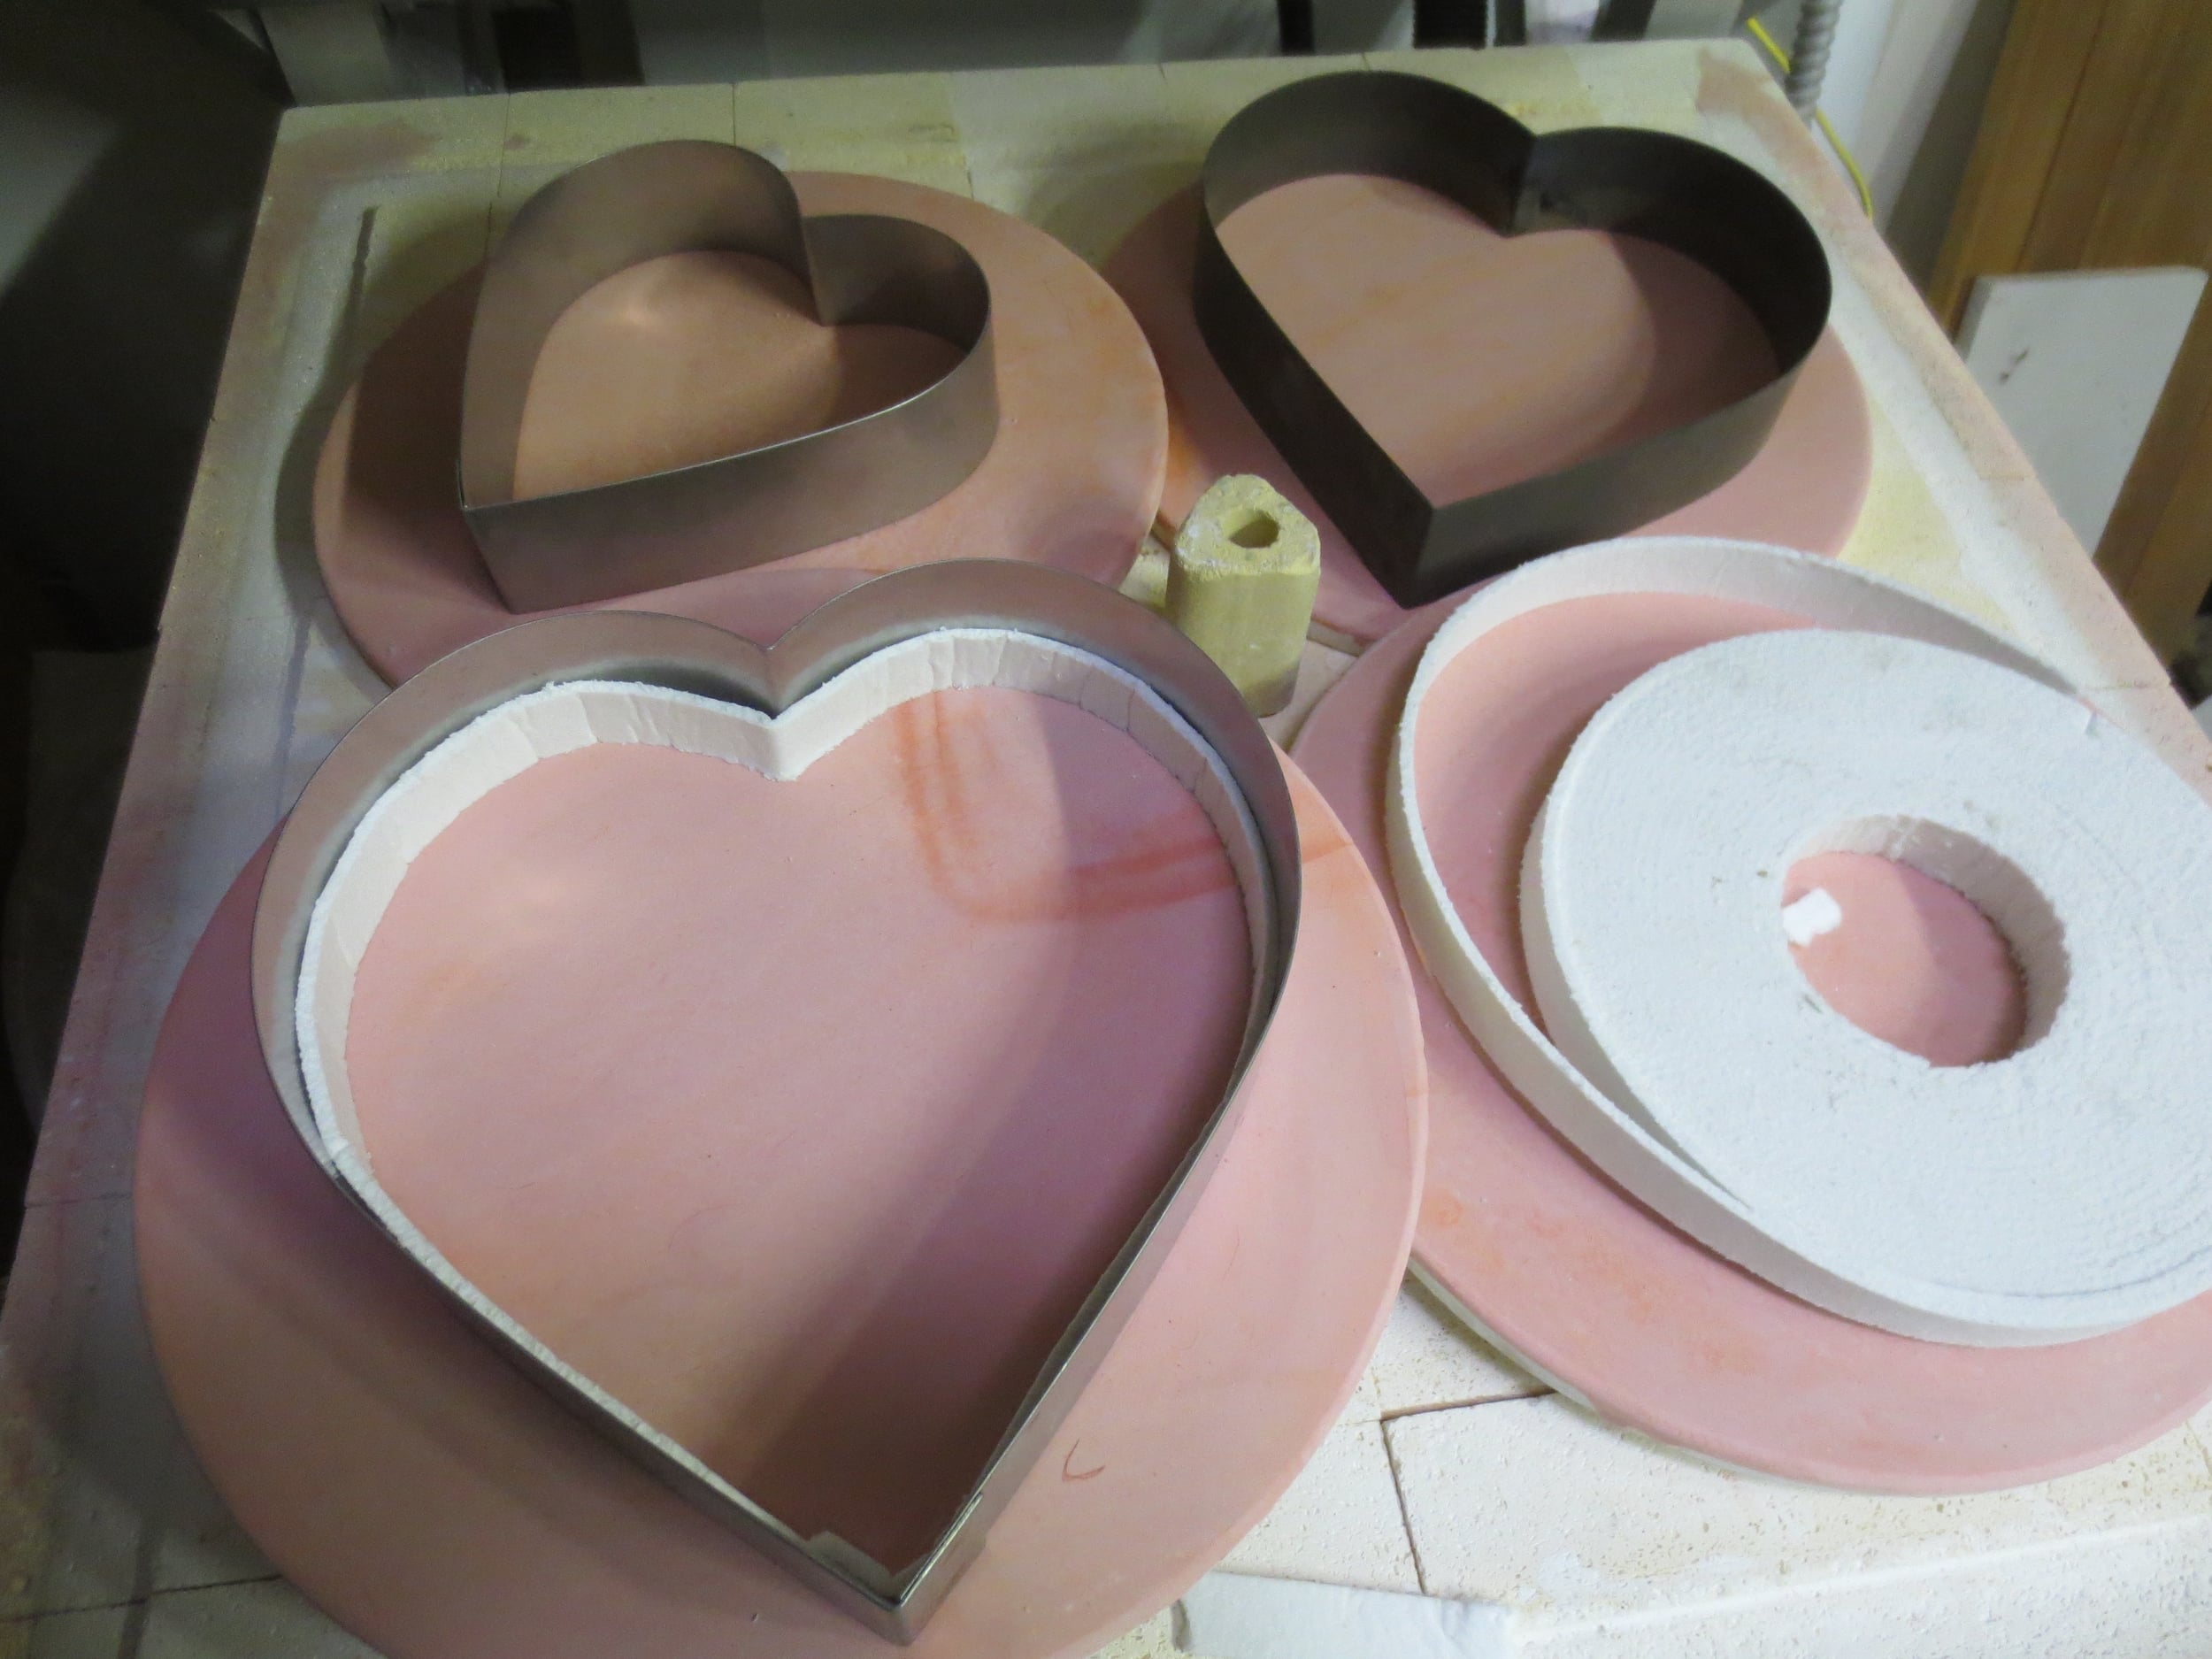
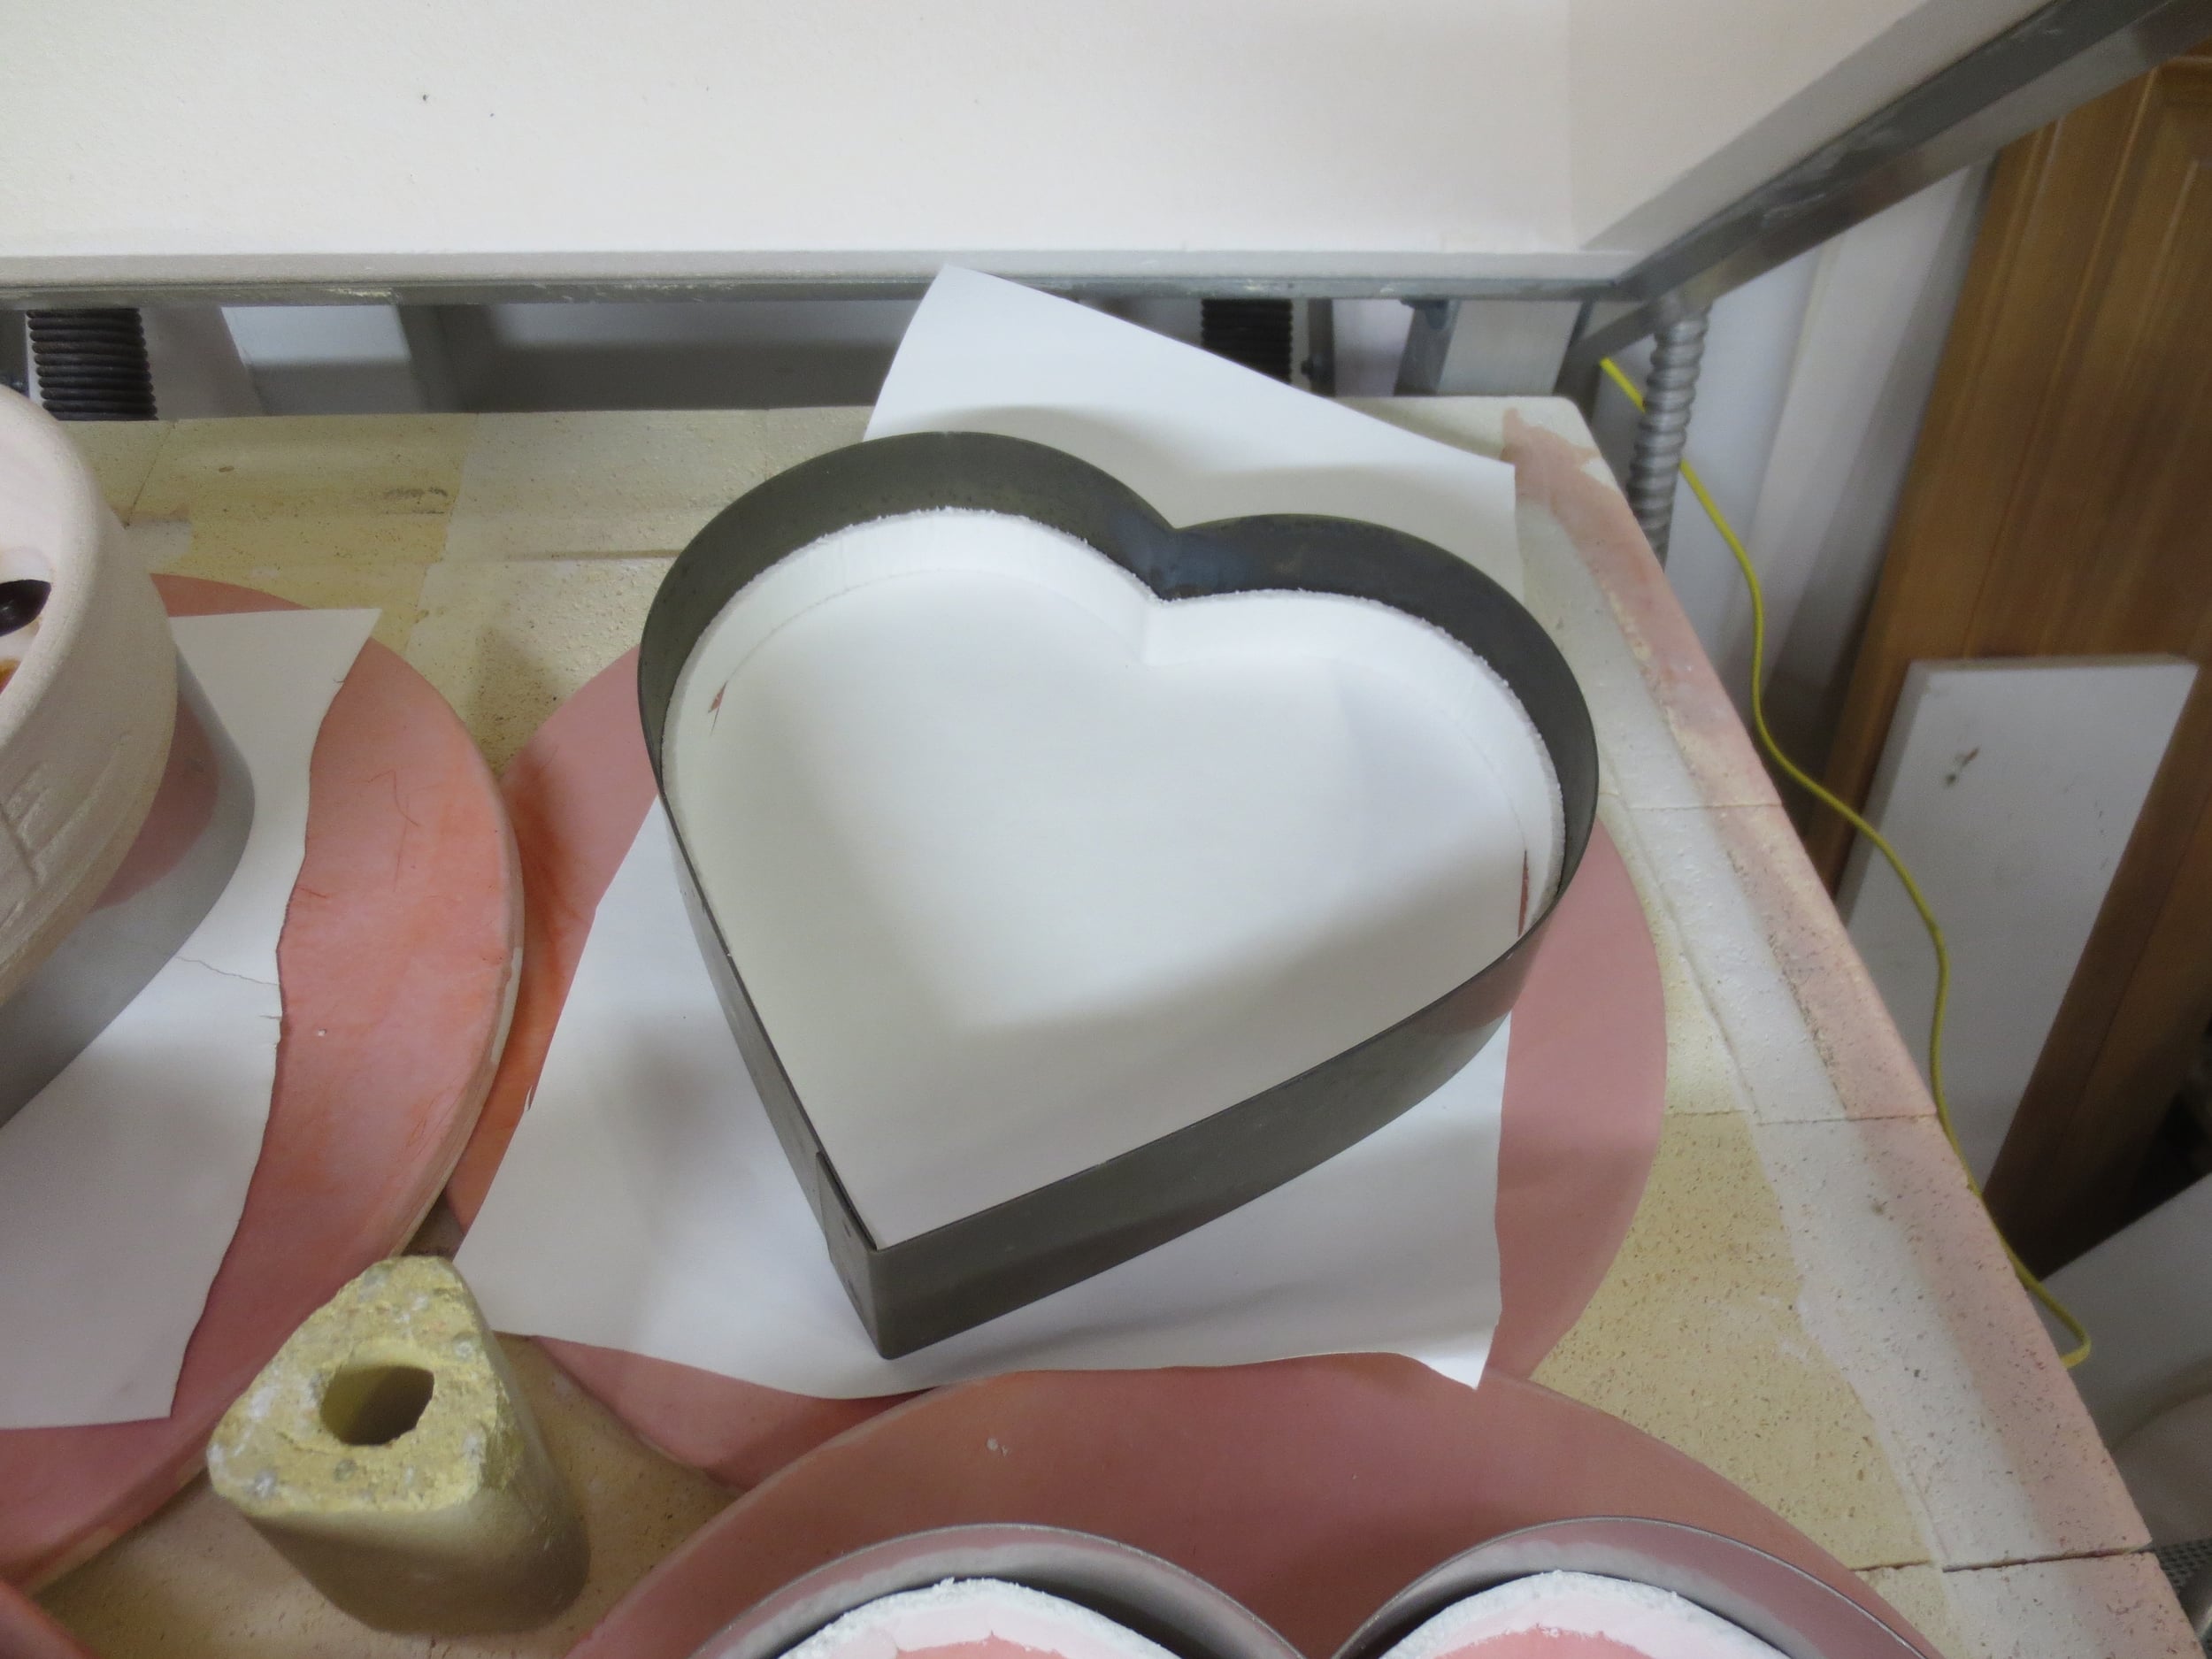
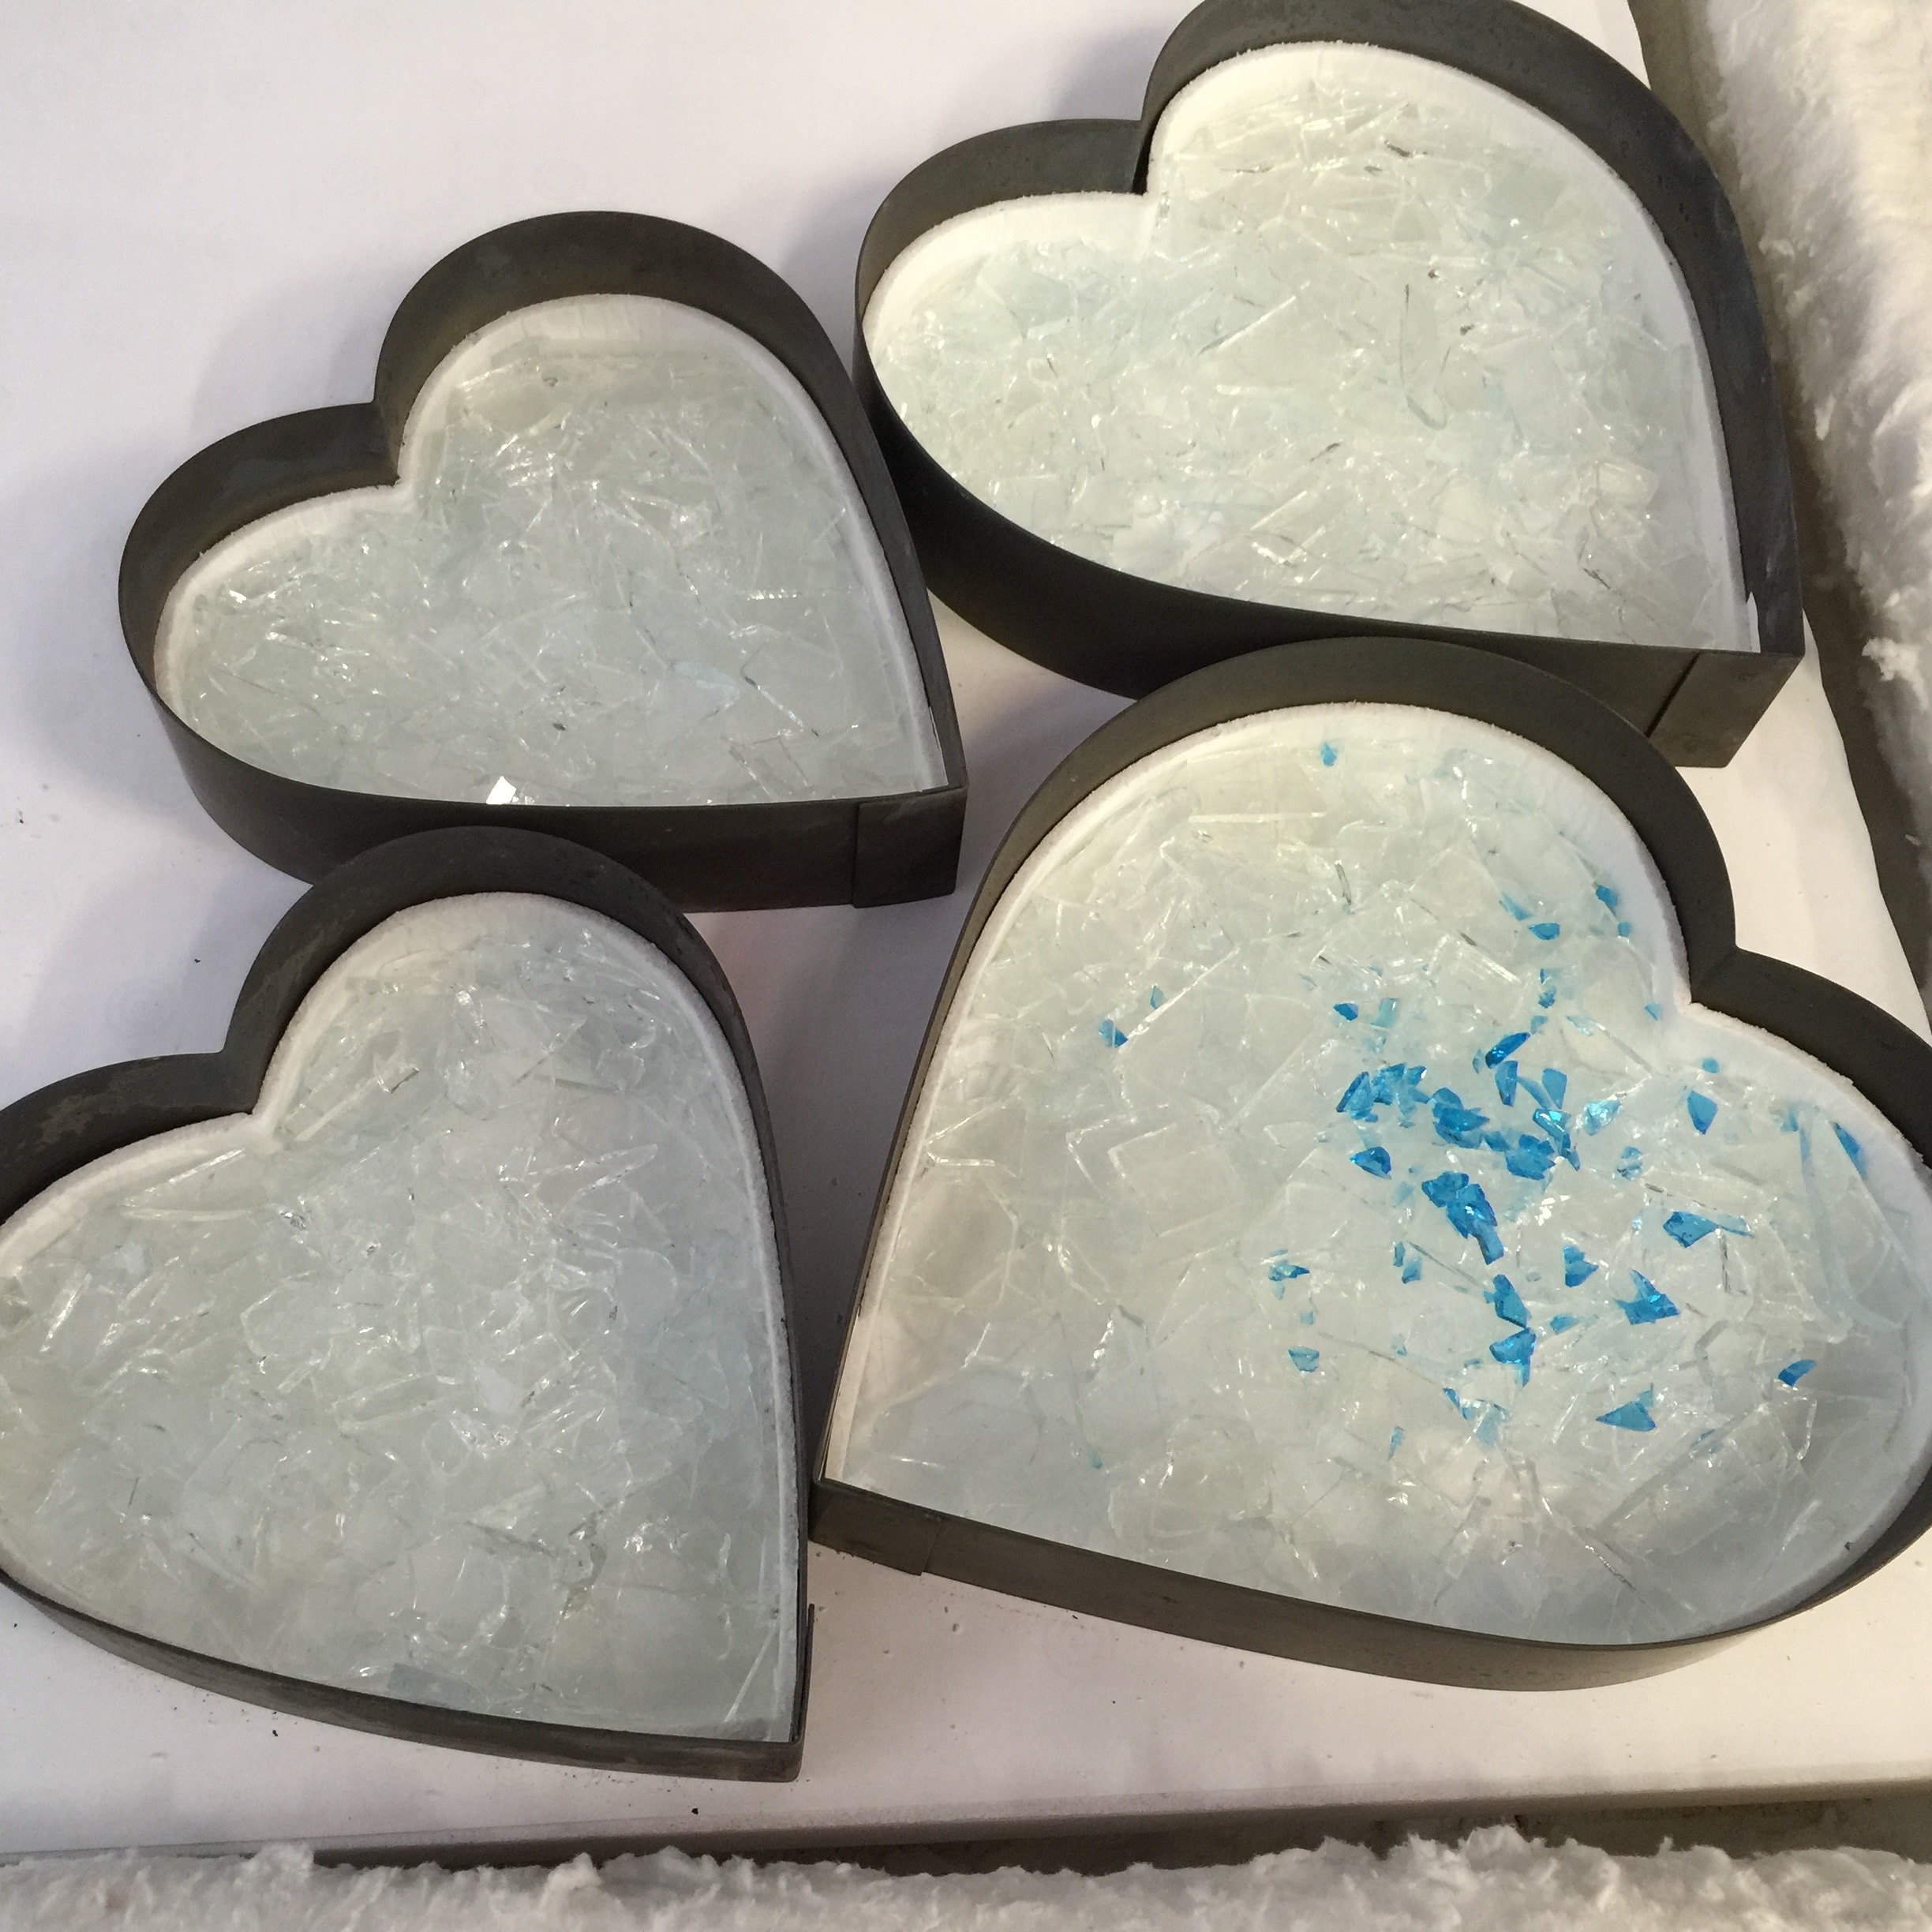
Next trick. I wanted a nice bottom angle on the hearts so I did not want to overlap the 1/8" fiber paper. I did butt them up firmly to each other and then I put a small slice of thinfire behind that seam. It is called insurance!!
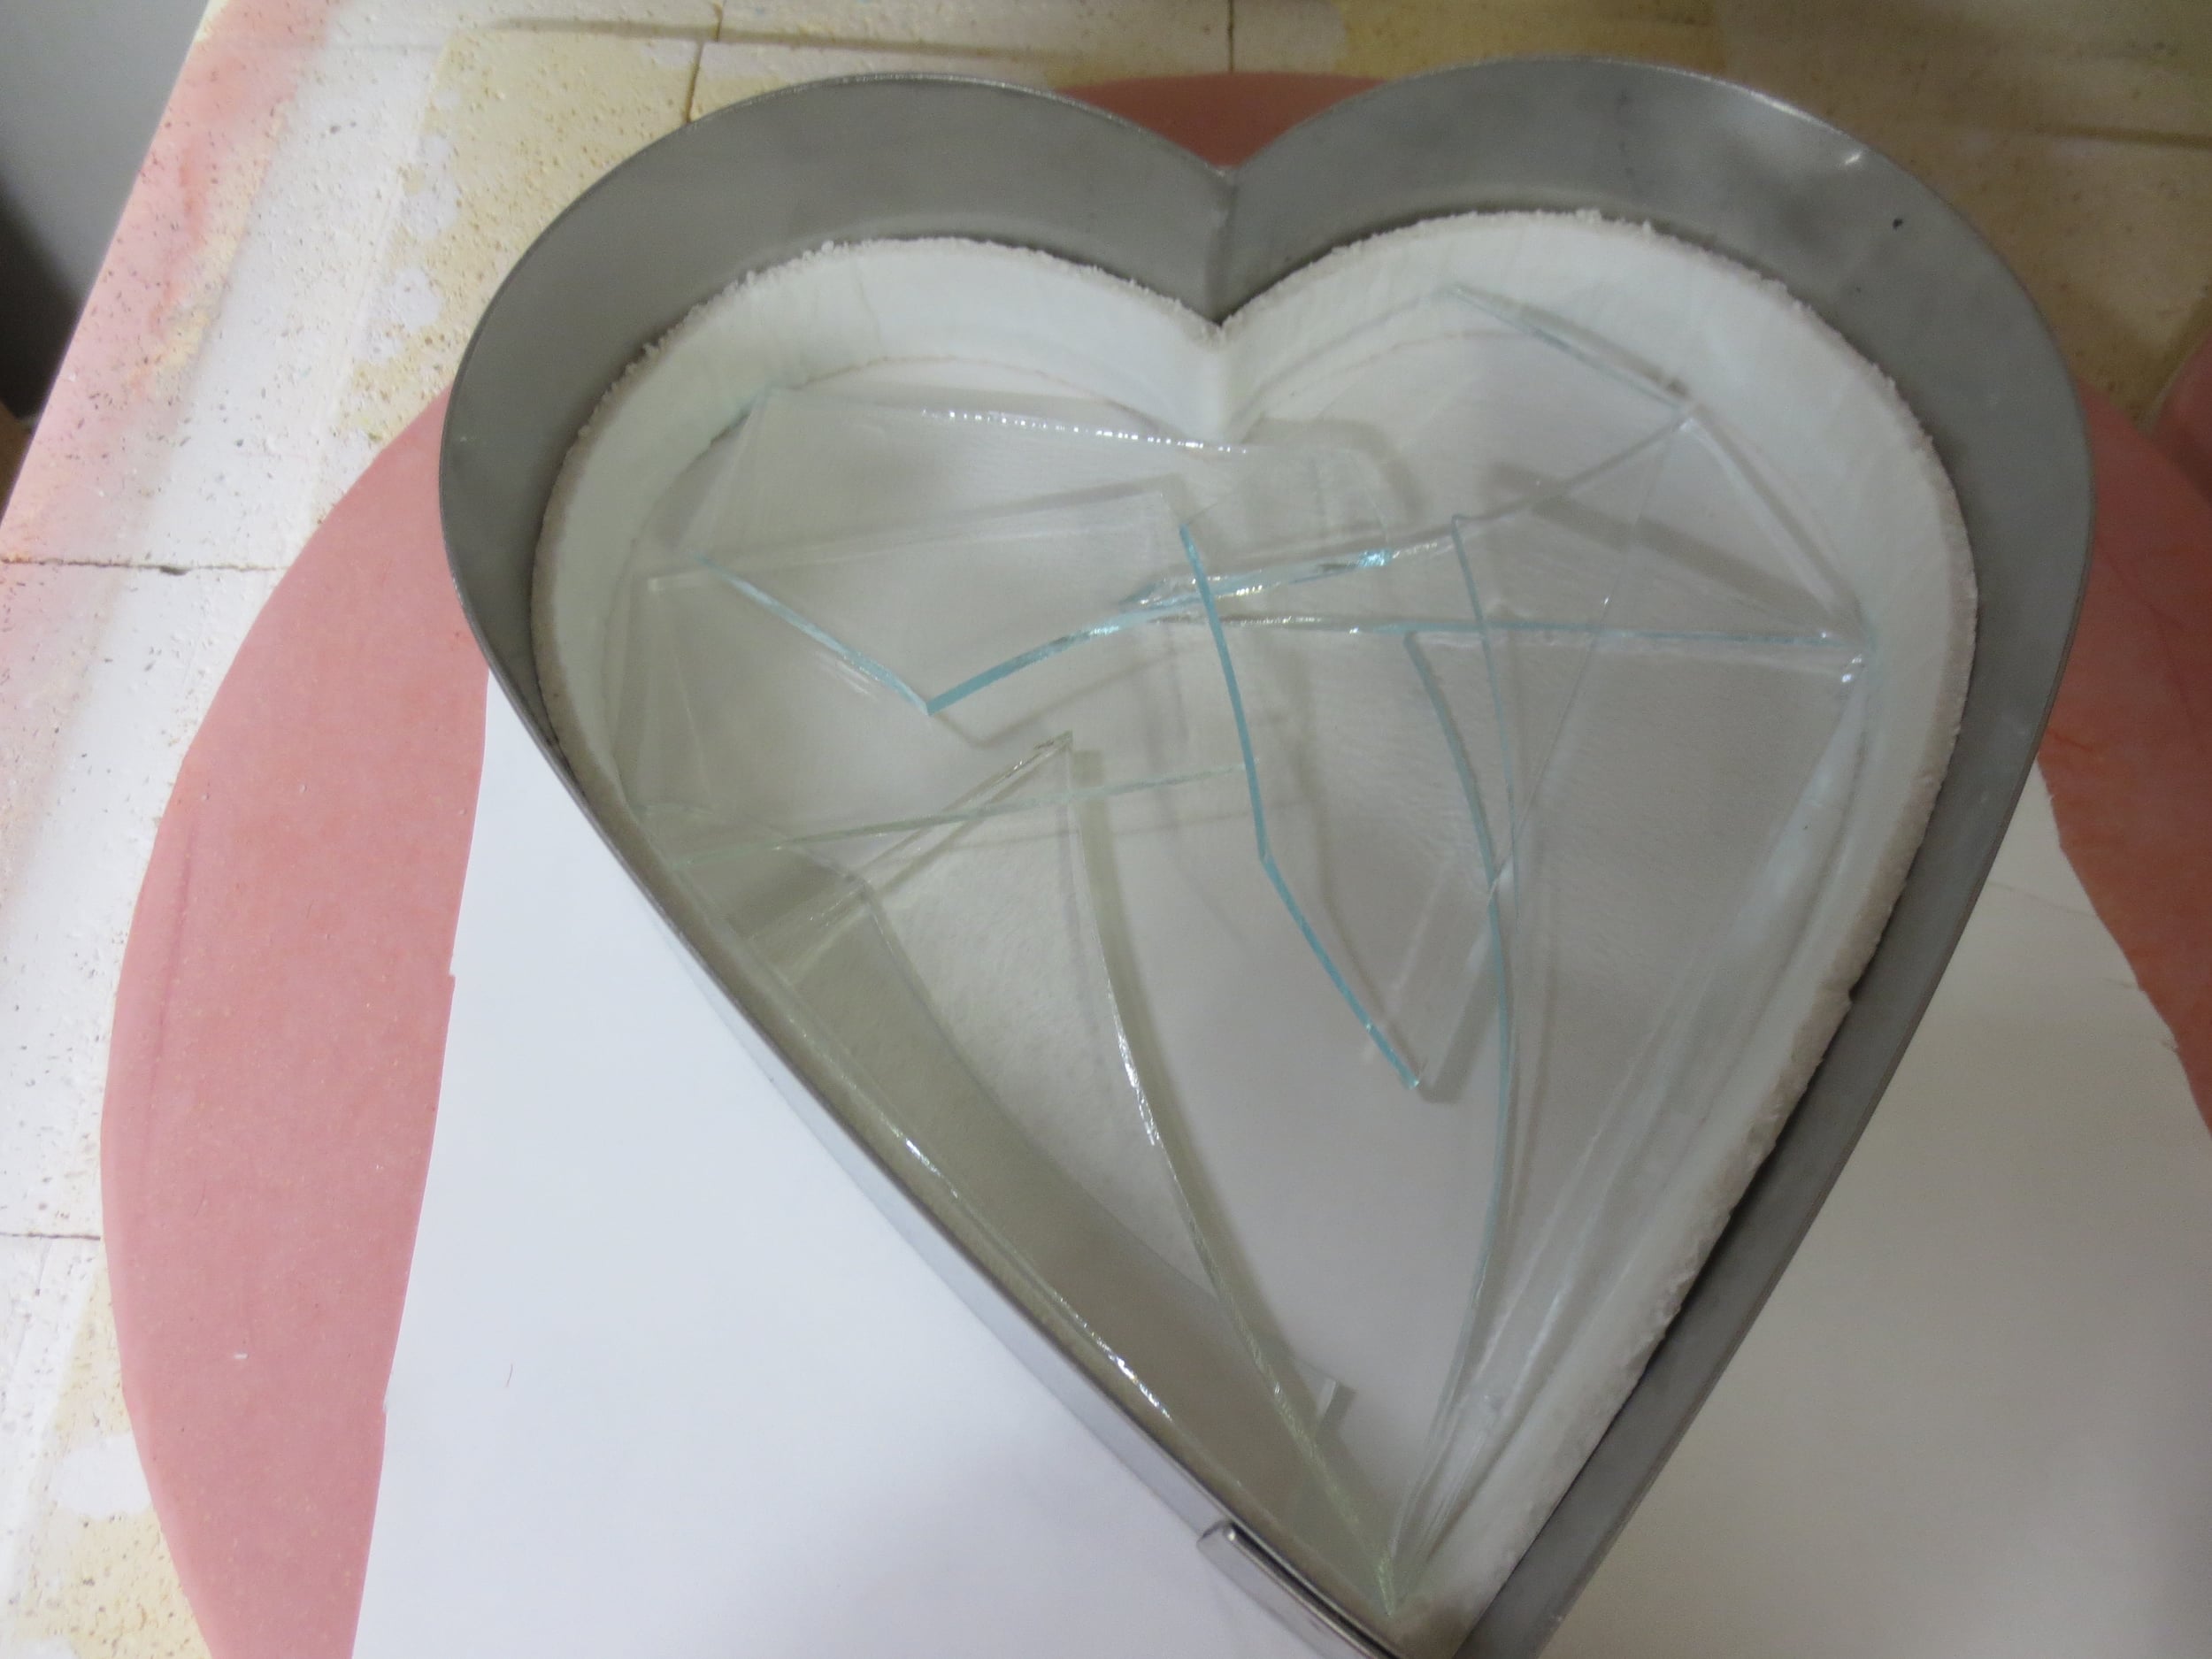
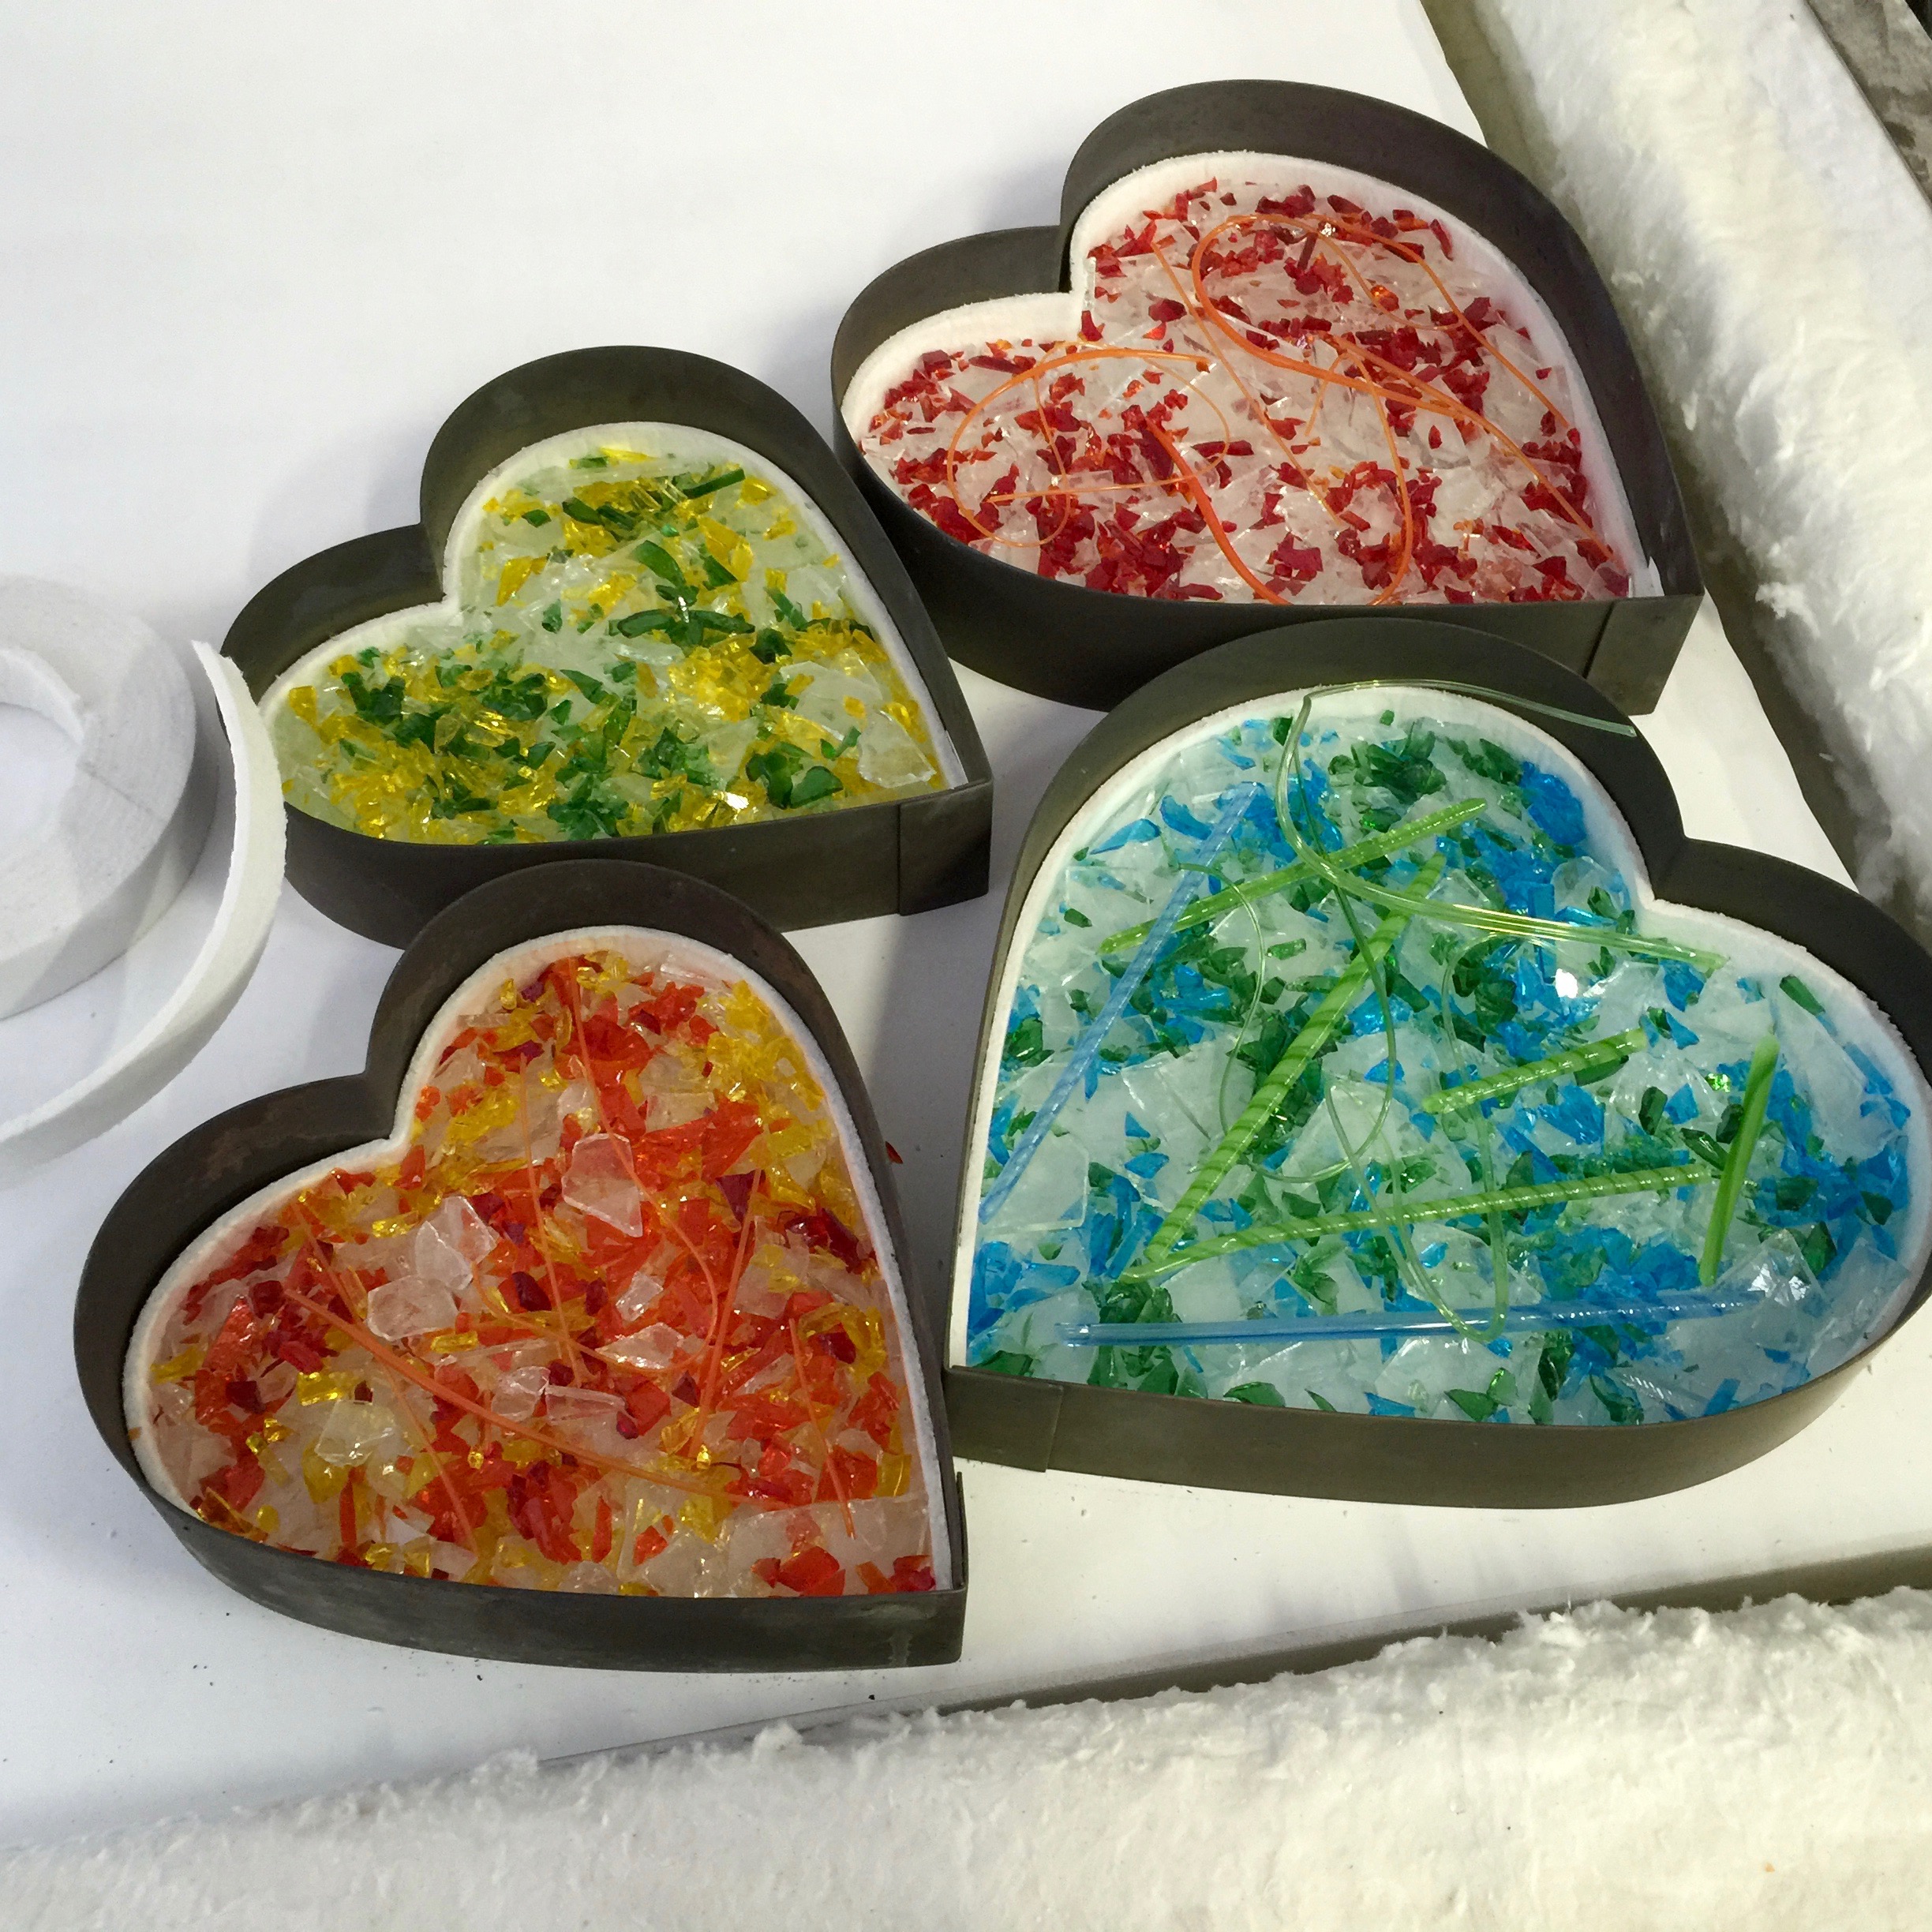
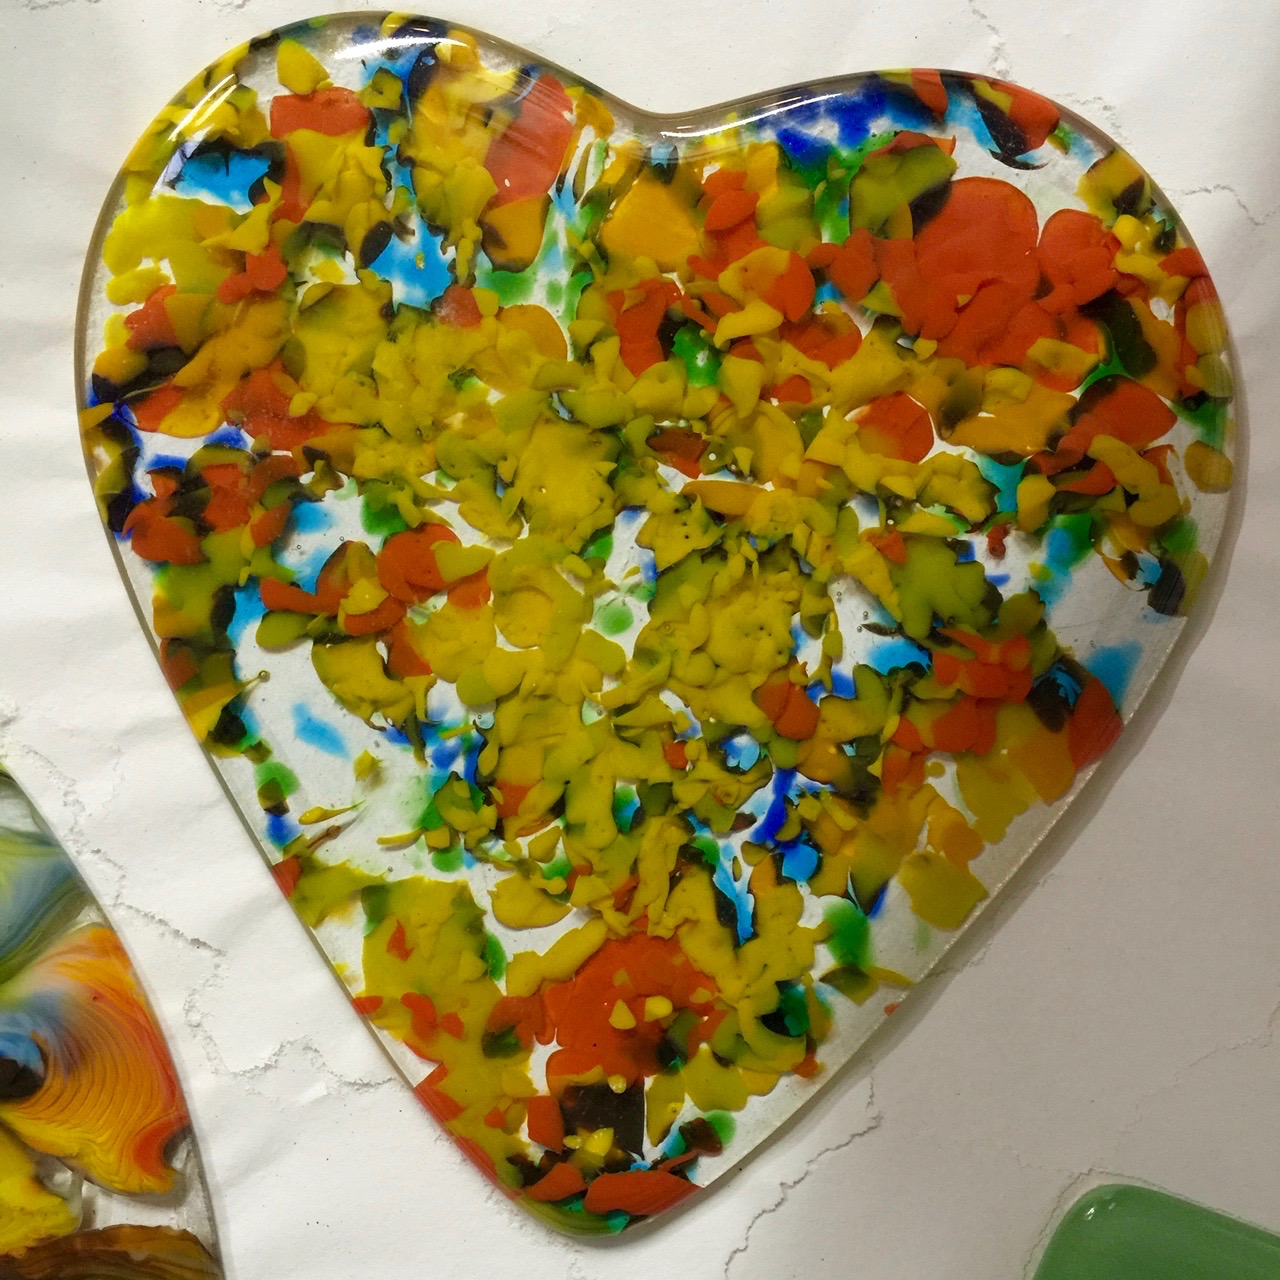
On this 10" heart I decided to put in a layer of clear smashed scrap onto the thinfire, then some transparent light cherry medium frit and some left over vitrigraph. When you do smash clear frit to do a scrap melt be sure to sift off all of the powders and fines. They will just make it cloudy. I will post the finished piece from this when I see it!

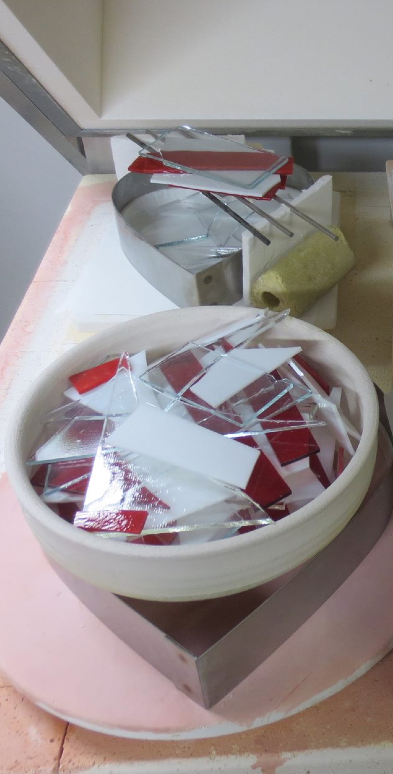
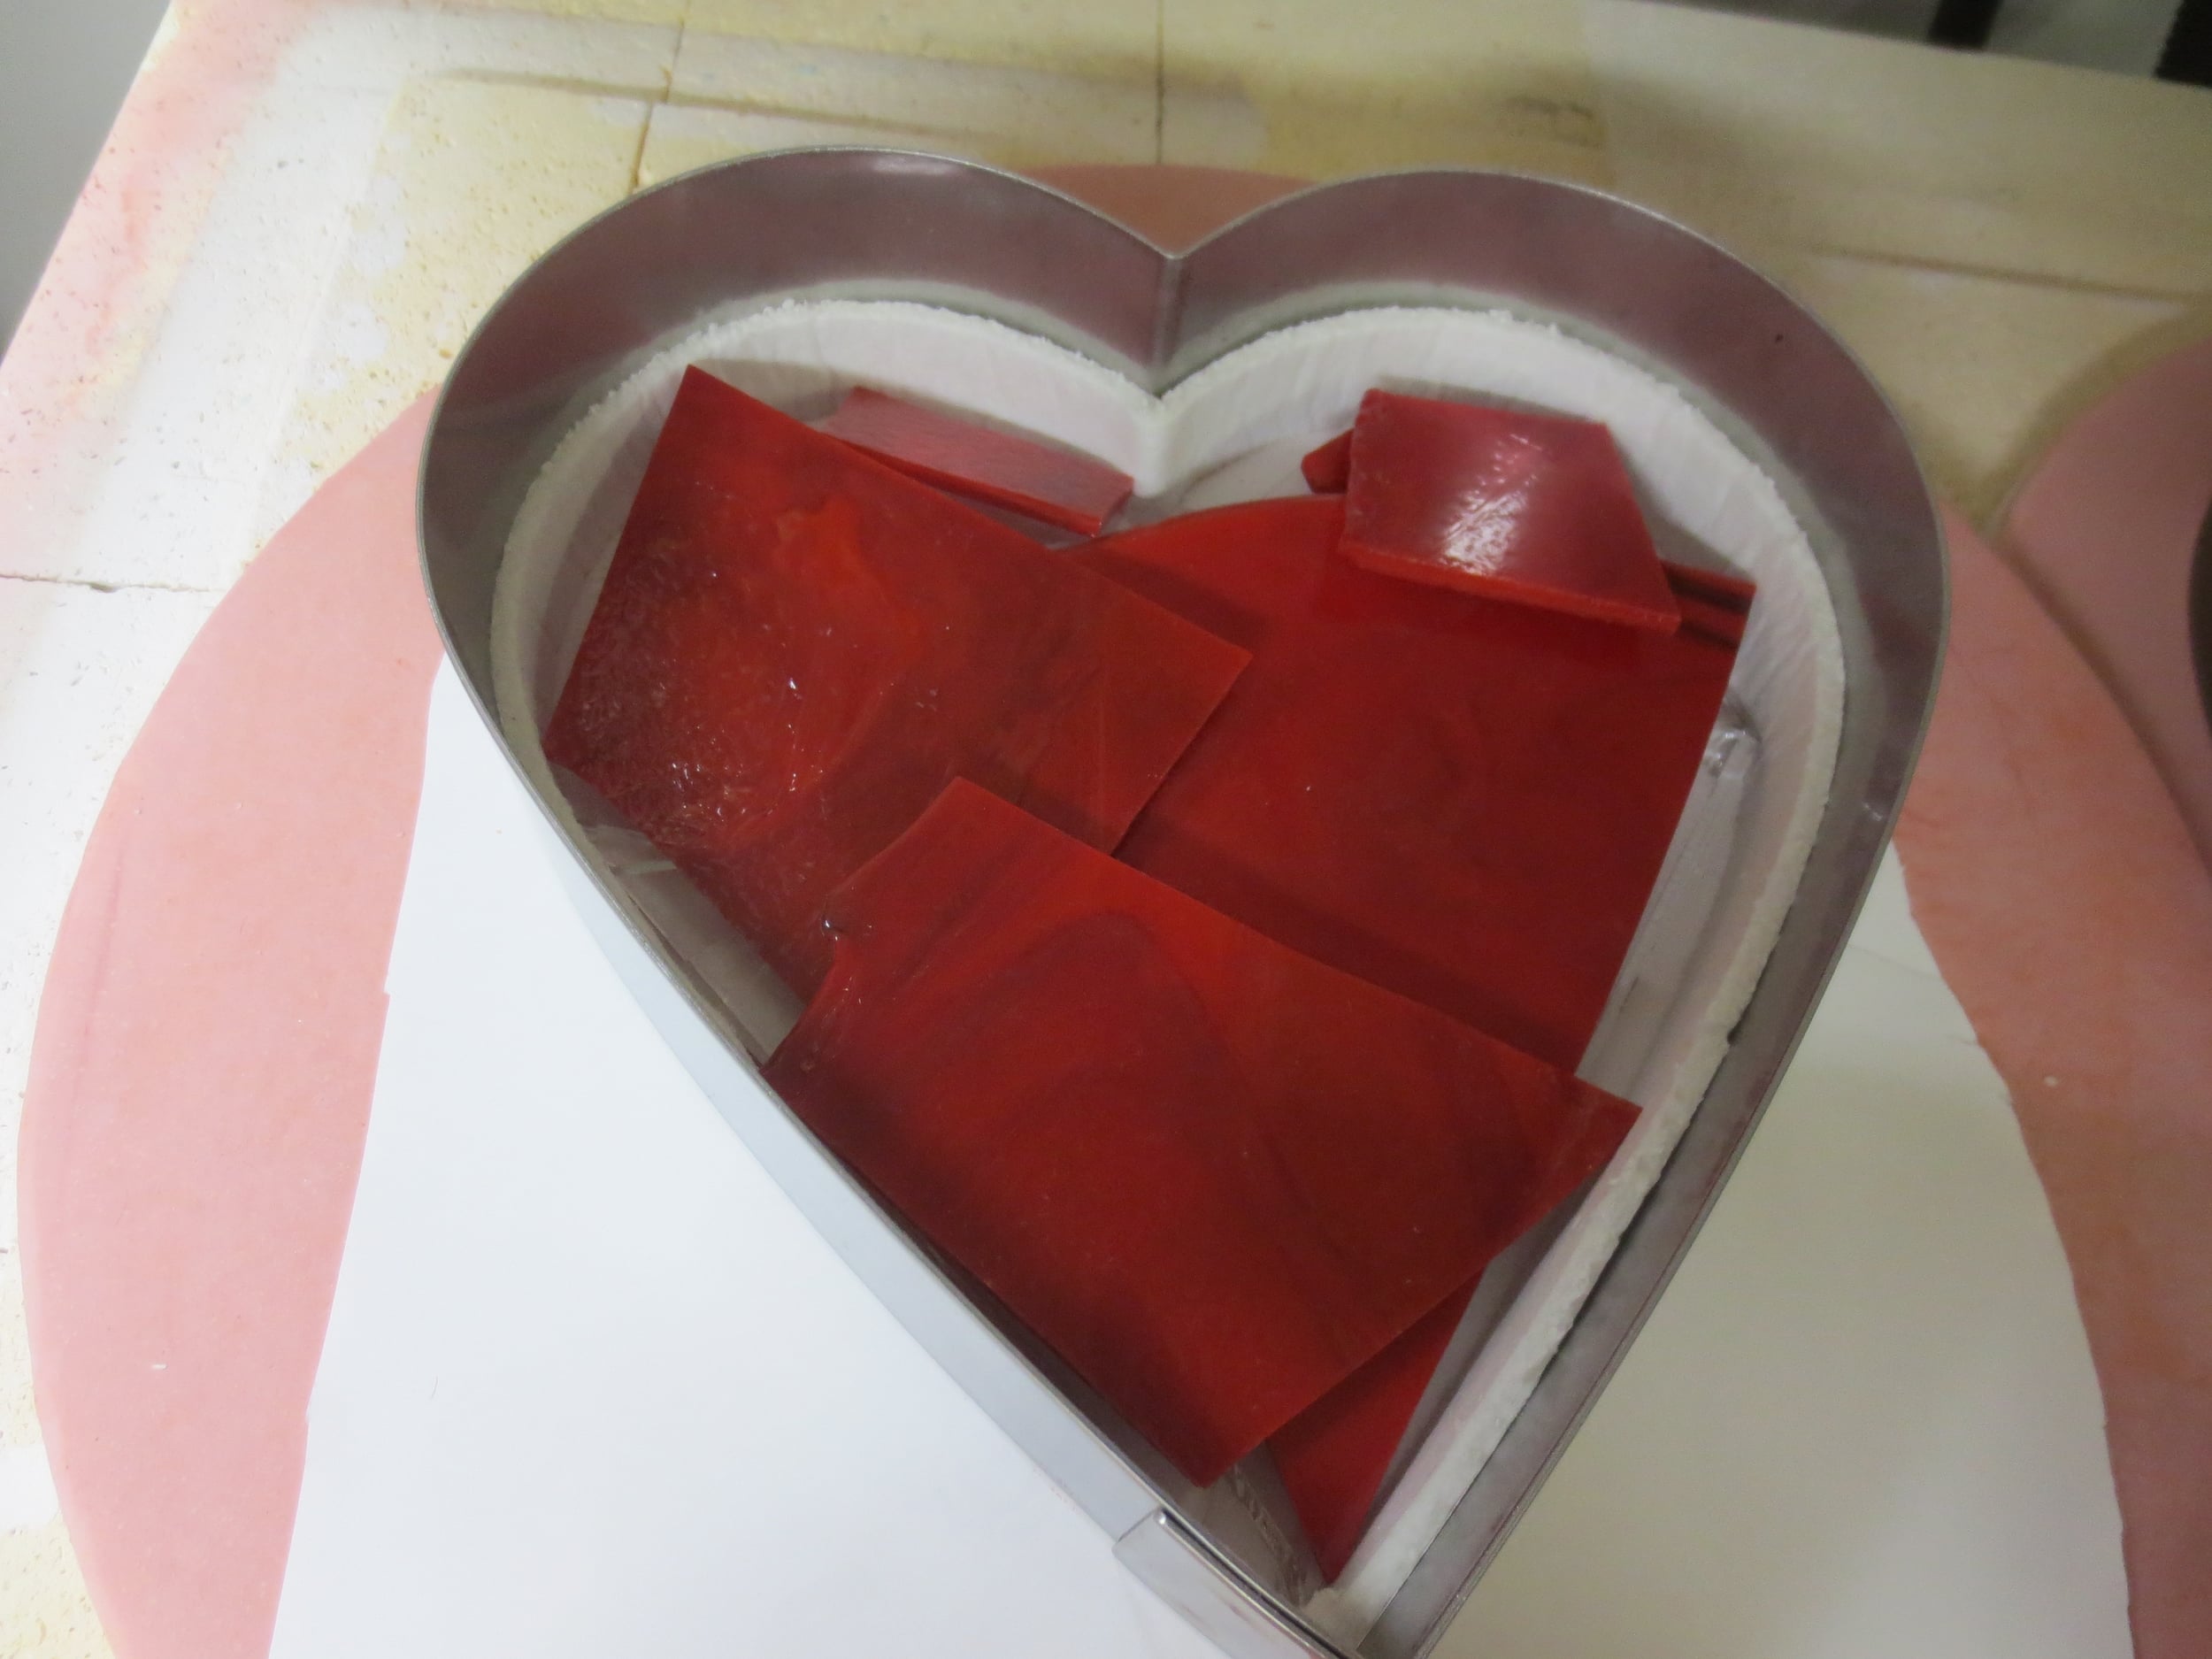
On this next one I put down thin fire and clear scrap as you can see in the below picture.... then red opaque scrap. I then put a small amount of hammered white scrap to lighten it up and on top of the stainless I put a 10" Ziggy. Ziggy is perfect for these as it can sit right on top of the heart stainless! I then added a small amount of scrap on top of Ziggy to create movement. We shall see!

On the next one I used an 8" heart and lined it with thinfire. I then filled the area with sifted clear scrap and then some transparent colors of medium frit......then a Ziggy and just a small amount of white and transparent blue.
This one is an 8" that I added on that center stilt. It is clear scrap with colors on top. We will see how it likes going to the flowing temps of this load. I could have just put it in a full fuse.
So.....here is what the load looks like. Yep....had to put an annular in there!!!! There 4 hearts and an annular.
The schedule I am using on these high fire potmelts is:
350/1550 hold 60
9999/1520 hold 20
9999/950/hold 3 hours anneal (96)
50/800/0 hold
100/700 off
Let me know if you like this tutorial. I will add more as I fire more. I am loving these hearts!! You can find them on this site under stainless steel and the Hearts!!
The schedule I am using when just melting scrap into one of the formers is:
250/1100 hold 15
50/1225/hold30
450/1480 hold 20
9999 to anneal (900 for 90, 950 for 96) hold 2 hrs
50/800/0 hold
100/700 off
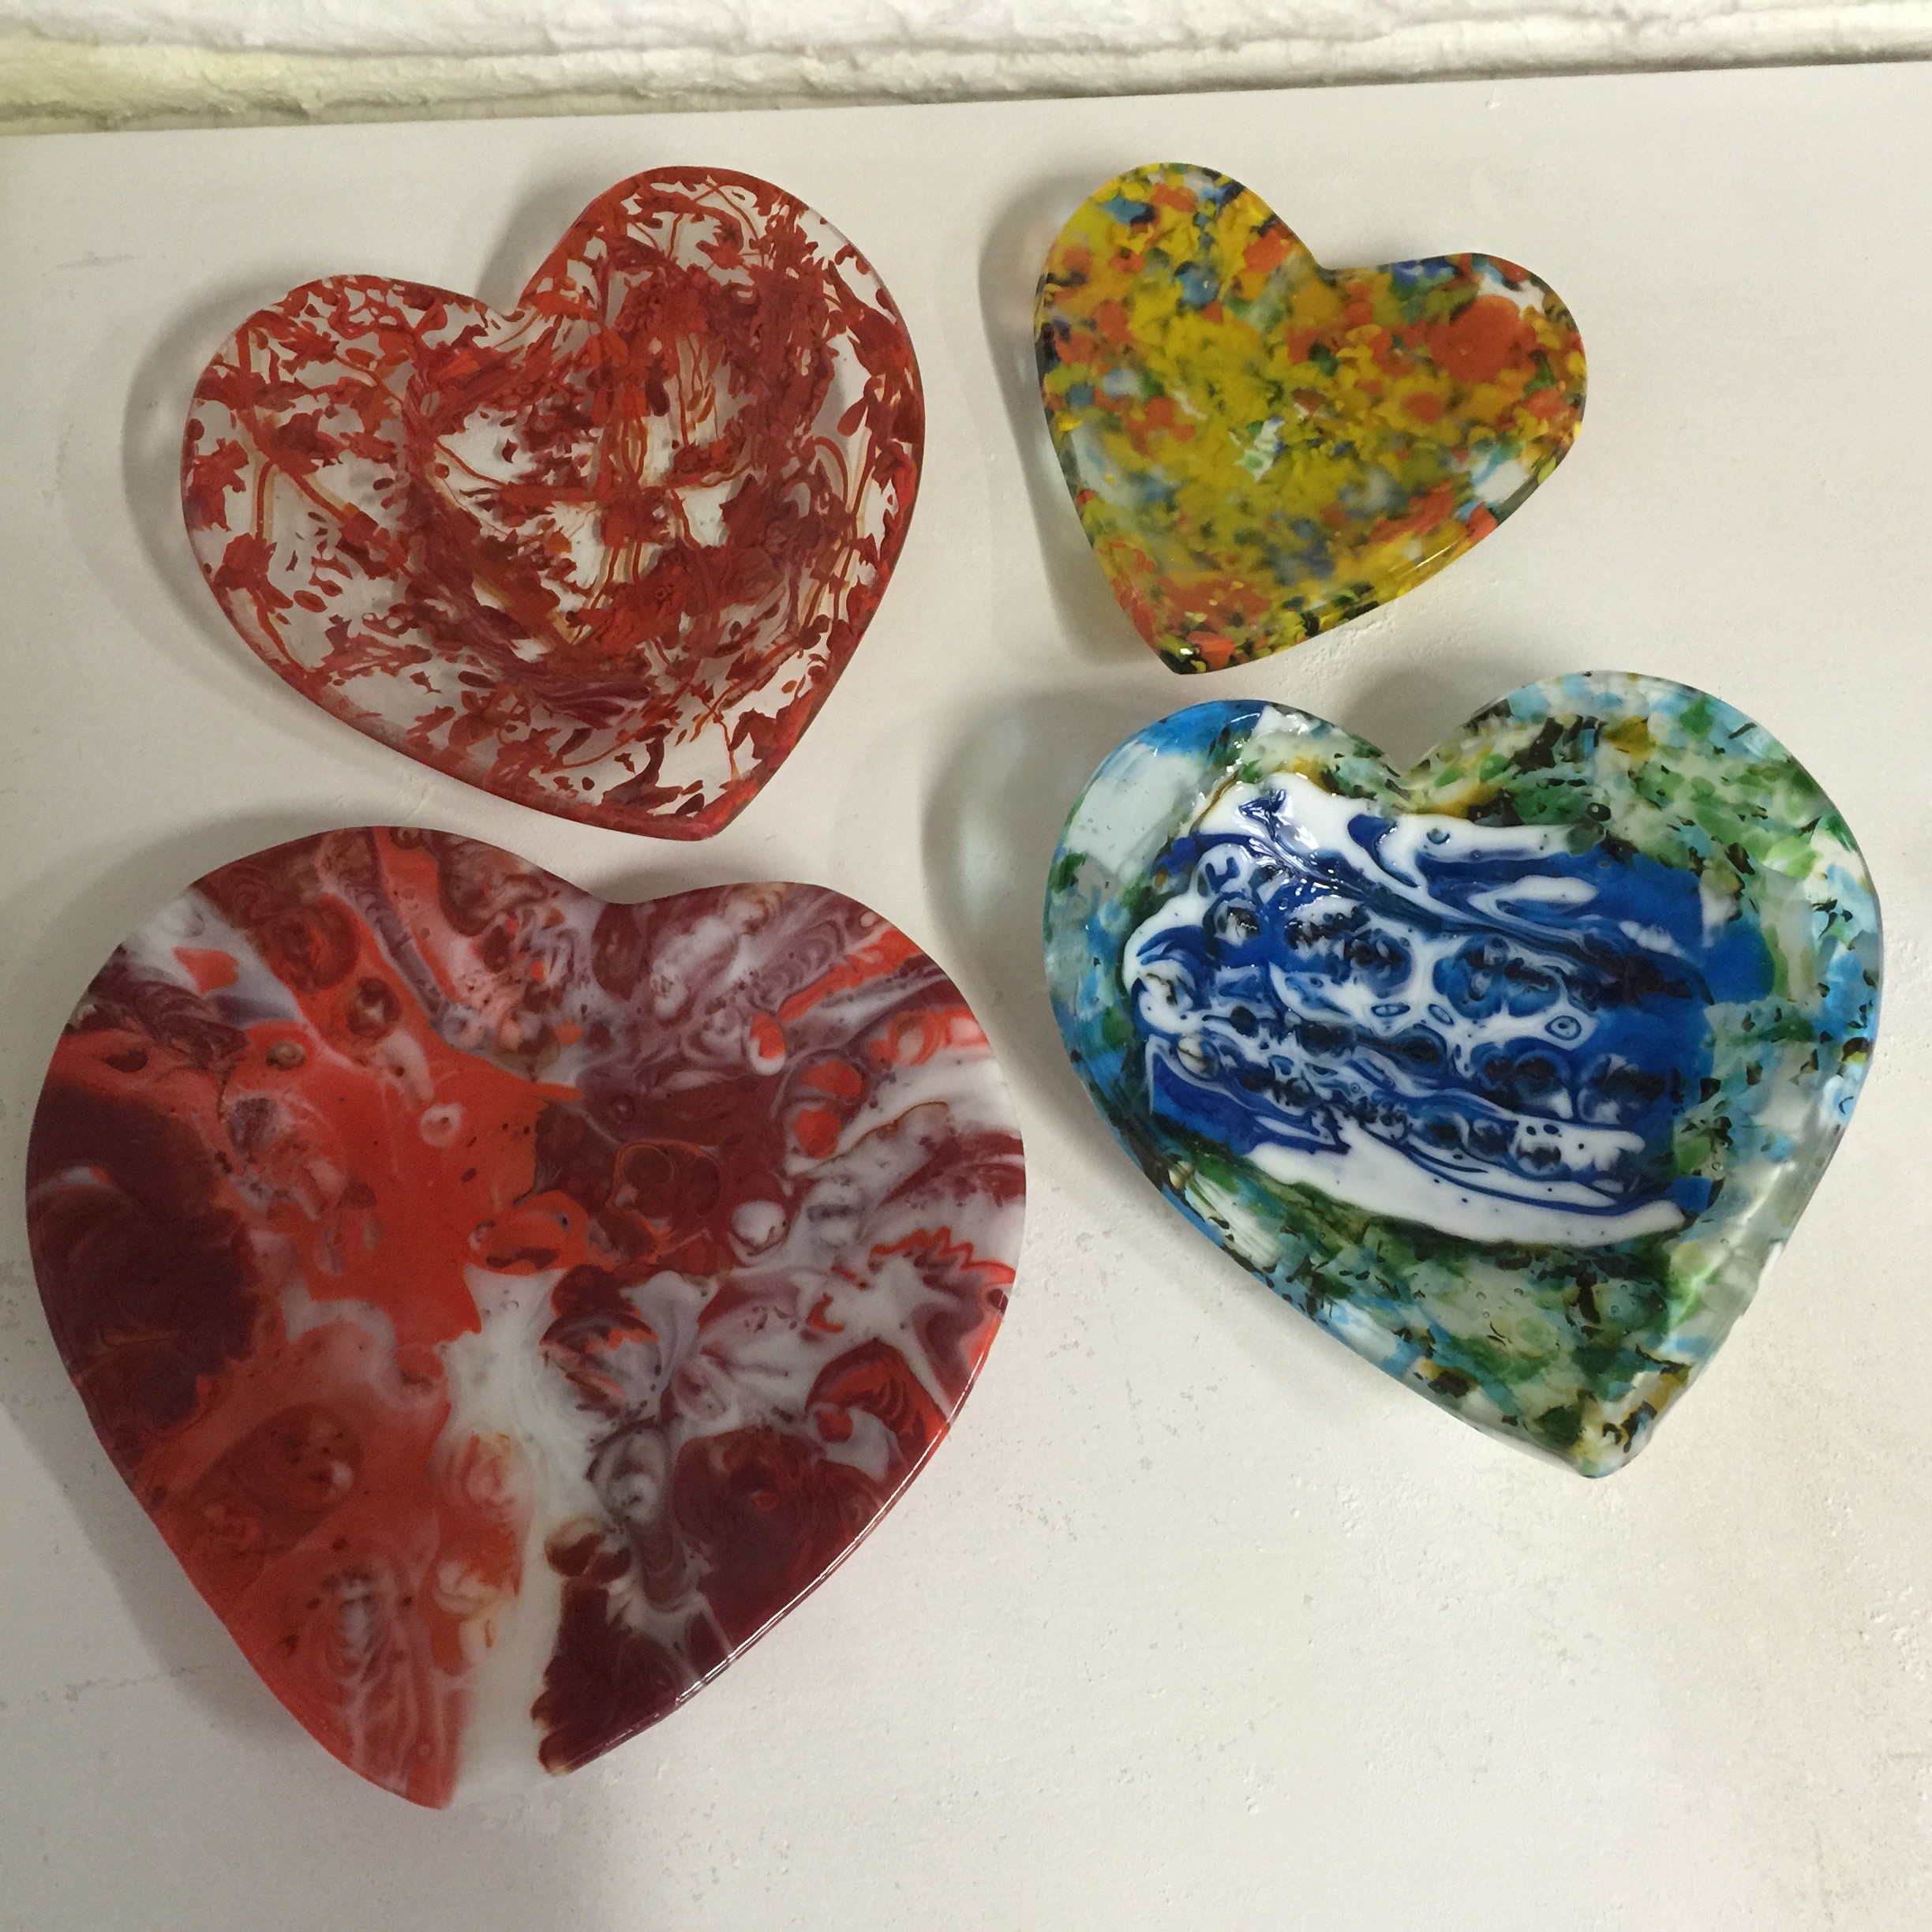
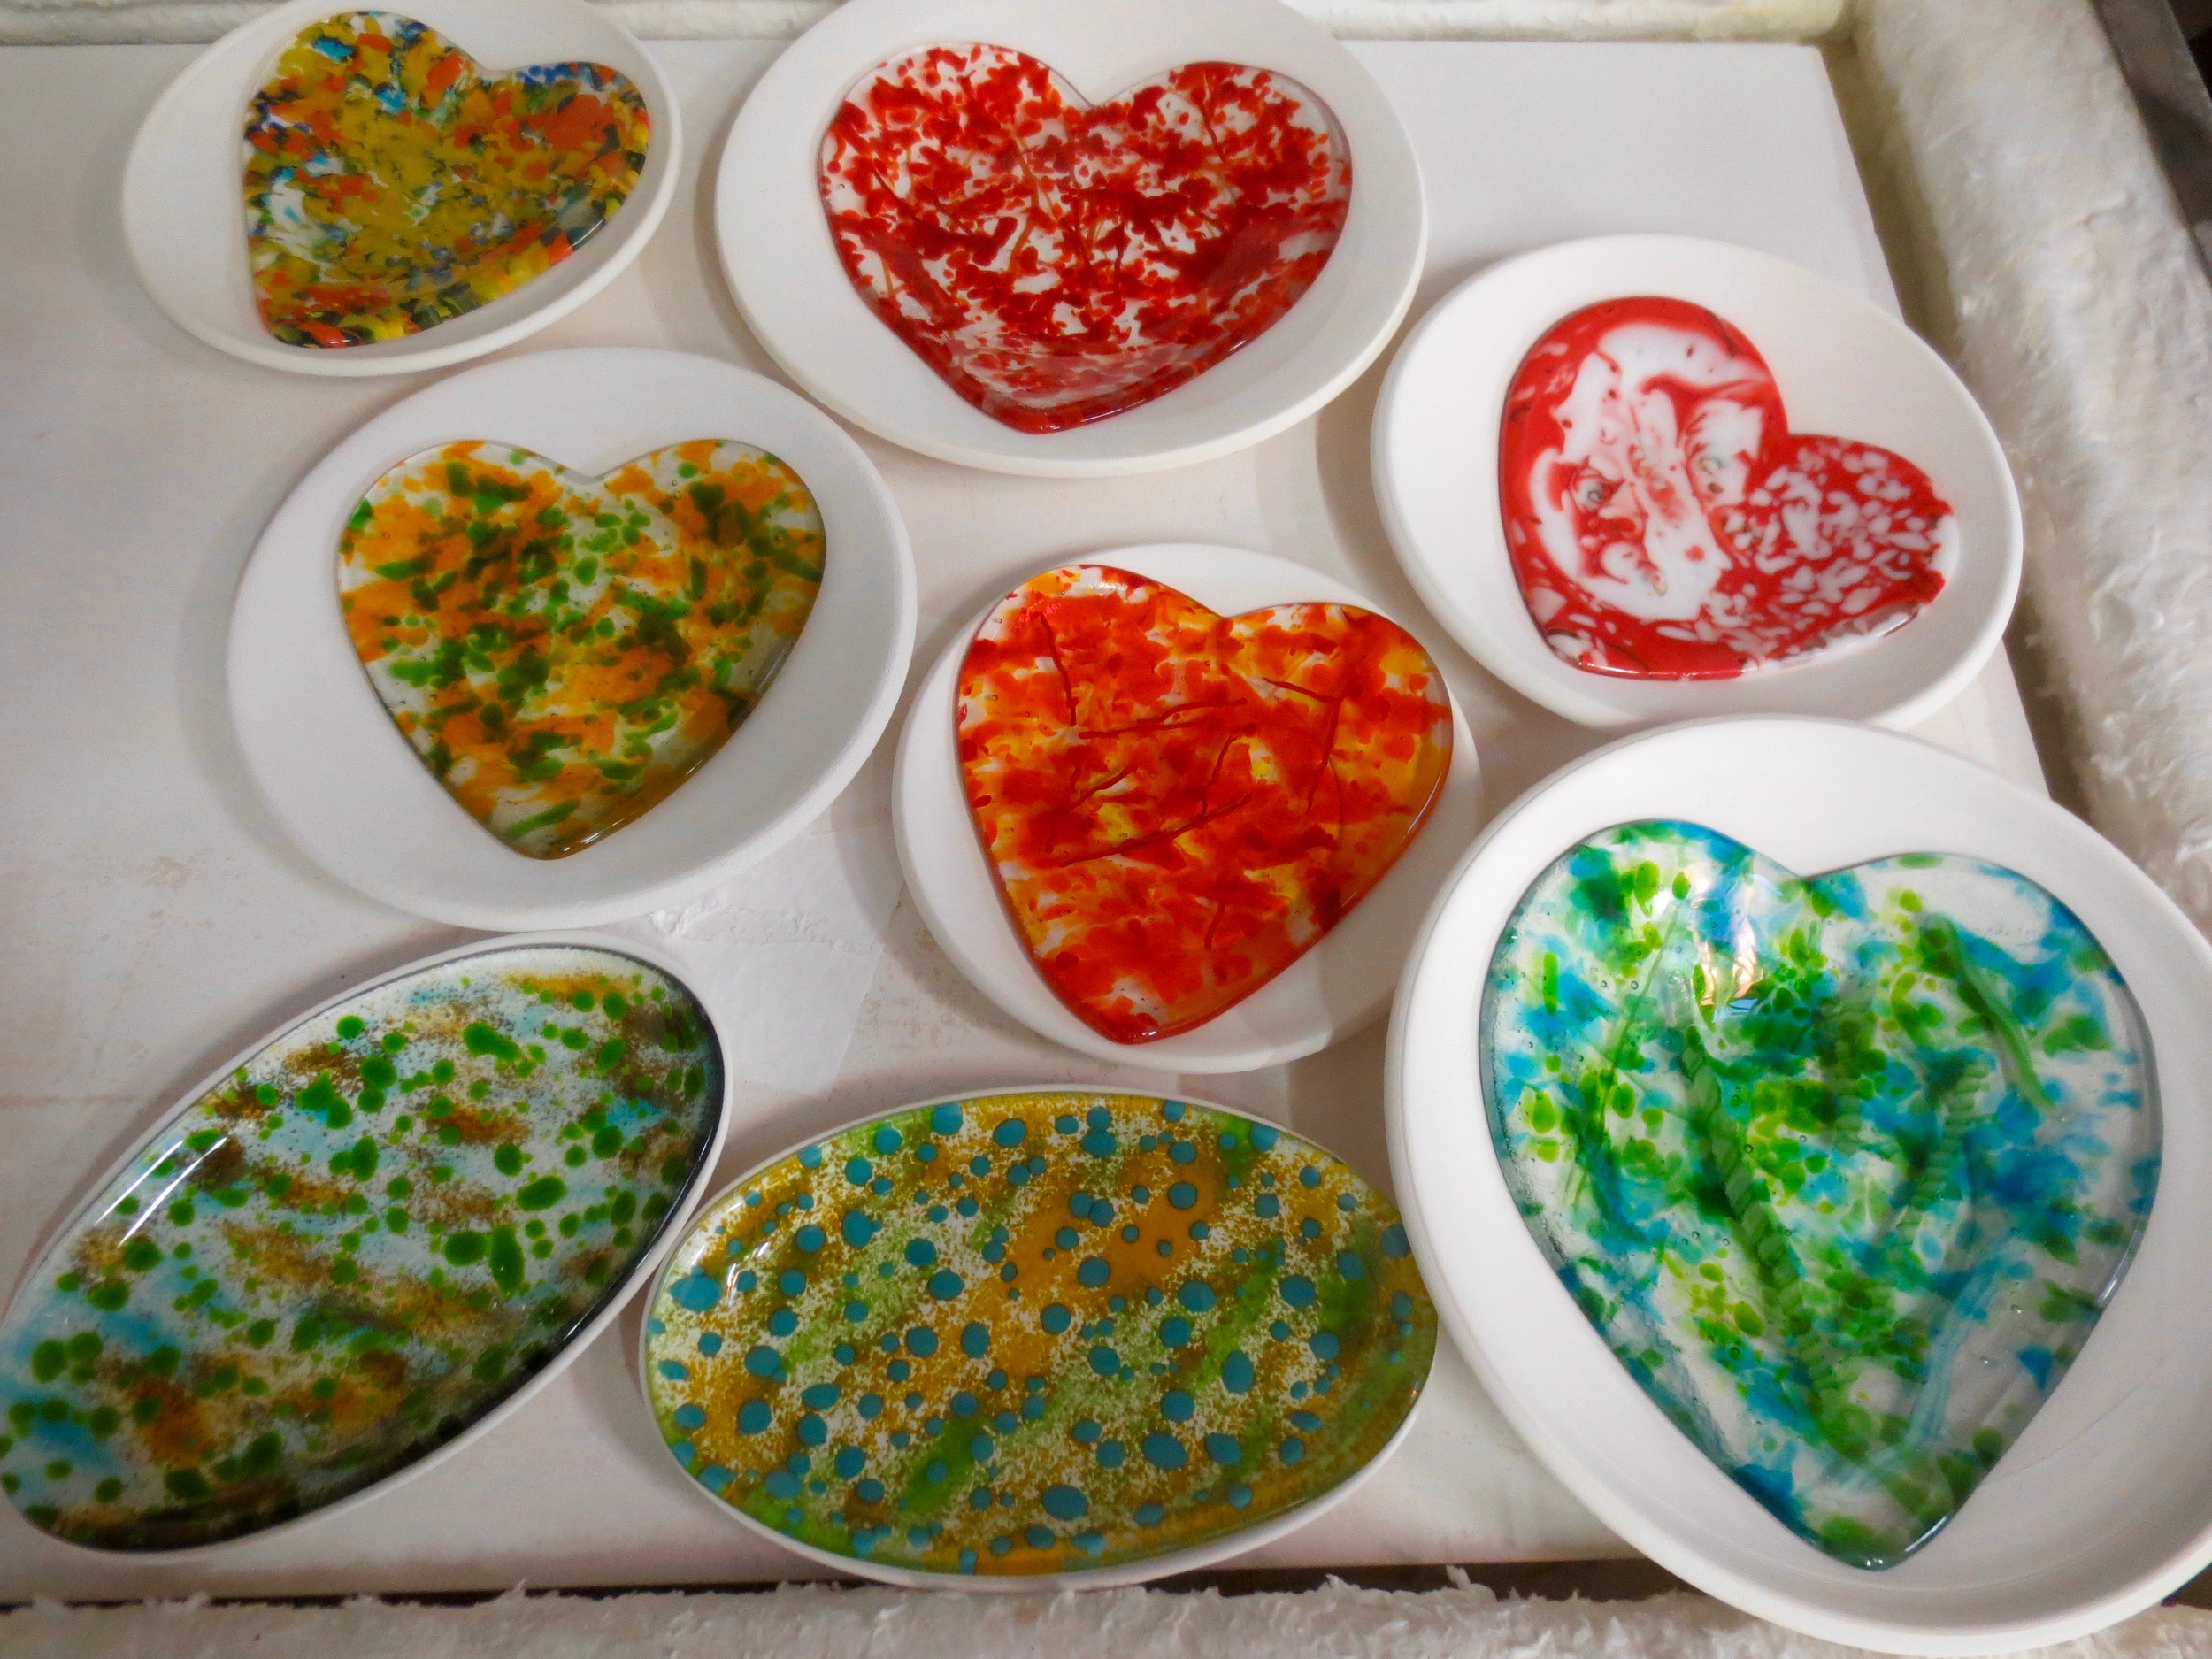
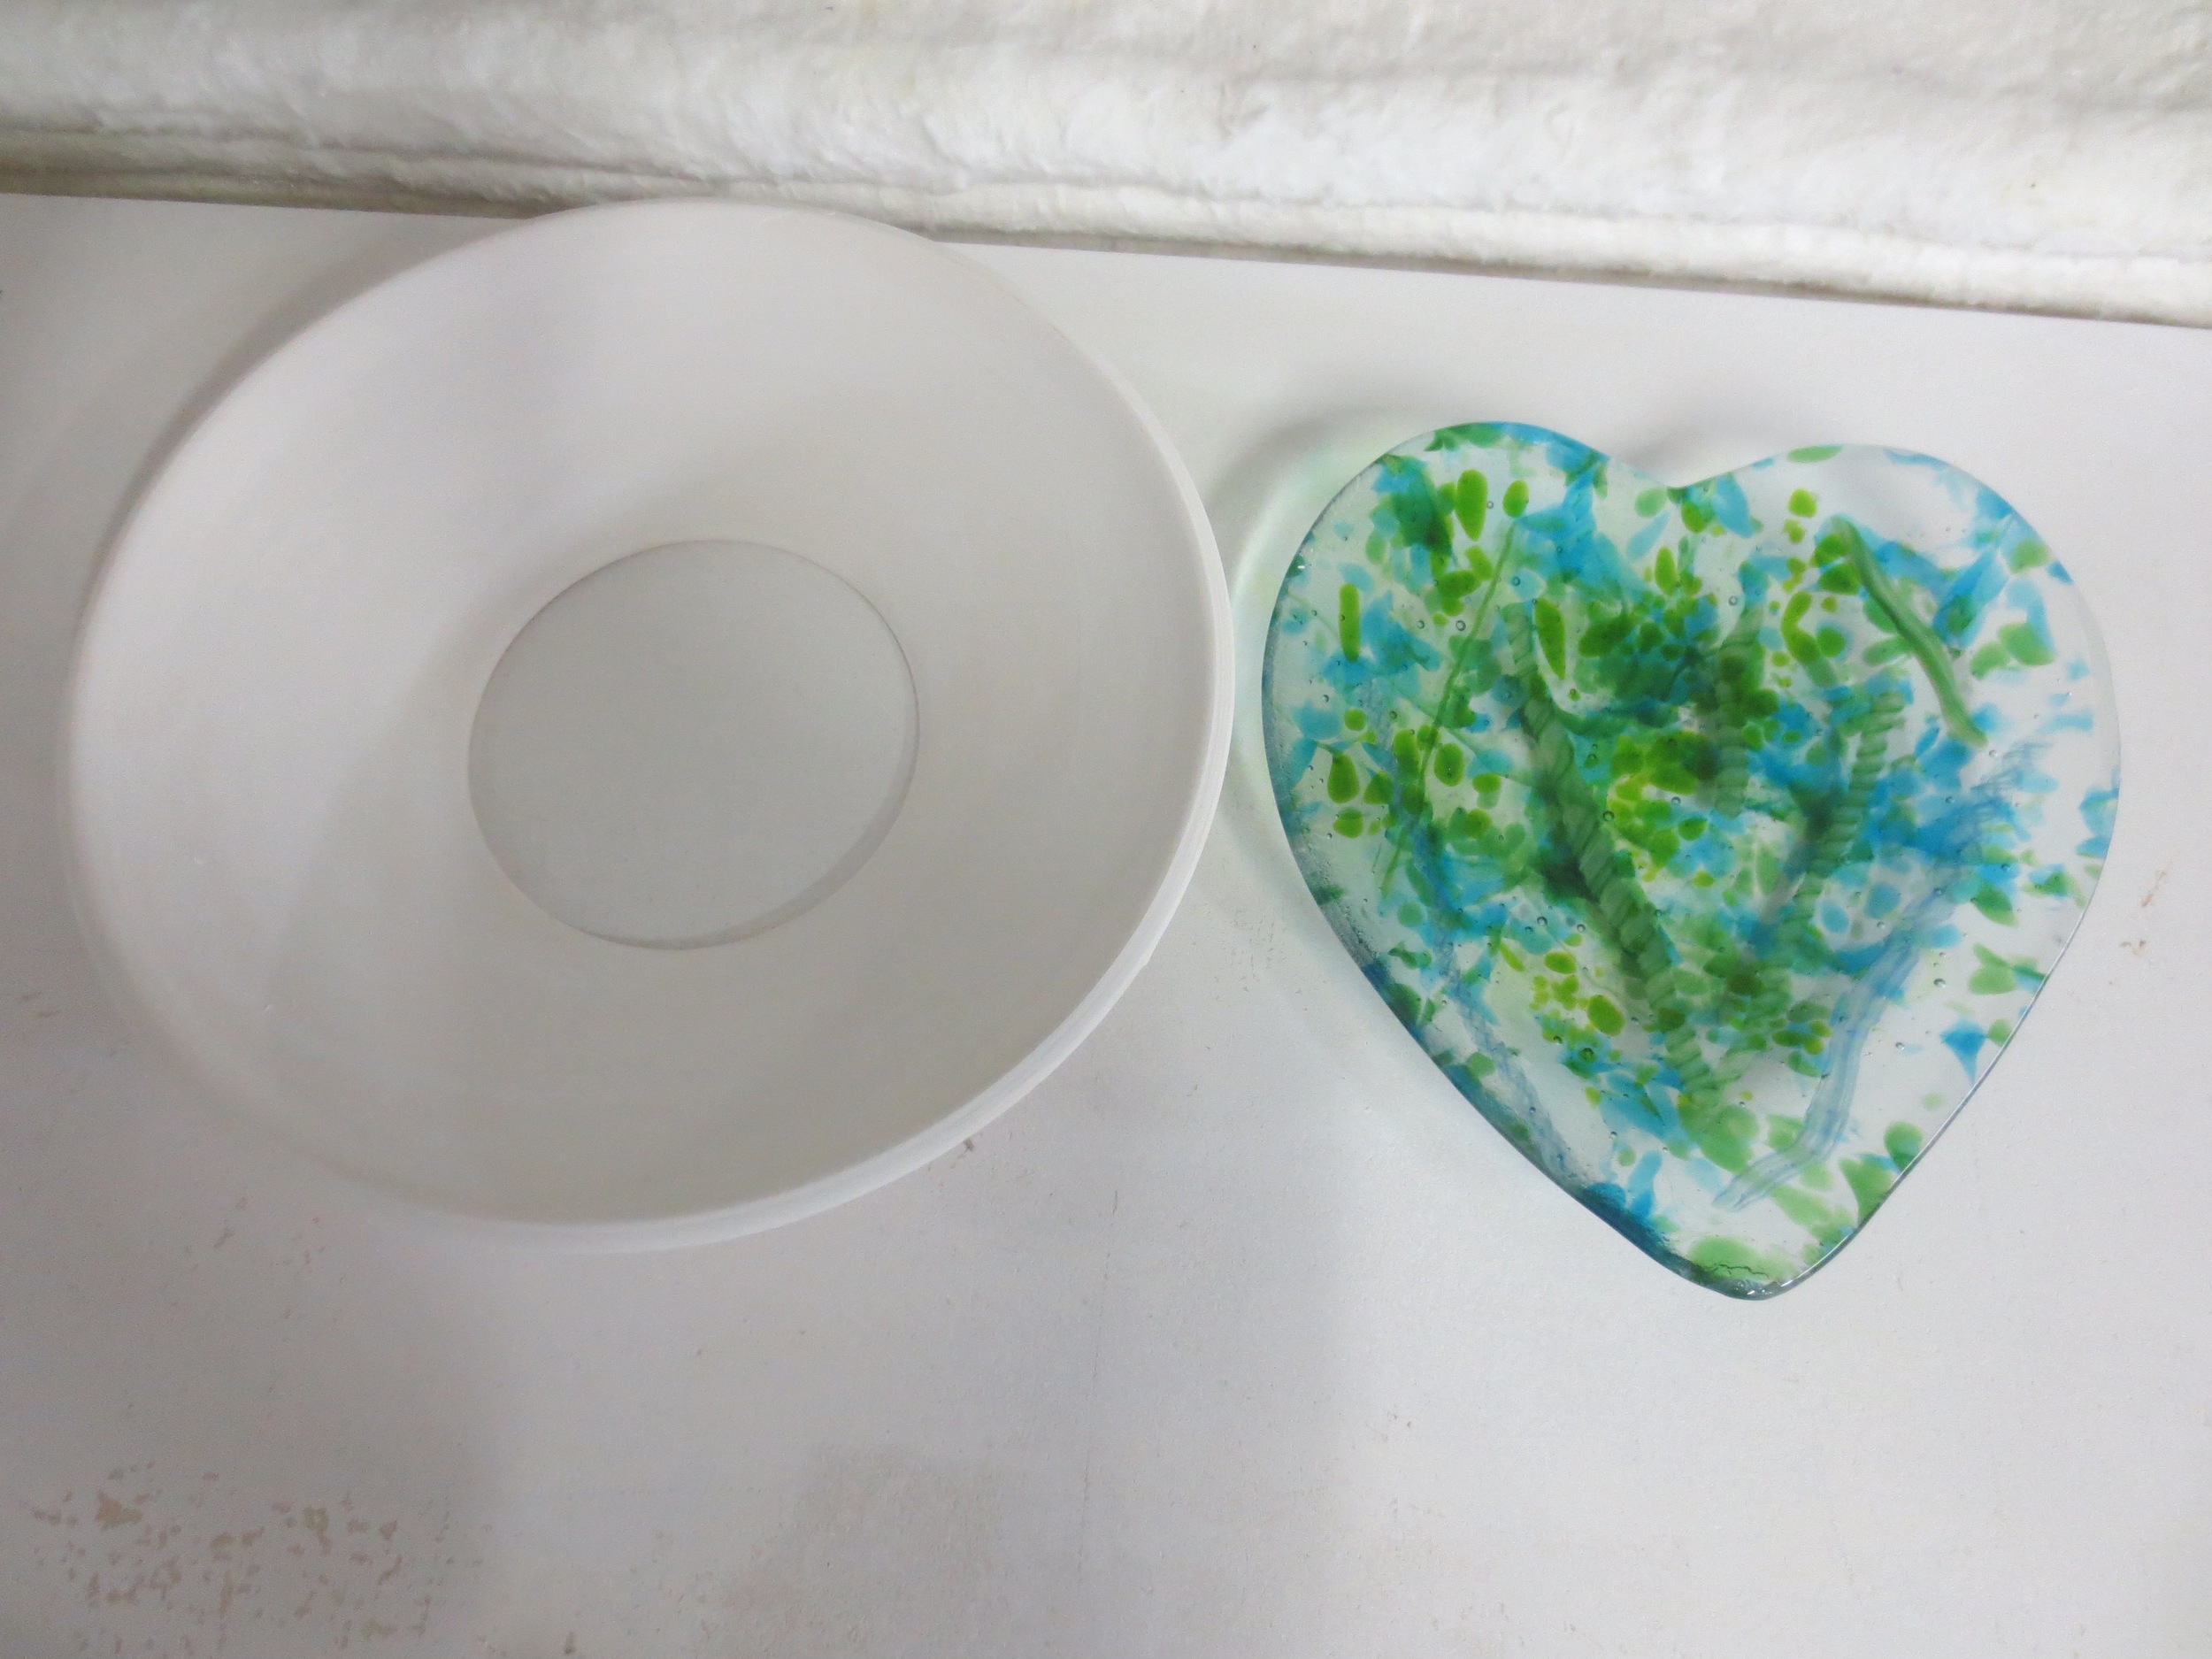
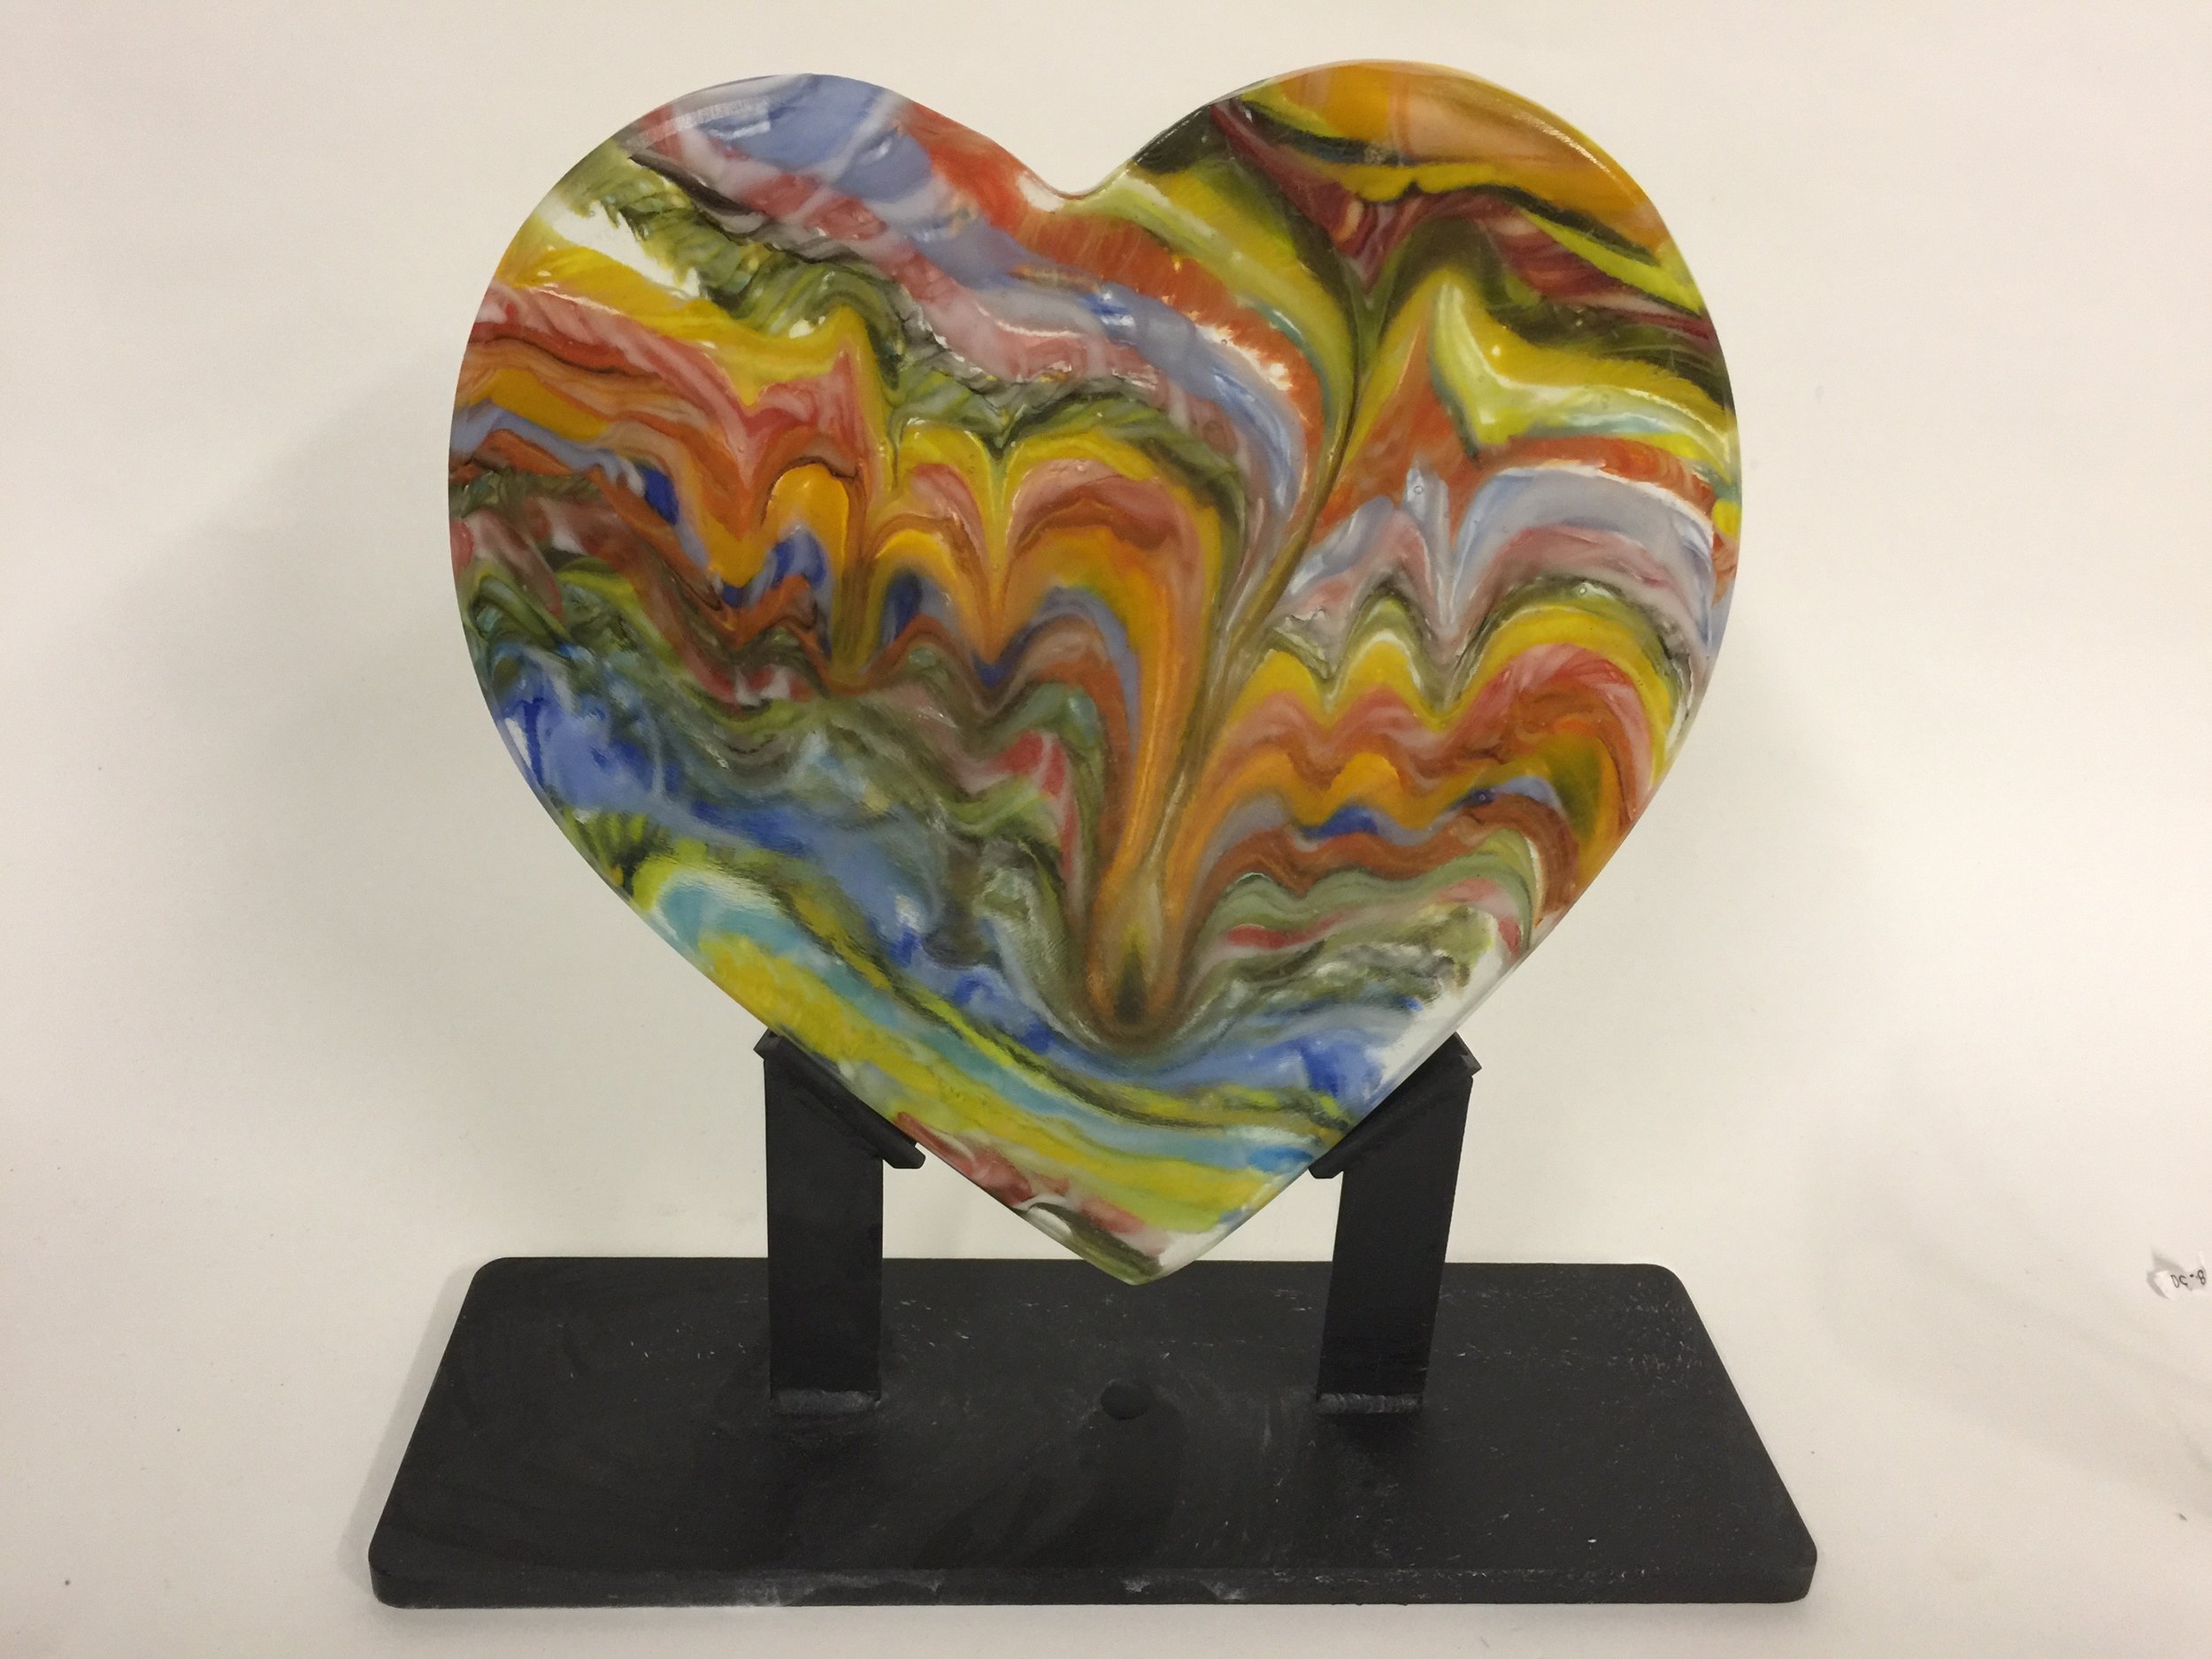
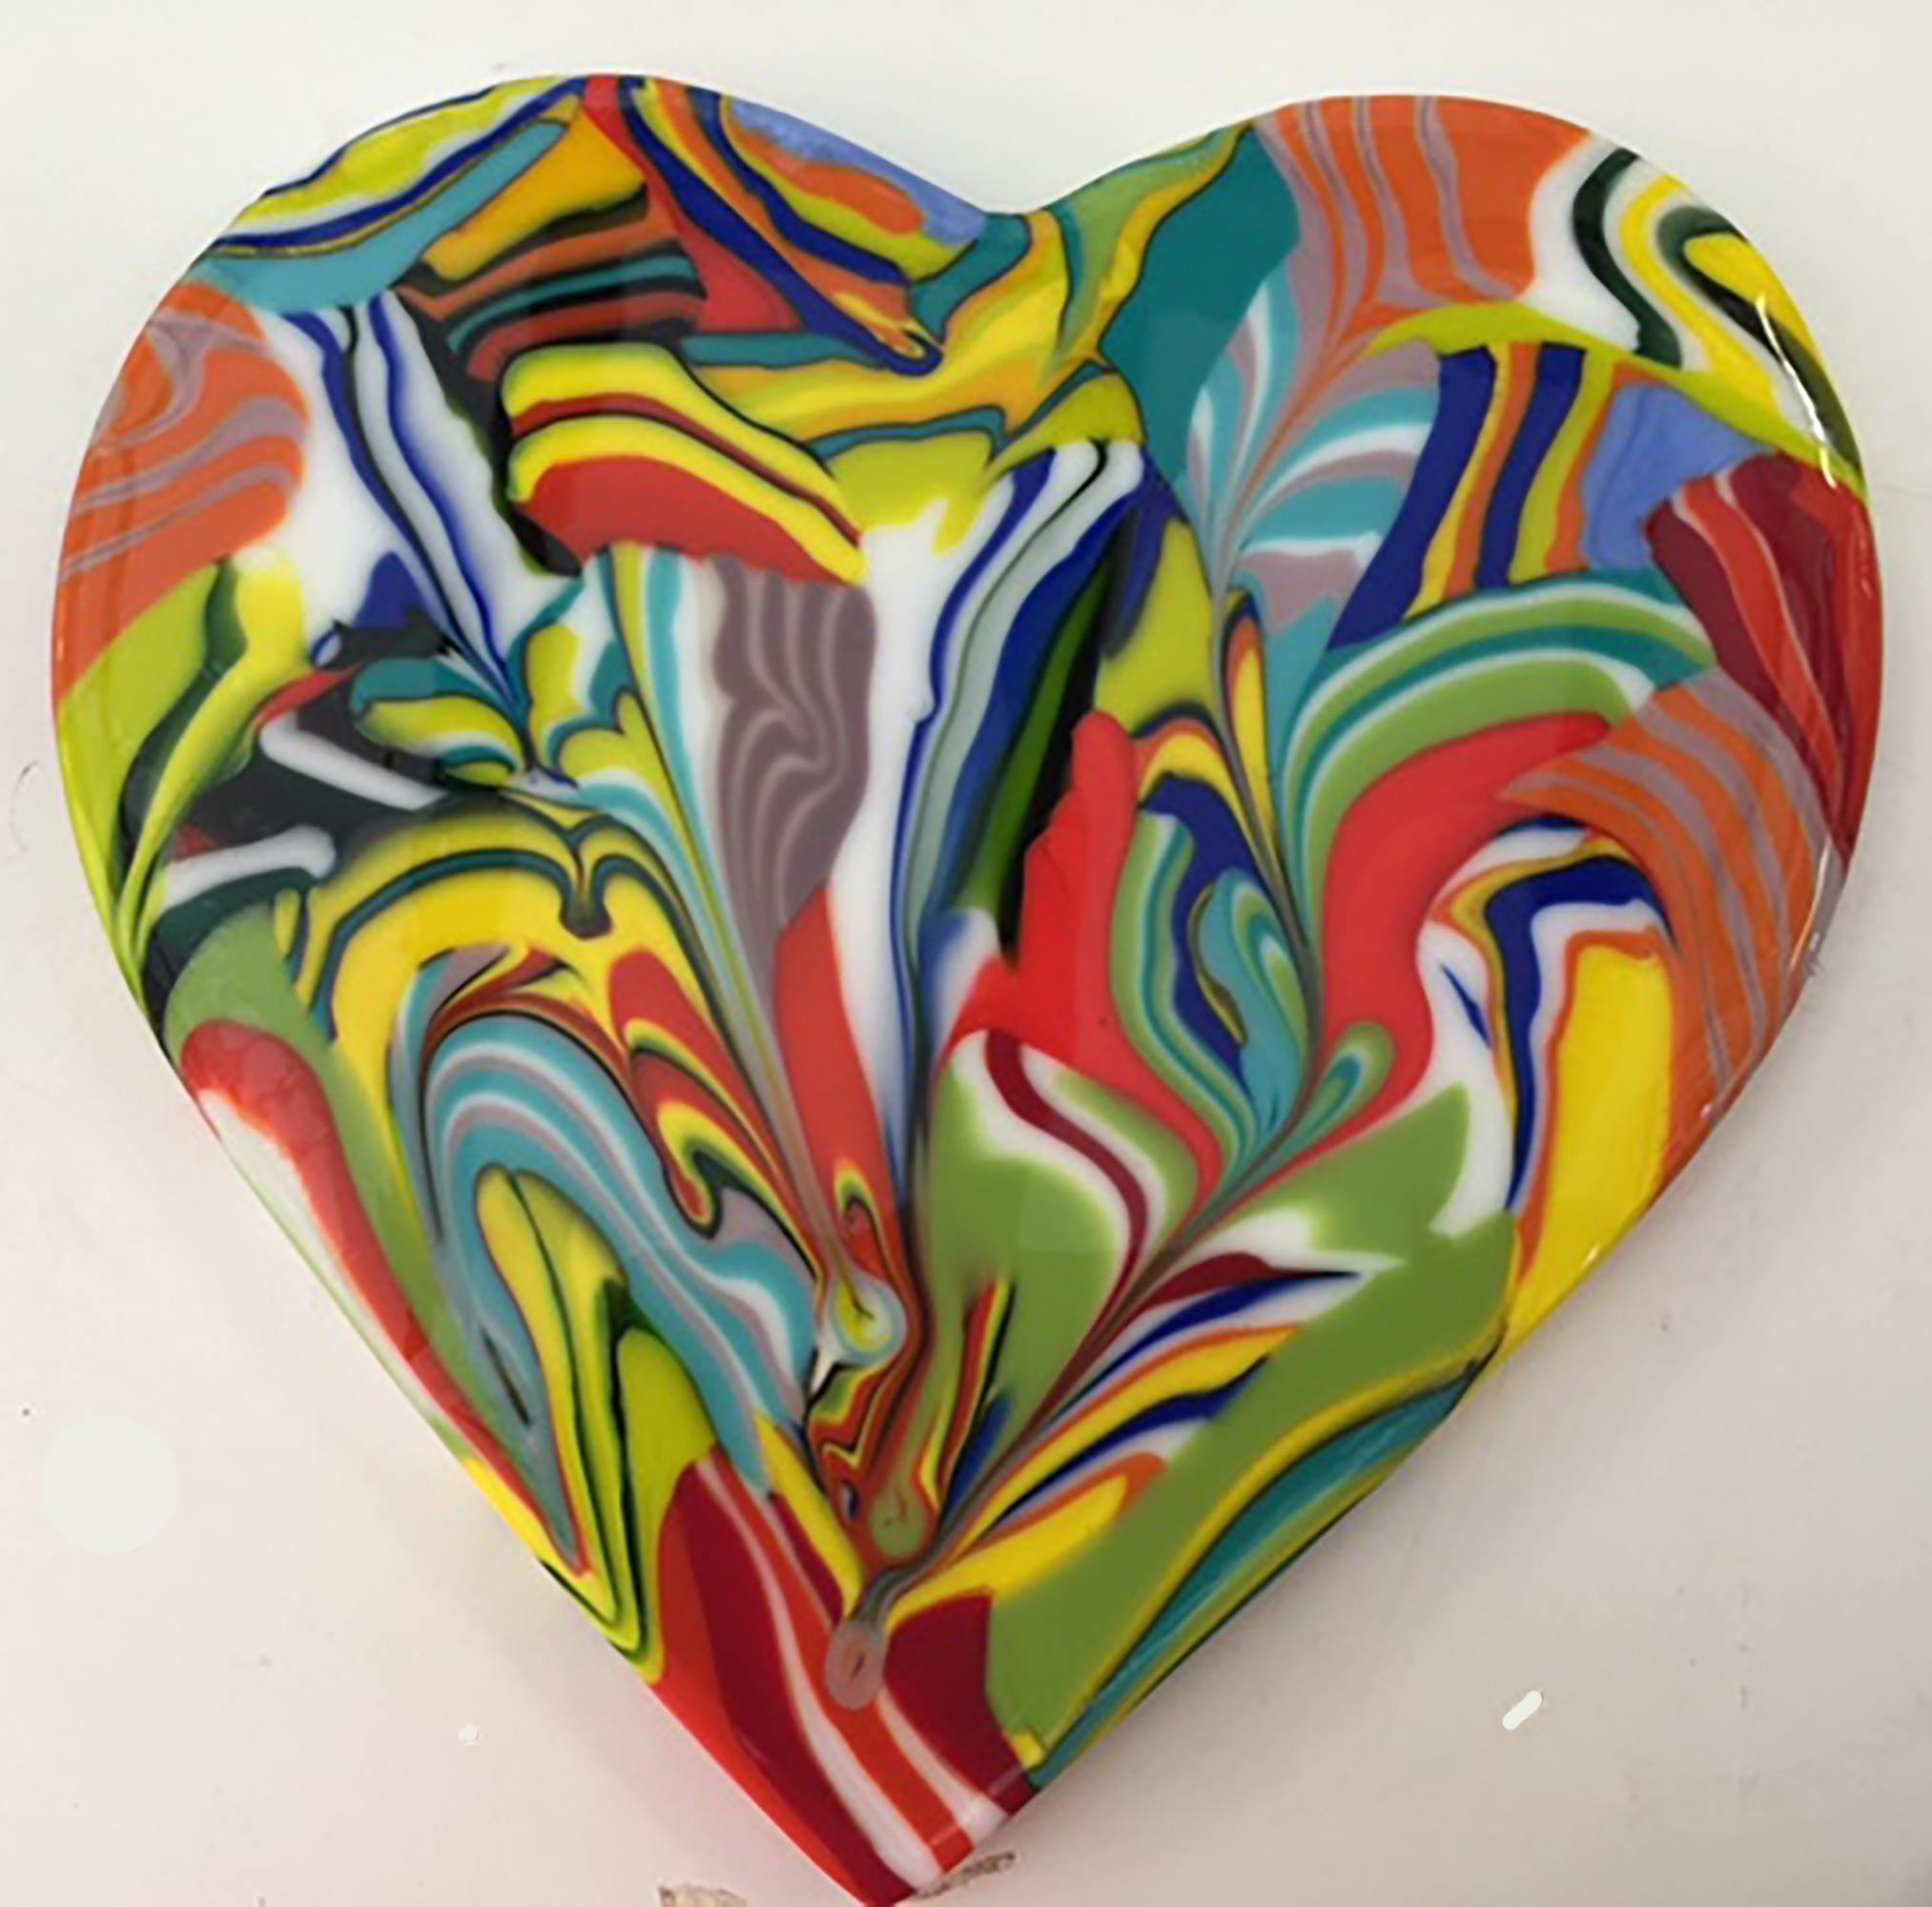
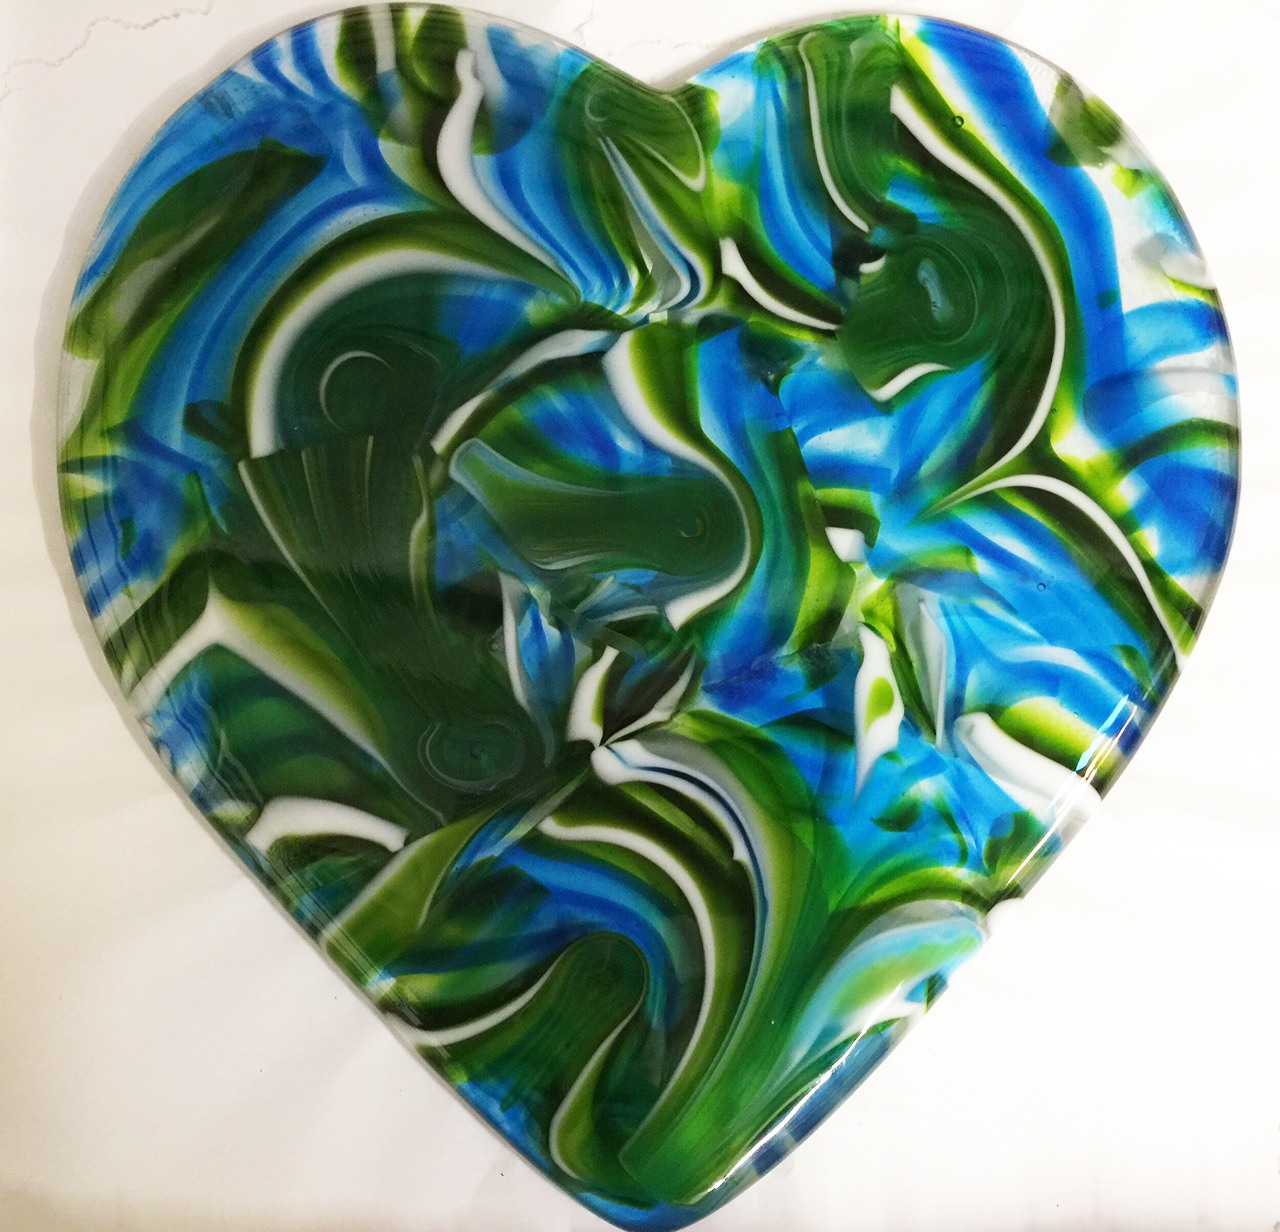
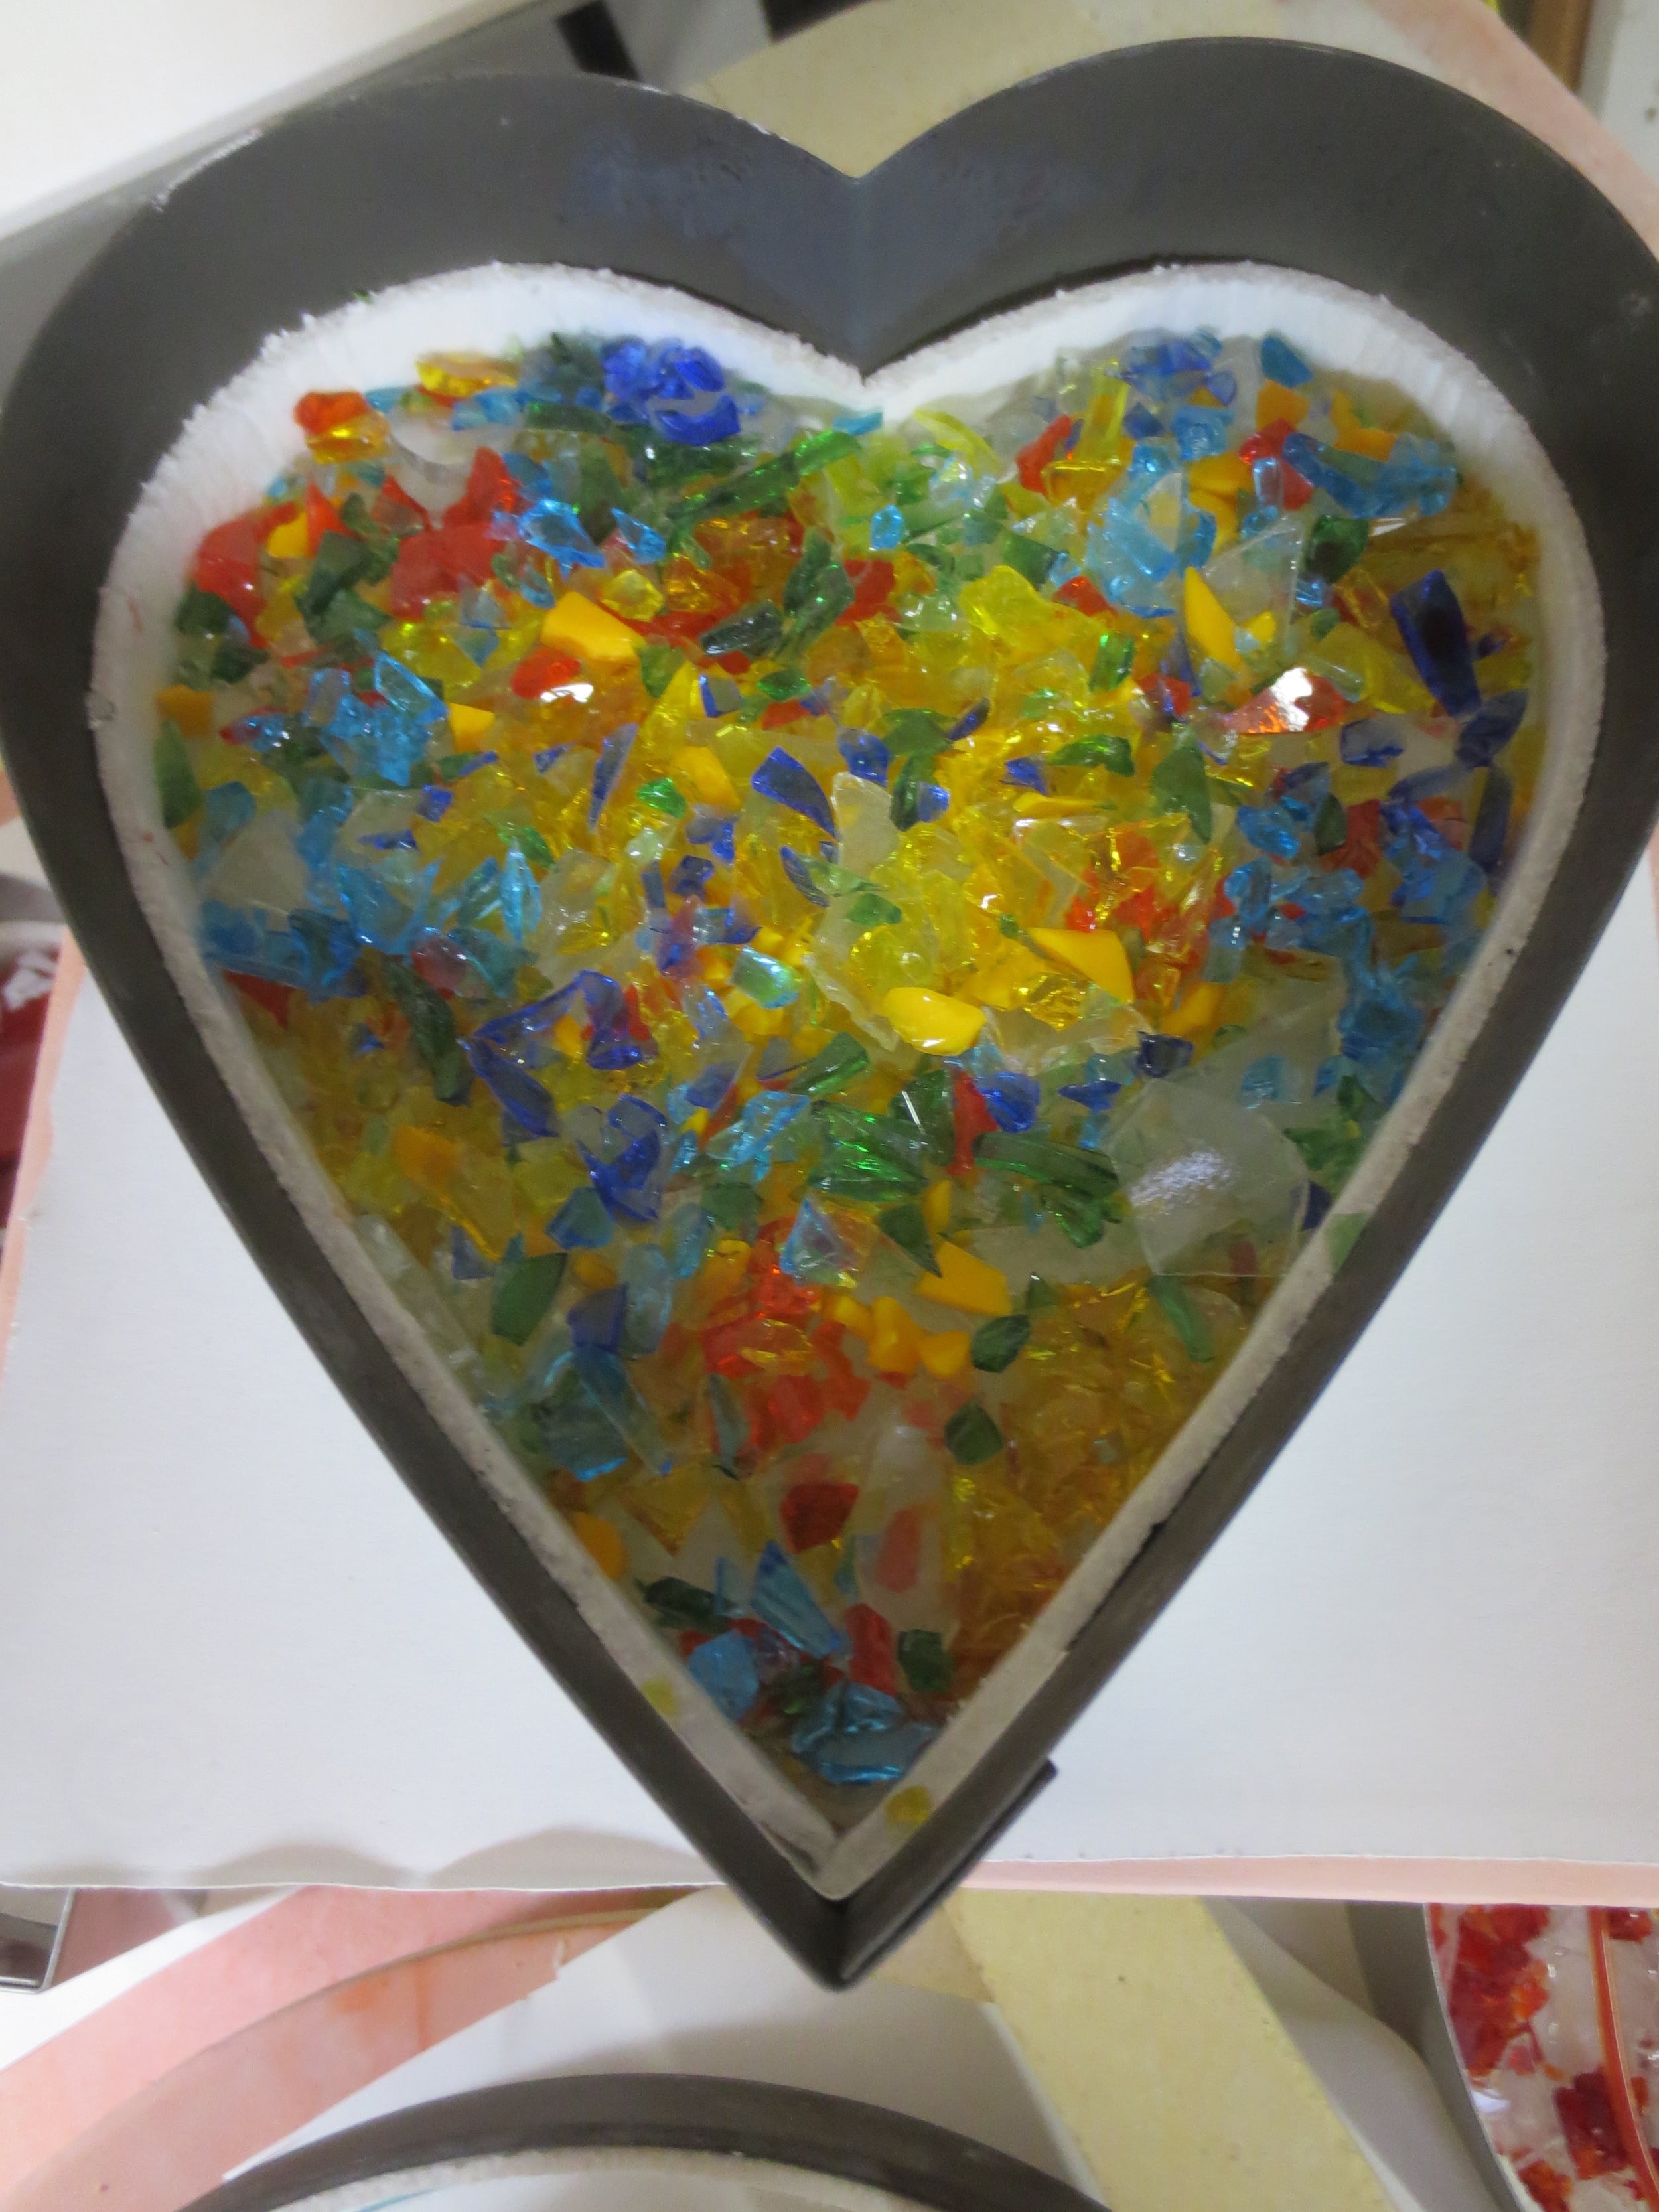
Here are a few more pictures from this mornng. These were made using the full fuse schedule above.

I am using low profile Bottomless Molds with these and they are coming out wonderful!